Too Good – Kitchen Cabinets Reborn
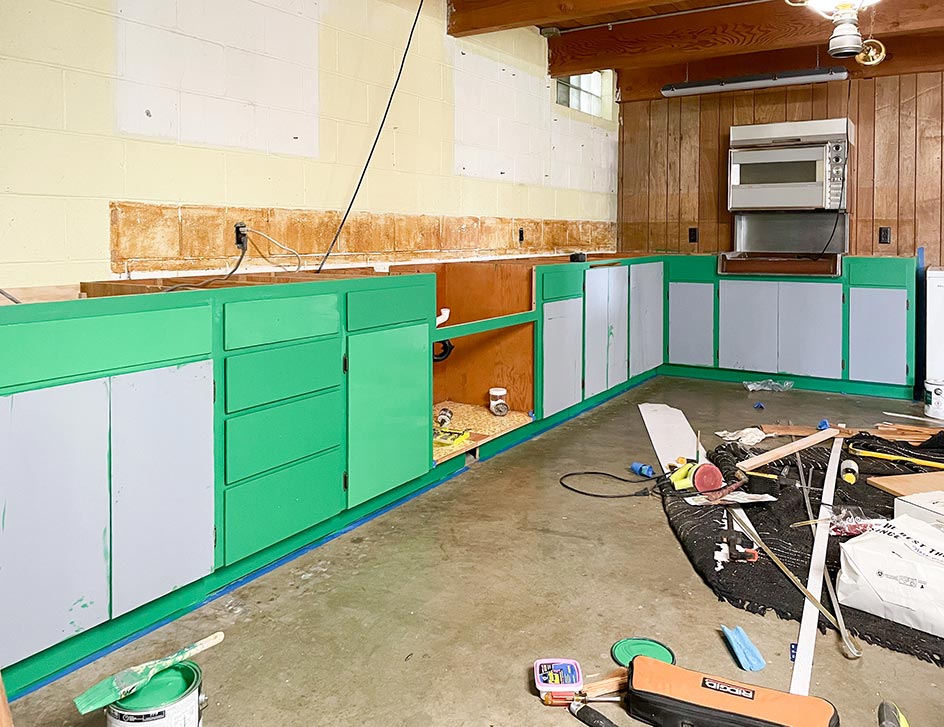
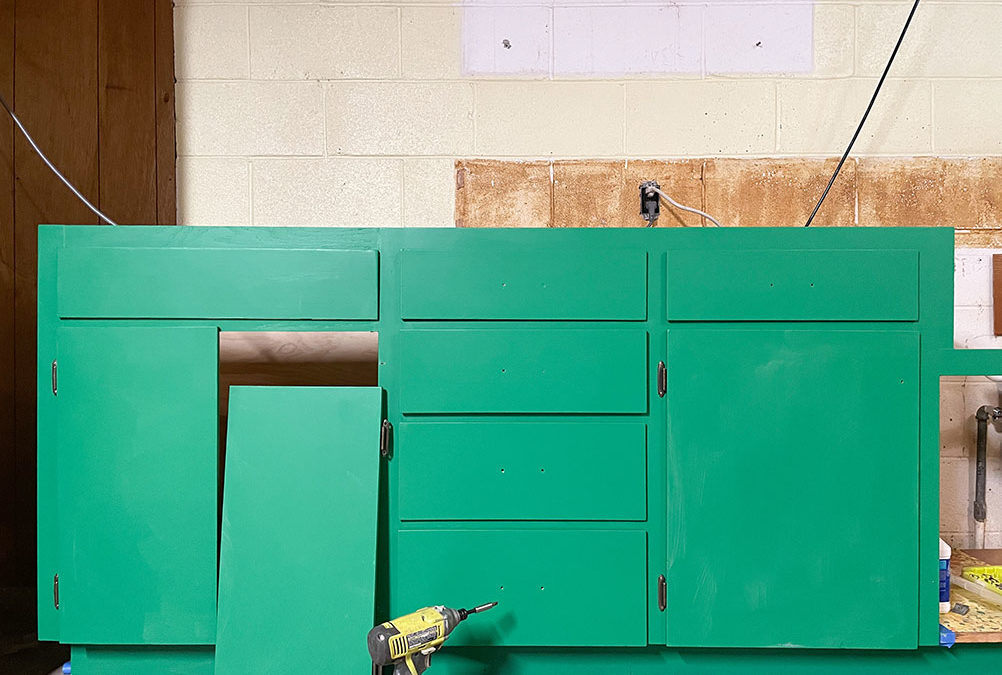
I know last week, some of you were unsure about me painting the old wood cabinets. And as much as I loved that old wood, painting them green LOOKS SO MUCH BETTER! It’s clean, crispy, and revived from something that felt ancient to something modern and unexpected. Not to mention how much they competed with the stunning natural wood on the ceilings.
So in the everlasting words of Dashboard Confessional, “I’m vindicated. I am right, I swear I’m right.” Emo 4 lyfe.
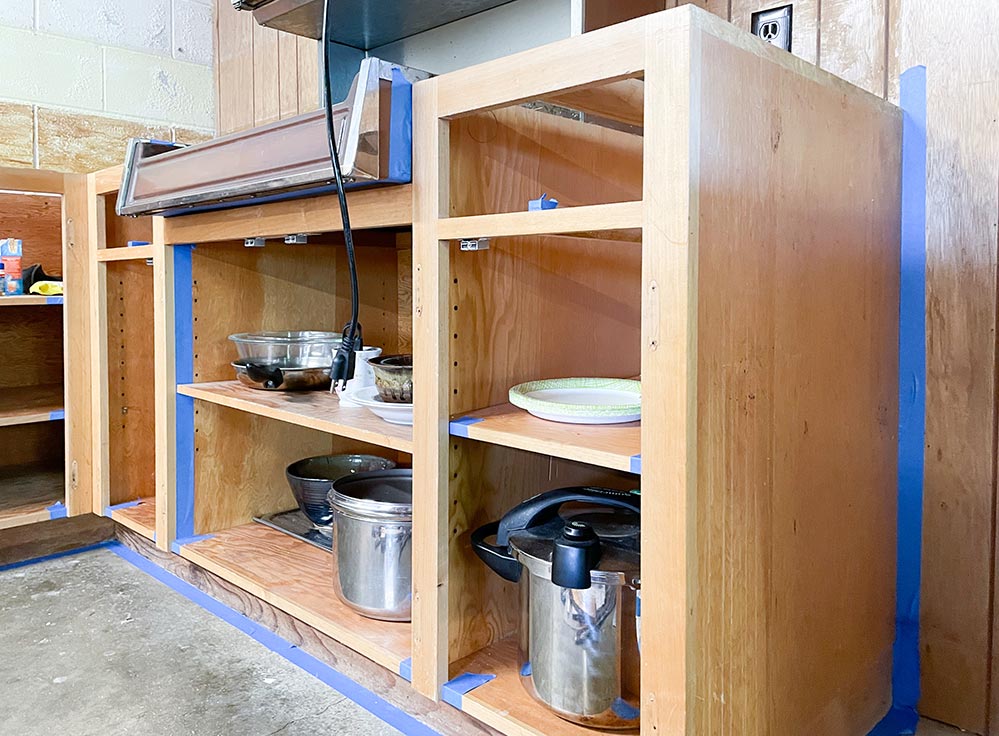
I’m So Green – Picking the Right Green
Swatches are a lot like Tarot cards. They are going to predict your fate. Pick the wrong color and you are doomed to look at the wrong color for at least a few months (ok years) until you work up the courage to paint again.
One of the most frequent questions I get is about my color choices. I think they think I’m similar to a Tarot reader who can see deeper meaning in the symbols. I see the power of colors, but there is a big difference. I have to play with them for a very, very long time. I will take swatches home with me and play with them like a game of solitaire. Swapping them in and out, moving them around, pinning them to walls, carting them around in my pockets to toy with while buying Sour Patch Watermelons.
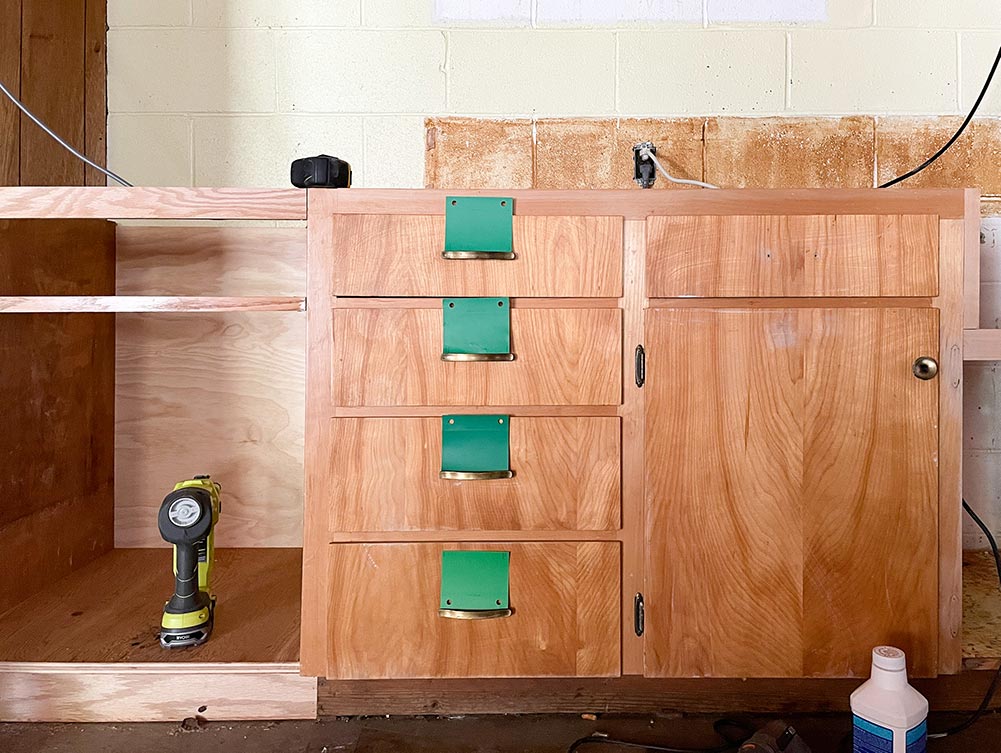
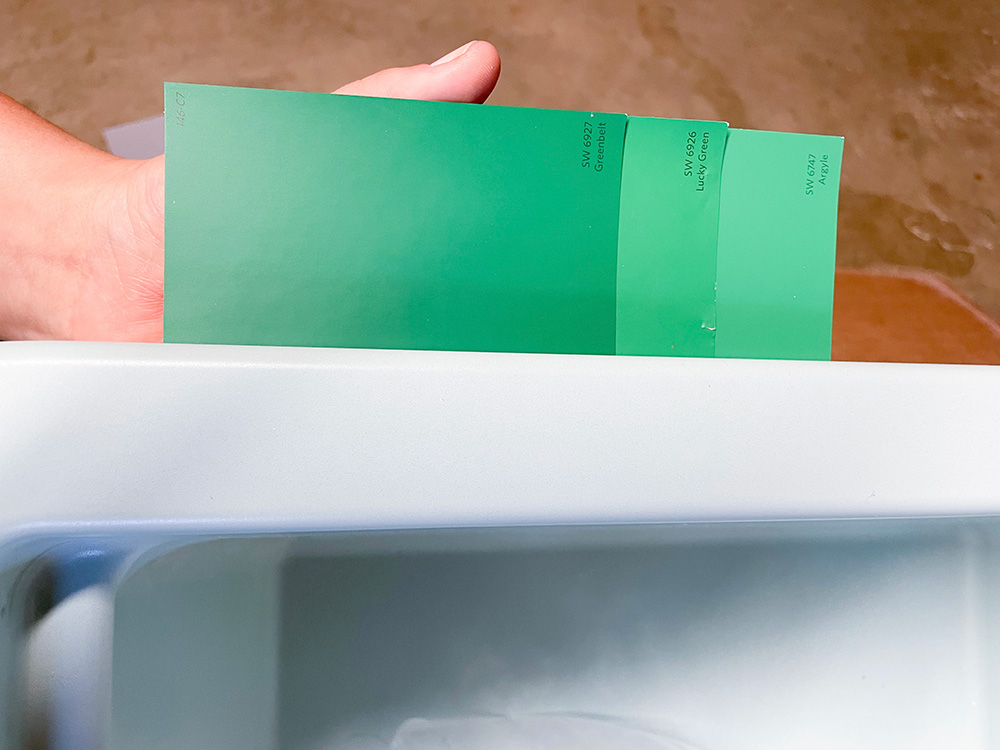
I was stuck deciding between 3-4 different greens. I was looking for a vibrant green, but not too overwhelming or too bold. I have a beautiful neutral tile going up above the green cabinets that will help balance it out. I know, you didn’t expect anything neutral from me, but this space needed it. I definitely think it will help make the green feel more sophisticated.
I took out the swatches of my four main contenders and held them up to the beautiful mint green sink. I switched between them until I settled on Sherwin William’s Lucky Green. It’s a bit poppier than I thought I’d go, but after seeing it with the sink, it is stunning.
Primetime – Priming the Cabinets
Because I paint a lot of bold, bright, and vibrant colors, I’m used to having to do 6-7 coats in some instances to make sure it goes on well.
Why is this? Are painting companies actively working against all of us bold living, bright color embracing muralists? Possibly, but we’ll get into our 10-part conspiracy theory in a later post. You’ll be on the edge of your seat.
The real reason is that the base paint required to make the vibrant colors doesn’t have good coverage. In order to achieve paint that is fully opaque, you either need to apply many coats or you can get your paint from Sherwin Williams and use this great trick.
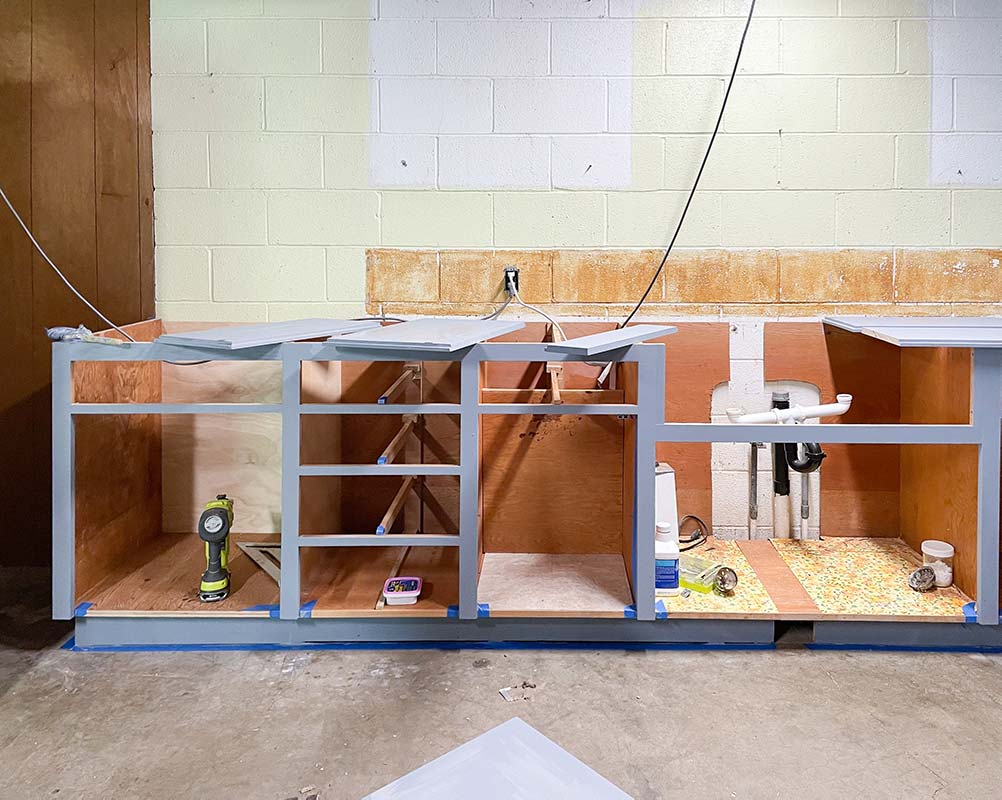
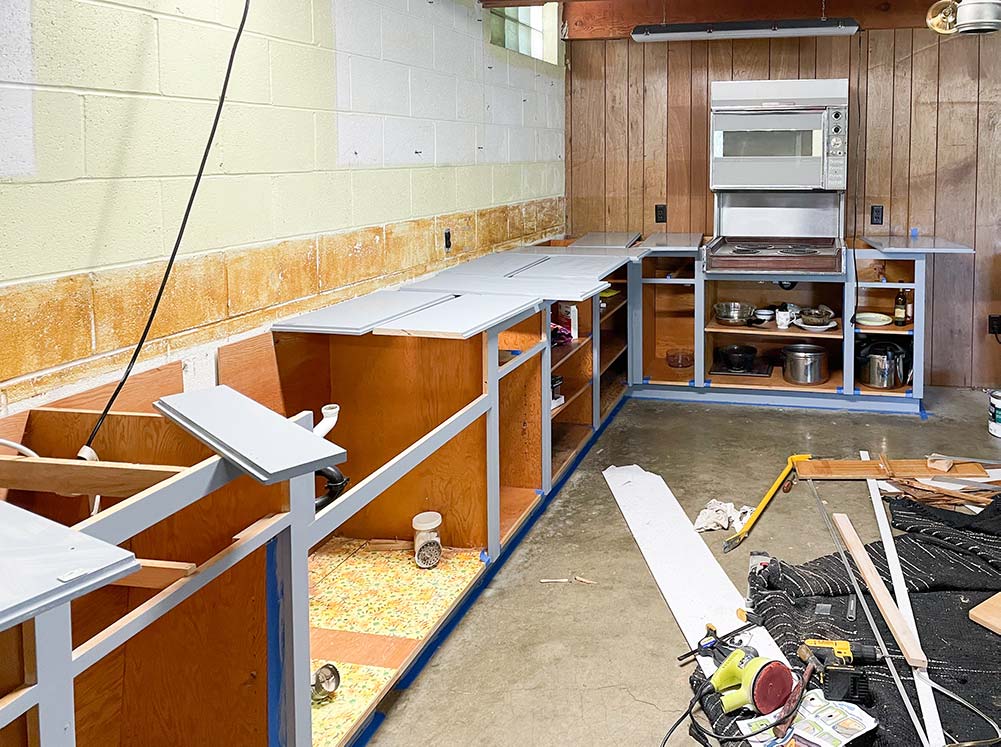
On the back of some Sherwin Williams’ swatches, there is this area that will indicate specific shades of primer that you’ll need. Sherwin Williams’ tints all their primer to that specific shade. For example, a recent color I painted had primer P3 and this round it was P5.
Primer P5 is tinted medium grey. After applying it to all of the surfaces, it only required two coats of paint. Allowing me to have a few more hours of rewatching Bridgerton instead of painting 3-5 additional coats. I got amazing coverage on the cabinets and I also was able to relive the drama, the intrigue, and romance of my favorite show. C’mon, don’t act like you didn’t watch it too.
Know How – Getting the Paint You Want
What I really wanted for these cabinets was Sherwin Williams urethane trim enamel. I love this paint because it’s perfect for wood surfaces
- It hardens over time
- It becomes resistant to wear
- Even when applied imperfectly—it’ll smooth out
Just like my love for Bridgerton.
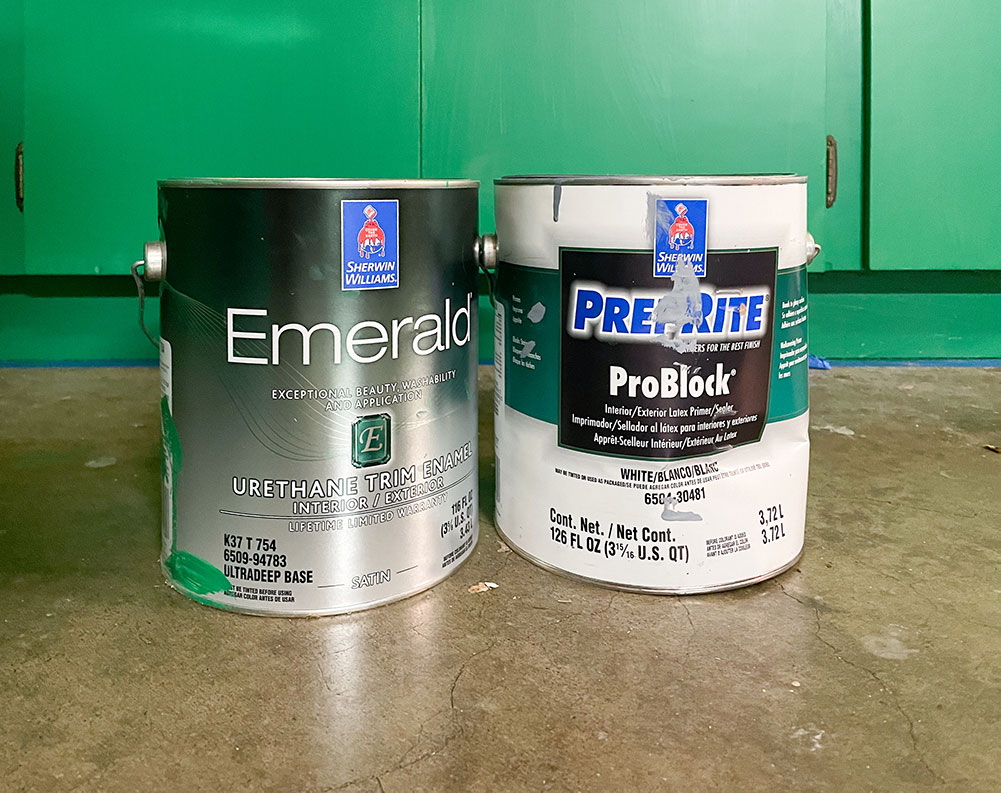
Now this specific paint—Sherwin Williams doesn’t make all their shades in this paint. I spoke to my local Sherwin Williams representative about the color Lucky Green and found out that they didn’t make that color in the paint I wanted. Because the Urethane Trim Enamel is an indoor/outdoor paint, they wouldn’t make the color I wanted in in because it requires the Y1 pigment. Y1 is a yellow pigment that they can’t guarantee on exterior paint because it isn’t UV resistant. He said that because of that policy, he couldn’t make it even though it was technically possible. My typically crafty and extremely helpful Sherwin Williams guy couldn’t help me.
He was super nice and went into excruciating detail with me like it was an important plot point.
I walked out of the store with a different line of paint—not that one I wanted. The world collapsed on me. I dwelt in darkness as I walked out to the car. My dreams—crushed.
As I took my paint to the car, I stopped. I suddenly got what he was telling me. I walked back in and leaned on the counter and said with a wink, “So what you’re telling me is that you can’t *wink* make the paint without overriding the system, but that you can override the system and put Y1 in it *wink wink*”
Turns out that’s what he was leading me to the whole time.
I walked out of that Sherwin Williams with my preferred color in the paint of my dreams. Turns out, with a little know how and a crafty sales representative, you can too.
Do What You Gotta Do – Paint vs. Sprayer
This was going to be a lot of painting so I bought a small sprayer specifically made for projects like cabinetry. I wanted to get the best/smoothest finish. I came home and stared at it for a while like it was a stranger eating cereal in my kitchen. I paced back and forth, snacked for a bit, and then looked at it again as if the stranger had then started going through my sock drawer.
I was killing time because I didn’t want to read the instructions.
Sometimes, you need to do whatever is going to make you happiest. I grabbed a $1.50 paintbrush from my mural starter kit and got to work. In about an hour, I had all of the faces of the cabinets painted. The paint applied smoothly and the brushstrokes I was worried about weren’t even noticeable.
It was a much smaller project that I made it out to be in my head.
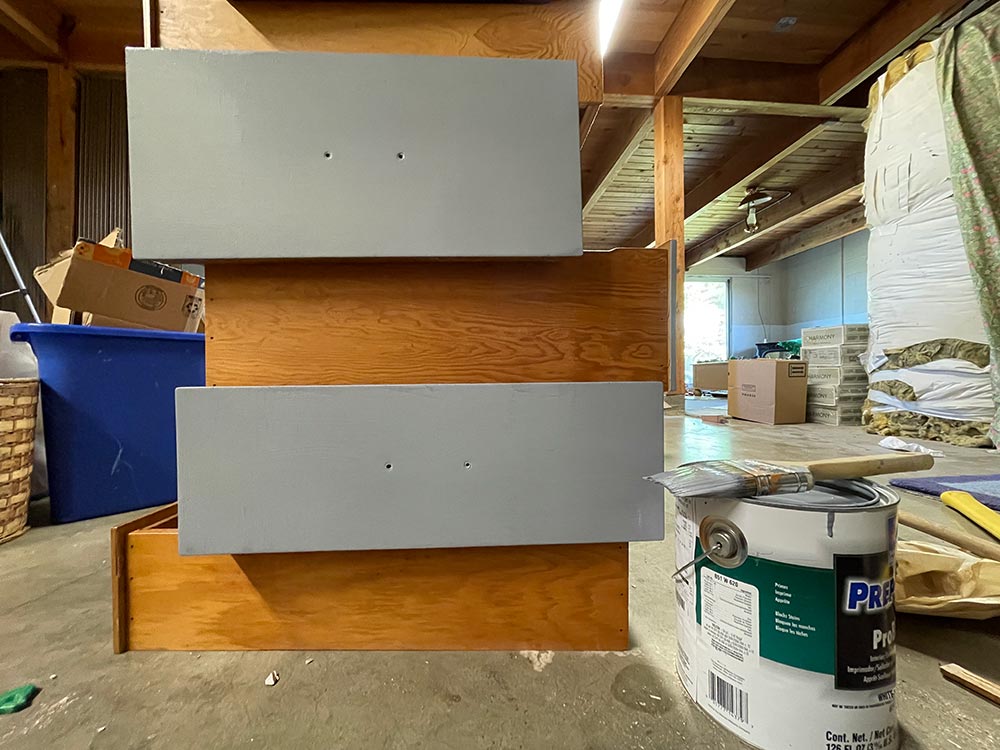
I started by taking apart all the cabinets. I stacked the drawers into a pile. I made a giant tower of drawers all-Jenga-like, including the constant fear of toppling.
Both the primer and the color applied beautifully. There is something truly meditative about painting with a paintbrush. Sure it takes longer, but then I get to listen to more audiobooks. And most importantly, I get to enjoy the entire process.
Lost My Head There – Cabinet Hardware
And here I am again. I’m stuck with my inner thoughts and obsessing over some of the details I probably should have considered at the beginning. Note to self.
Staring at these now stunning cabinets and completely unsure what do do with the handles. I’m lost. What am I going to do?
The three ideas from last week are still on the table: drawer pulls, the existing hardware, or buy new hardware.
I’m fully on the fence so if anyone wants to give me a nudge one direction or like full on tackle me to one side, that’d be great.
Song of the Highest Tower – The Fridge Complication
The fridge is an added and unexpected complication. Now that the cabinets are removed around the oven—I’m really liking them down. I was planning on keeping them up and doing counter to ceiling cabinets alongside the oven, but because of the weird window against the wall, I don’t have a good starting point for them.
I was just going to put the fridge next to the oven, but now they would both be competing as a focal point. The oven would obviously be Sauron’s tower and the fridge Sarumon’s. I don’t make the rules here, Tolkien does.
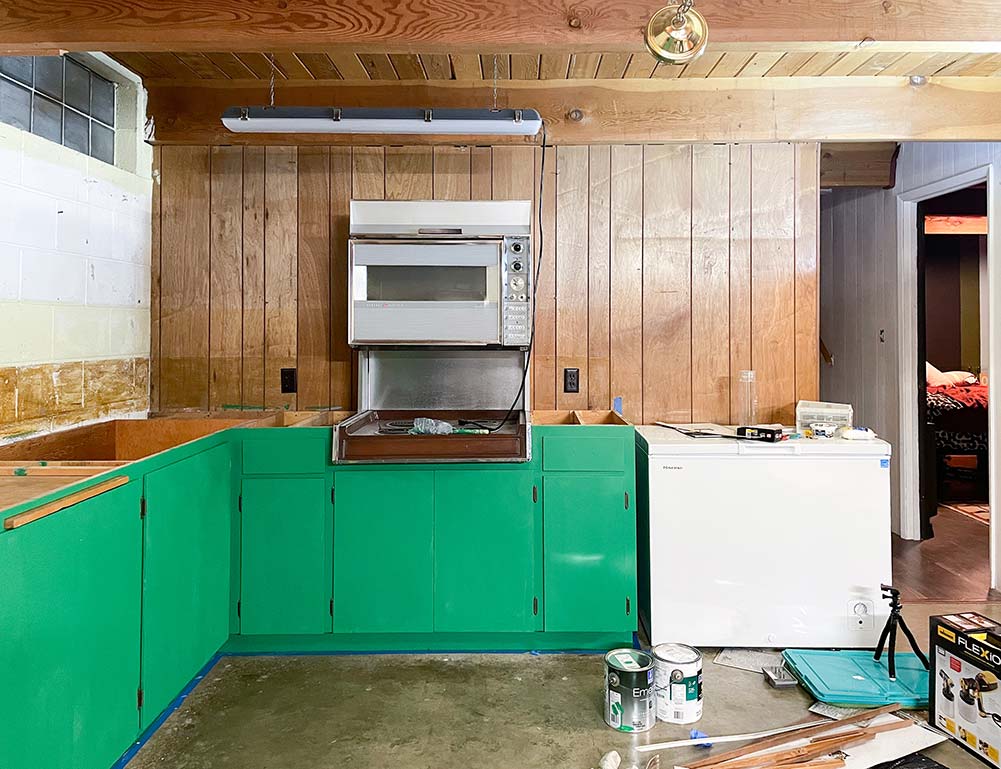
I hate where there are competing elements like that and I don’t really know what to do with it. Even with my planned fridge treatment to help it blend in, I’m worried that it’ll still draw attention. I’ve considered, instead, covering up the window that doesn’t give us a lot of light anyway. I could tile over it, but that’s a big permanent decision for a single design. Like packing a single outfit for a two week vacation. Don’t ask.
I could leave the fridge where it was before, but I’d need to shift the doorframe down. It’d still feel like a bit of an add-on. I’ve even toyed with bringing the pink fridge into the space. I’ll just take some more time to chew on it.
Peaceful Life – Happy Cabinetry
You’ll find me here, staring at this kitchen, trying to make sense of the fridge and cabinet hardware. But I’ve got to say, now I’m looking at this vibrant and modern green cabinetry and I don’t mind at all. I’ll just be lying here in a paint colored jumpsuit, peacefully smiling at what I’ve achieved so far.
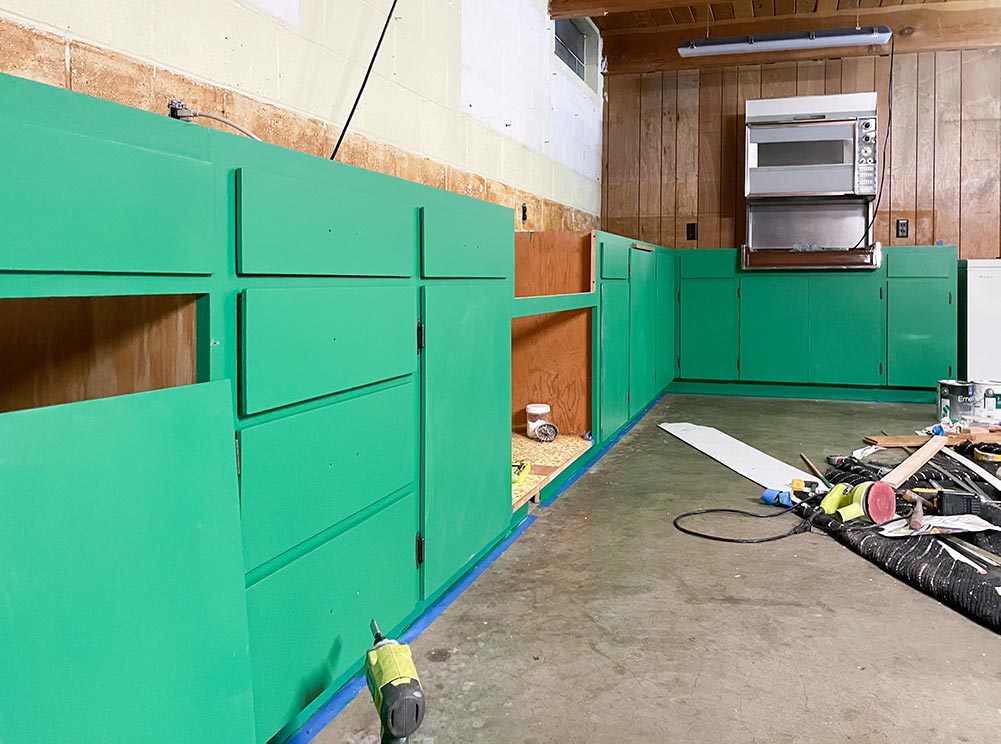
It wouldn’t be a challenge if you didn’t hit some road bumps. The beauty is, you’ll come back next week and I’ll have solved it, so hang in there with me.
Because you’re here doing this with me, here’s my playlist inspired by this week’s blog post. I will do literally everything besides solve the fridge and hardware problems. Anything.
See More From the One Room Challenge Creators
I’ll hope you’ll join me and all the other incredible creators and designers that are part of the One Room Challenge!


Ariene C. Bethea | At Home With Ashley | Banyan Bridges | Bari J. Ackerman | Brit Arnesen
Brownstone Boys| Cass Makes Home | Dominique Gebru | Gray Space Interiors| Haneen’s Haven
Home Ec. | Nile Johnson Design | Pennies for a fortune | Prepford Wife | Rachel Moriarty Interiors
Sachi Lord | Susan Hill Interior Design | This Is Simplicite | Tiffany DeLangie | Victoria Lee Jones
Media BH&G | TM ORC


Your blog posts are So cleverly written!
Amazing! And such a witty writer 🙂
Hmmm, seems like the cabinet knob/pull decision could be mulled over a few more episodes of Bridgerton, ha! Not sure if I’m any help – but it’s looking good so far, good luck 🙂
Now I know why my Sherwin Williams guy won’t sell me outdoor paint in the vibrant orange I want! I won’t mention where I heard it, but I might need to wink nudge my SW guy….or find a new one!
I just picked up some lovely gold/brass colored cabinet pulls from IKEA on Monday and I think they’d be a beautiful application here! 😍
You have a lot of cabinet and counter space. Perhaps an under counter fridge and under counter freezer?