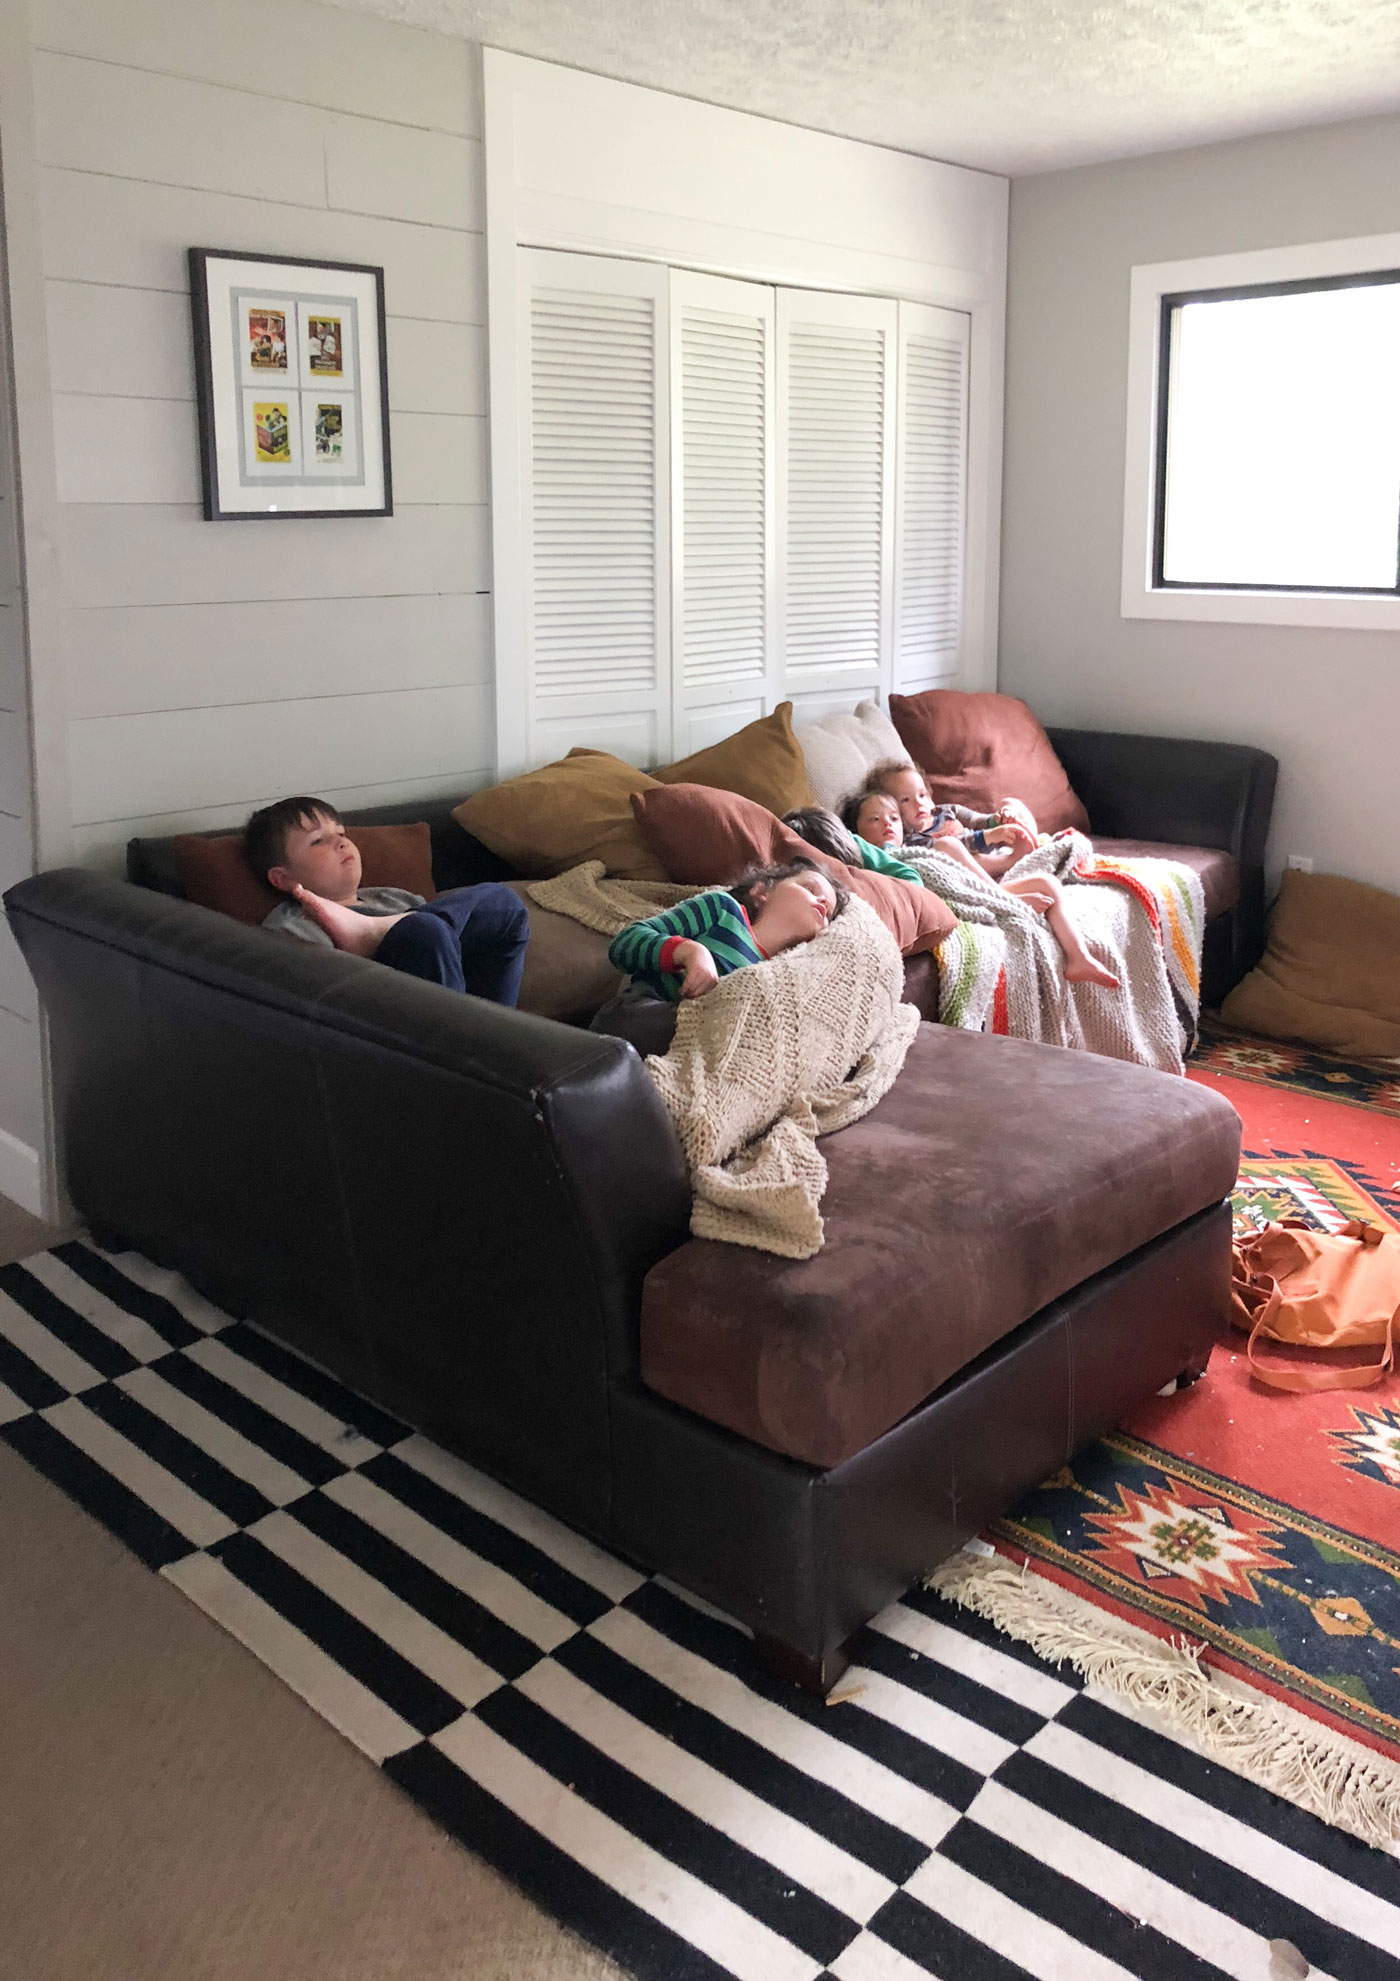
I bought our first replacement couch on Craigslist (only because of the peer pressure to buy after I checked it out <face palm>) and it was HORRIBLE. We affectionately refer to that one as our Kabletown Couch, referencing the couches on 30 Rock used as interrogation/torture devices. It was that bad. And now it lives in my bedroom. Where my piles of clothes don’t complain about how miserable that couch is.
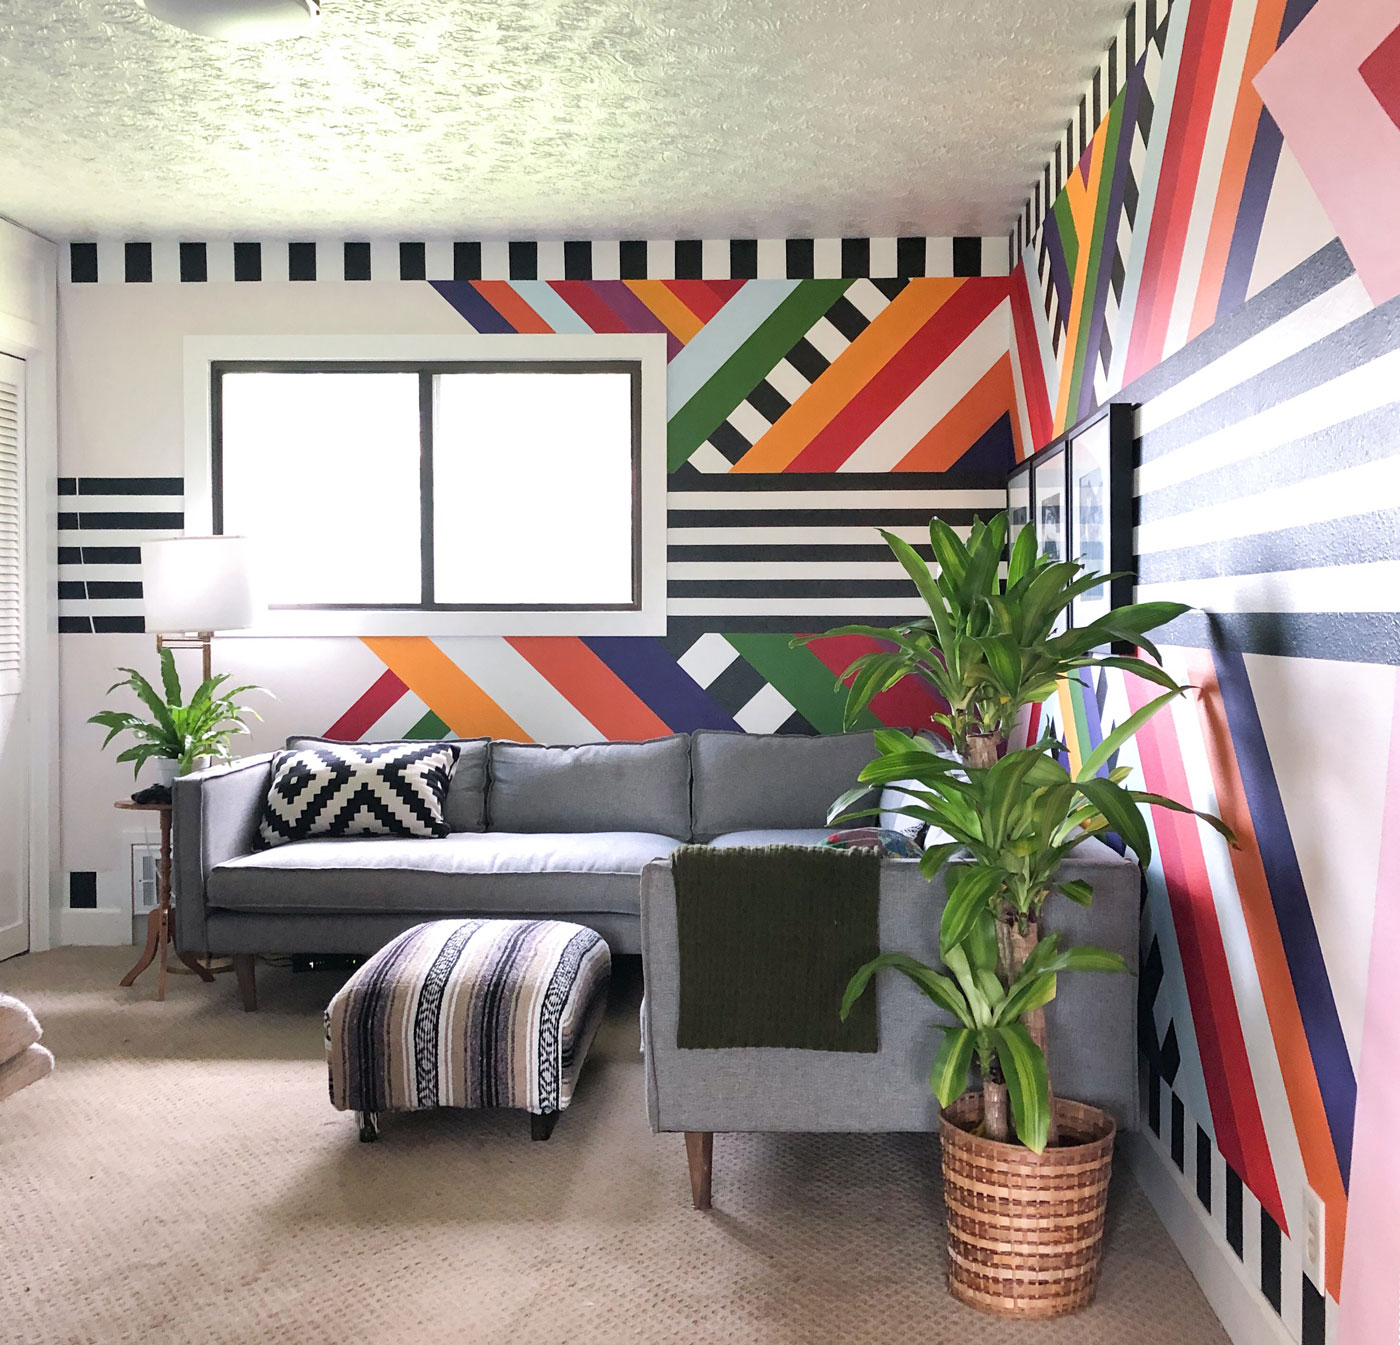
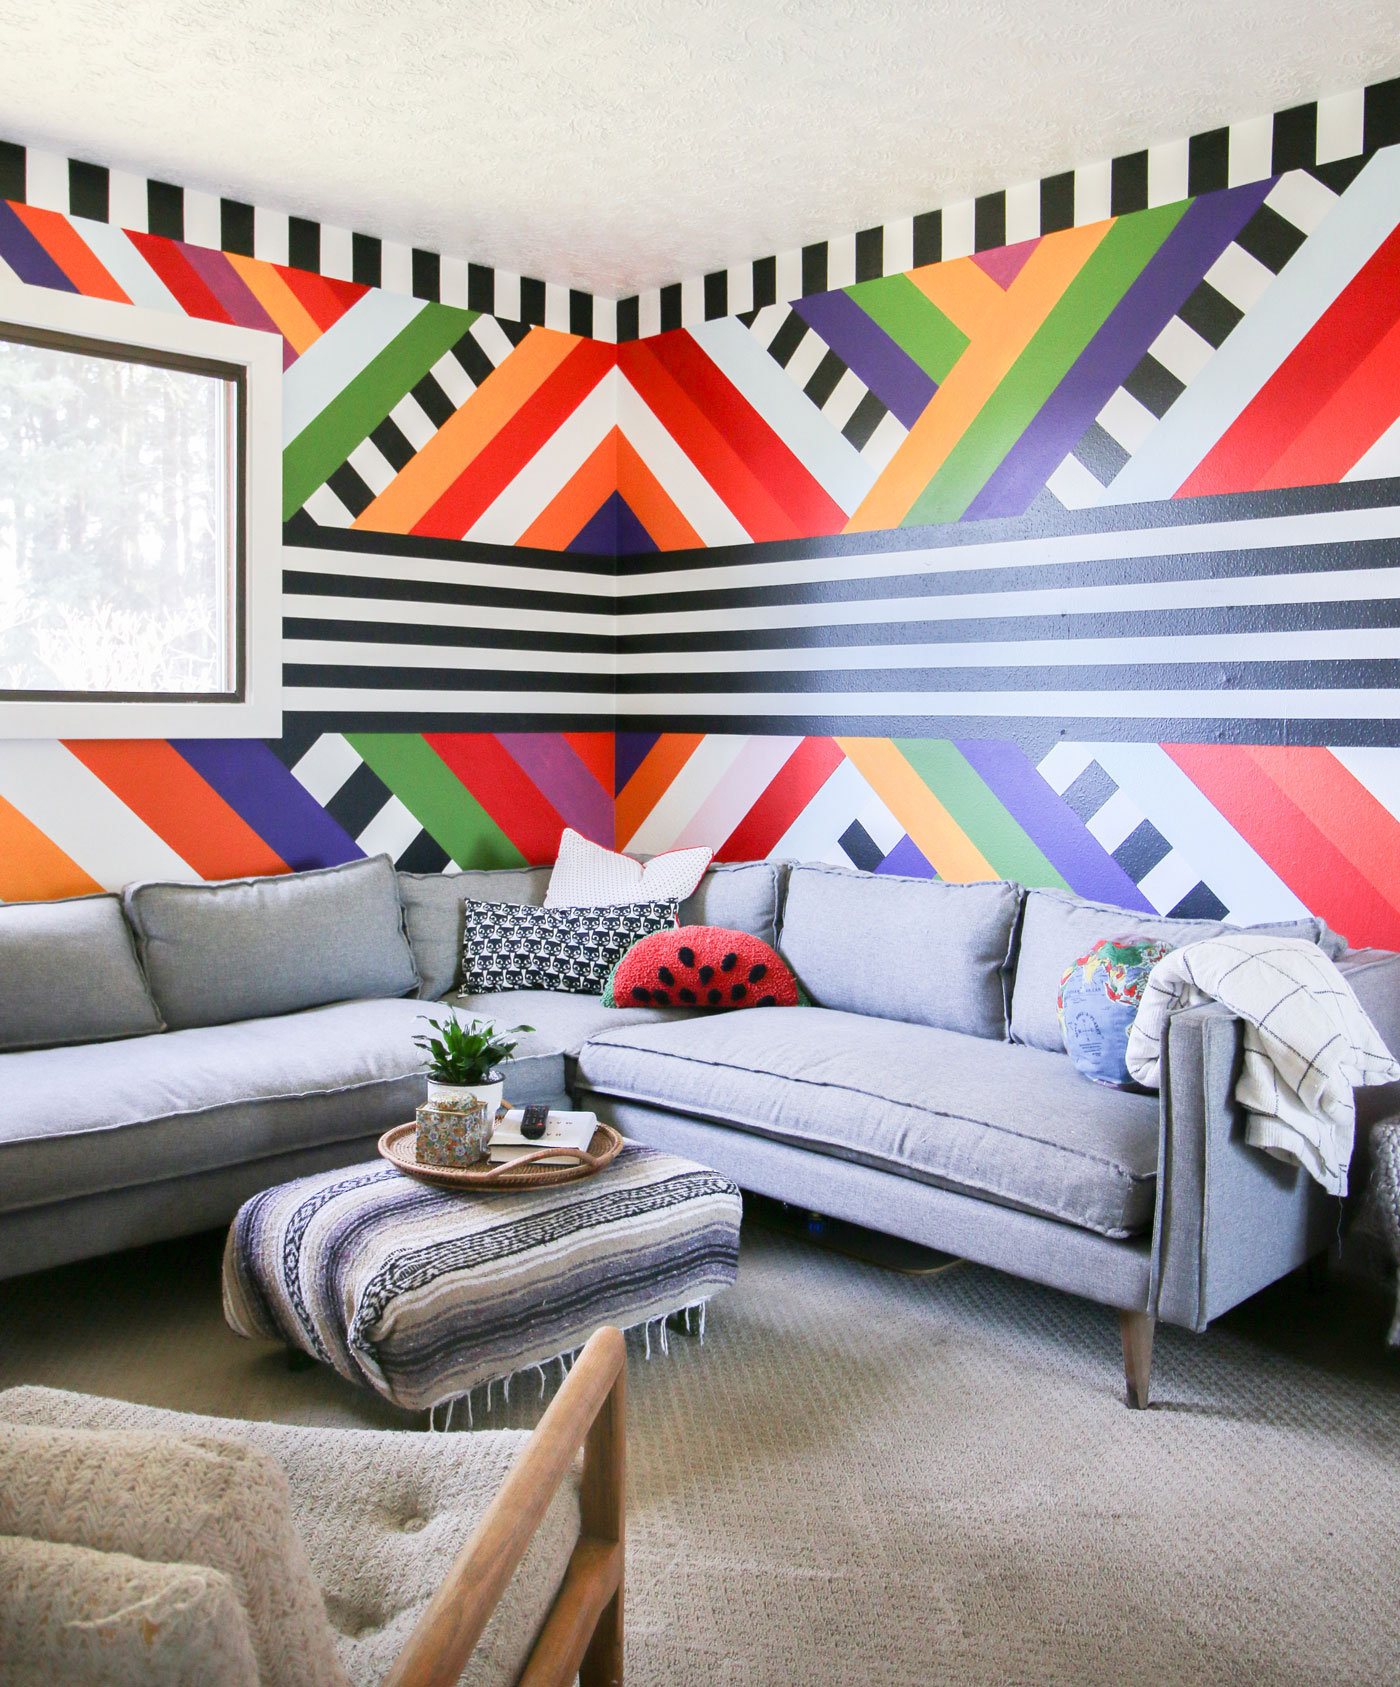
I got a wild hare and thought that maybe we could be one of those people who buy new beautiful couches online. Don’t worry, it didn’t stick. After I almost pulled the trigger on a spontaneous purchase, I ran by our local Salvation Army. And there I found the perfect neutral Joybird sectional, for $500. Magic. Spoiler alert: I bought it. It lives in our media room. It is medium comfortable. I give it a medium review. It works, it was inexpensive. But definitely doesn’t make me want to live on it and watch full seasons of shows… which honestly might be a good thing.
Alllllright. The real reason we’re here–
How to Paint a Large-Scale Mural
Plan Like Your Mural Depends On It
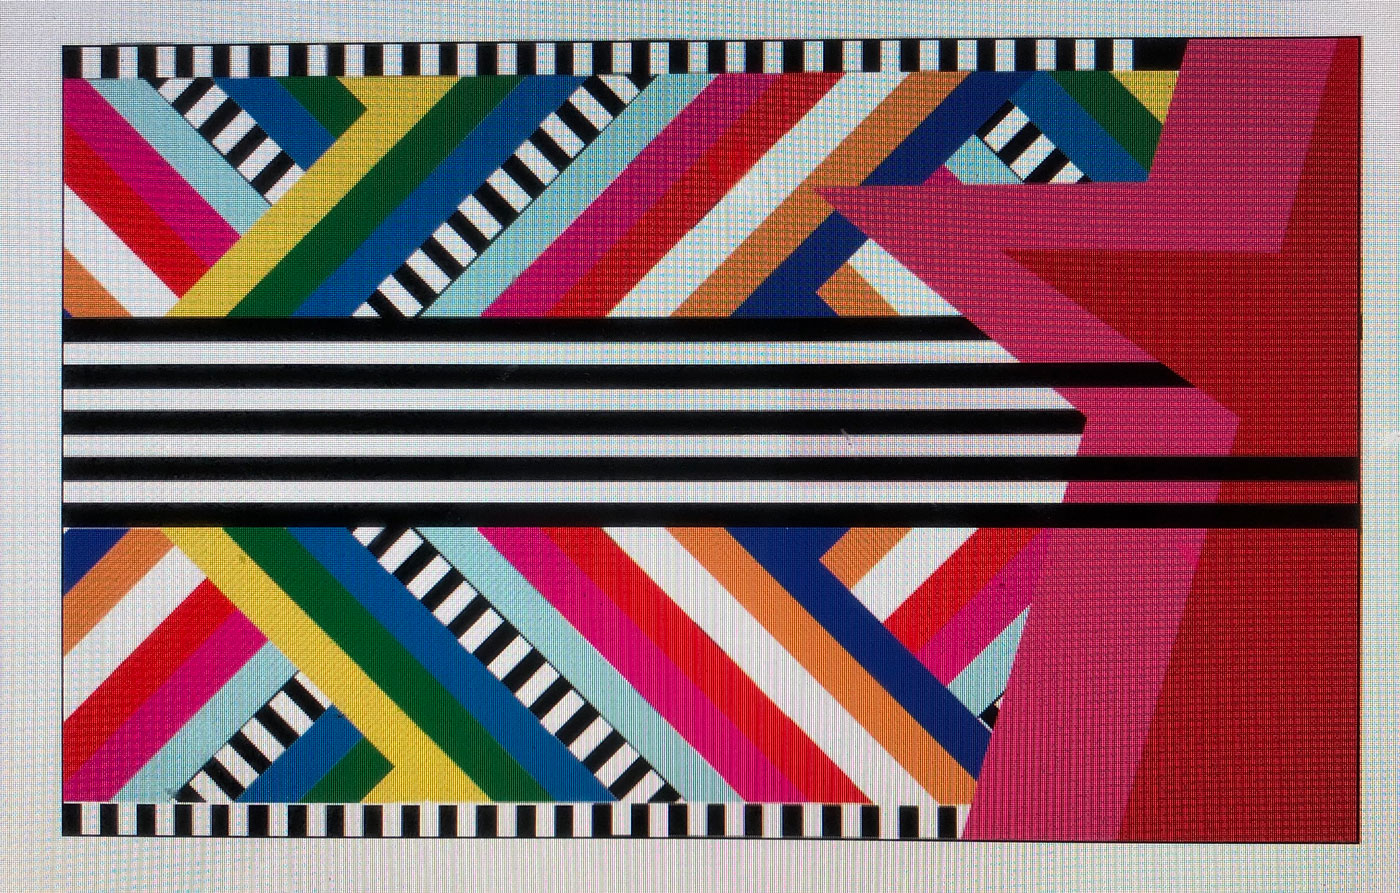
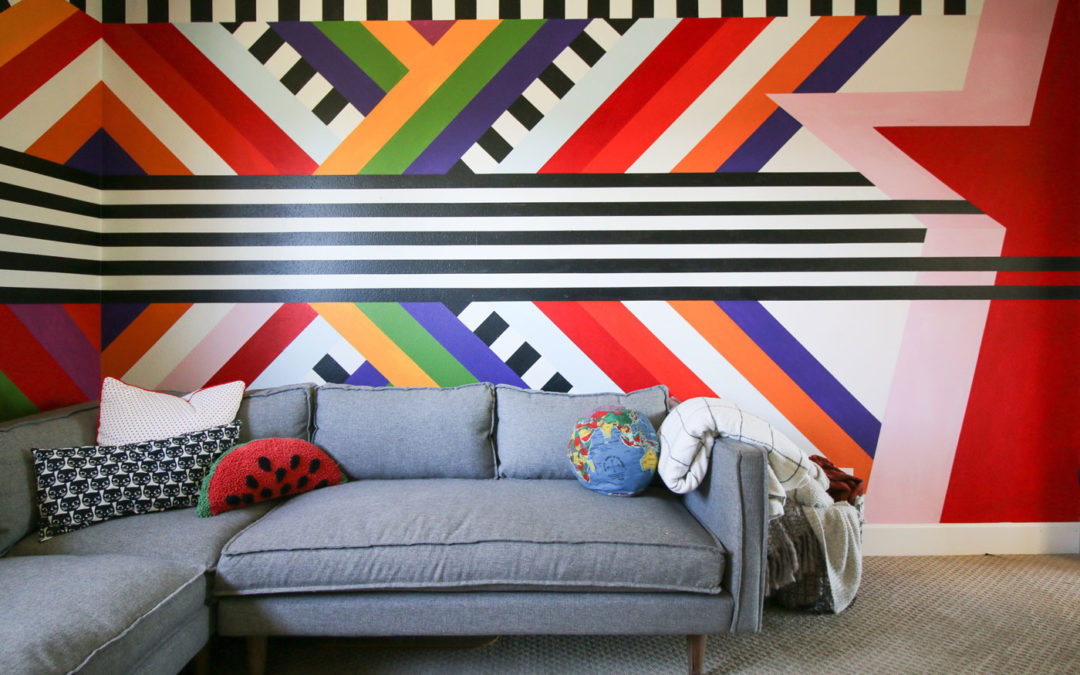
Firstly, you’ve gotta come up with your design. Some murals are simple enough that you can paint as you go, but something this complex needs some definite planning. I went to Pinterest for some inspiration (and Steven Universe for the stars!), spent an hour in illustrator and finally came up with this pattern. I then printed it out without color so I could play around with my paint samples and figure out the order of the colors.
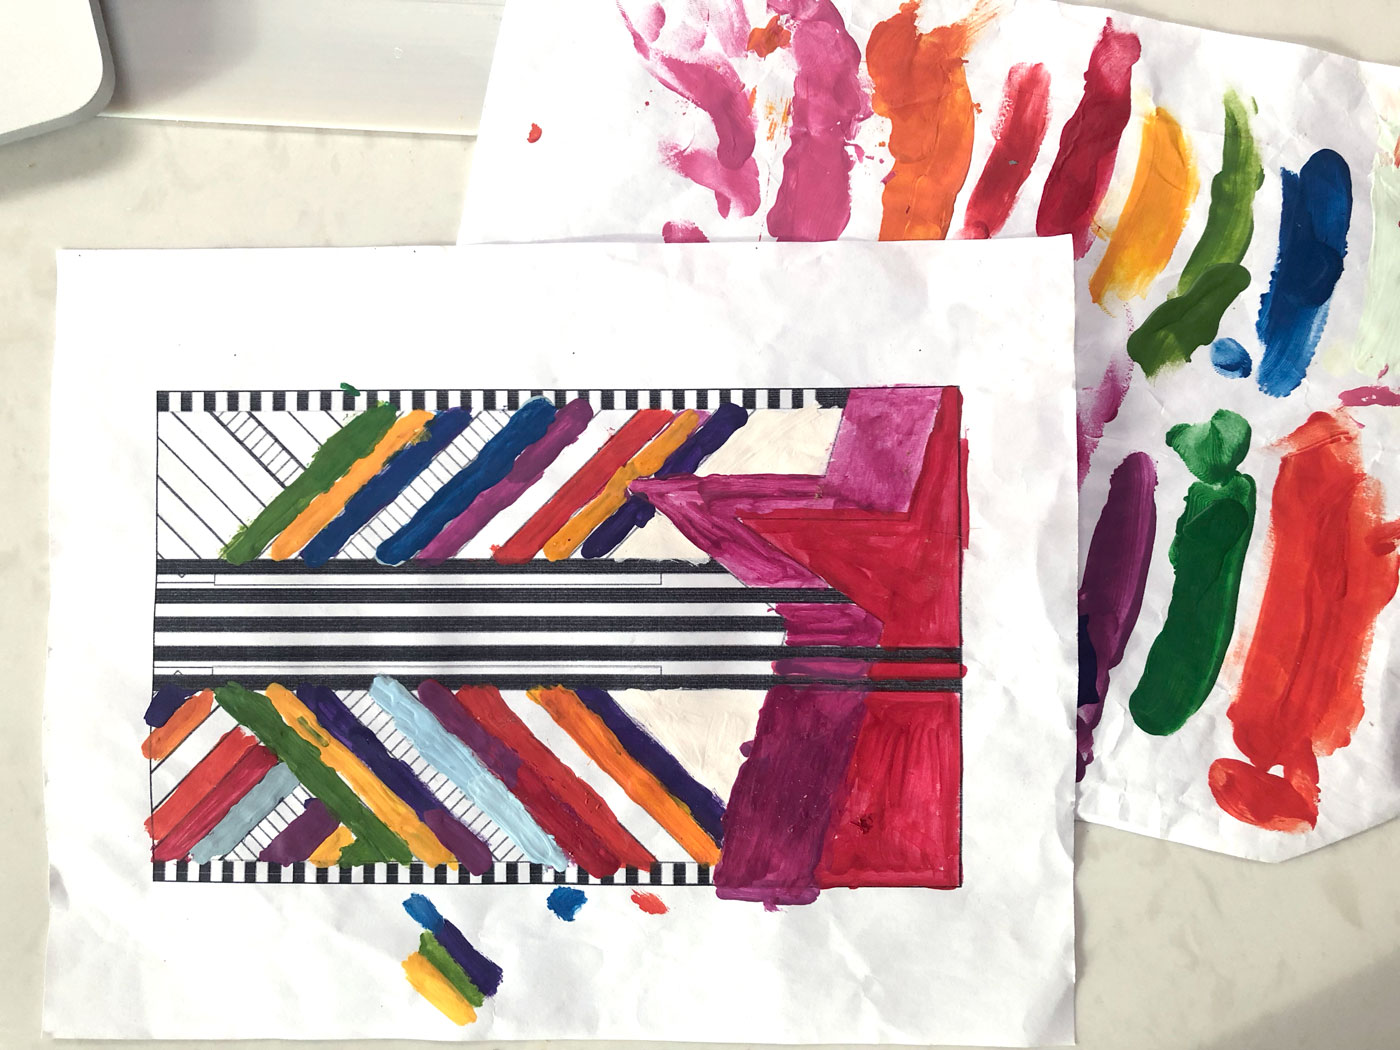
When I planned it out, I didn’t get specific with the sizing. I figured that much I could wing. So I made the horizontal stripes the width of my level and the wider stripes the width of a random board I had laying around. They just felt right. So I started by penciling on all the black and white stripes first. Then I used a speed square to determine my 45 degree angles, and penciled in all of those. You get the idea. Pencil that mural on. This may take a while. I think it took an hour or two for me!
Paint, Tape, Paint, Repeat
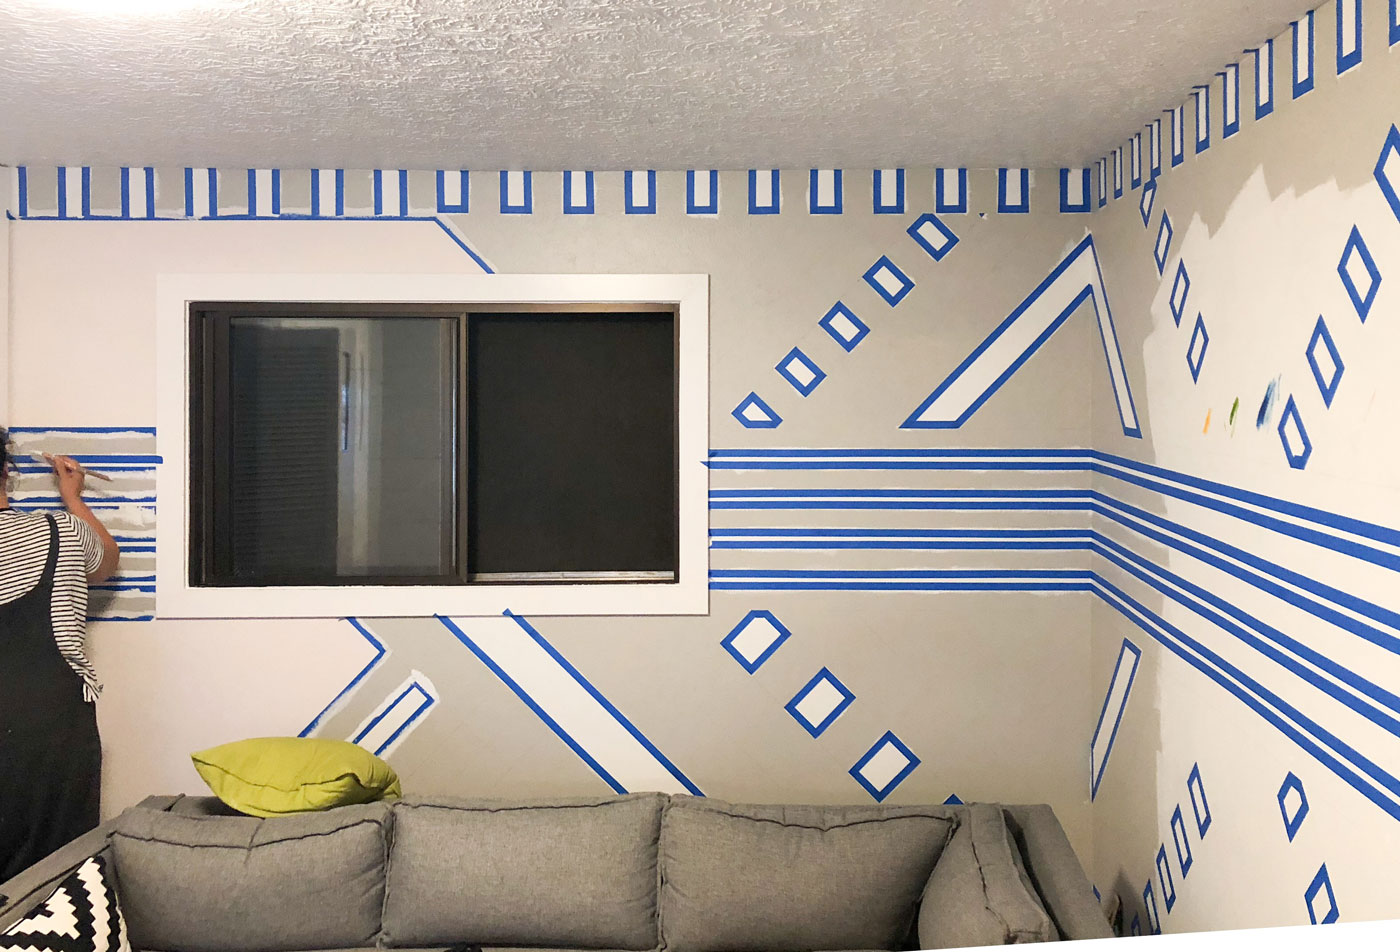
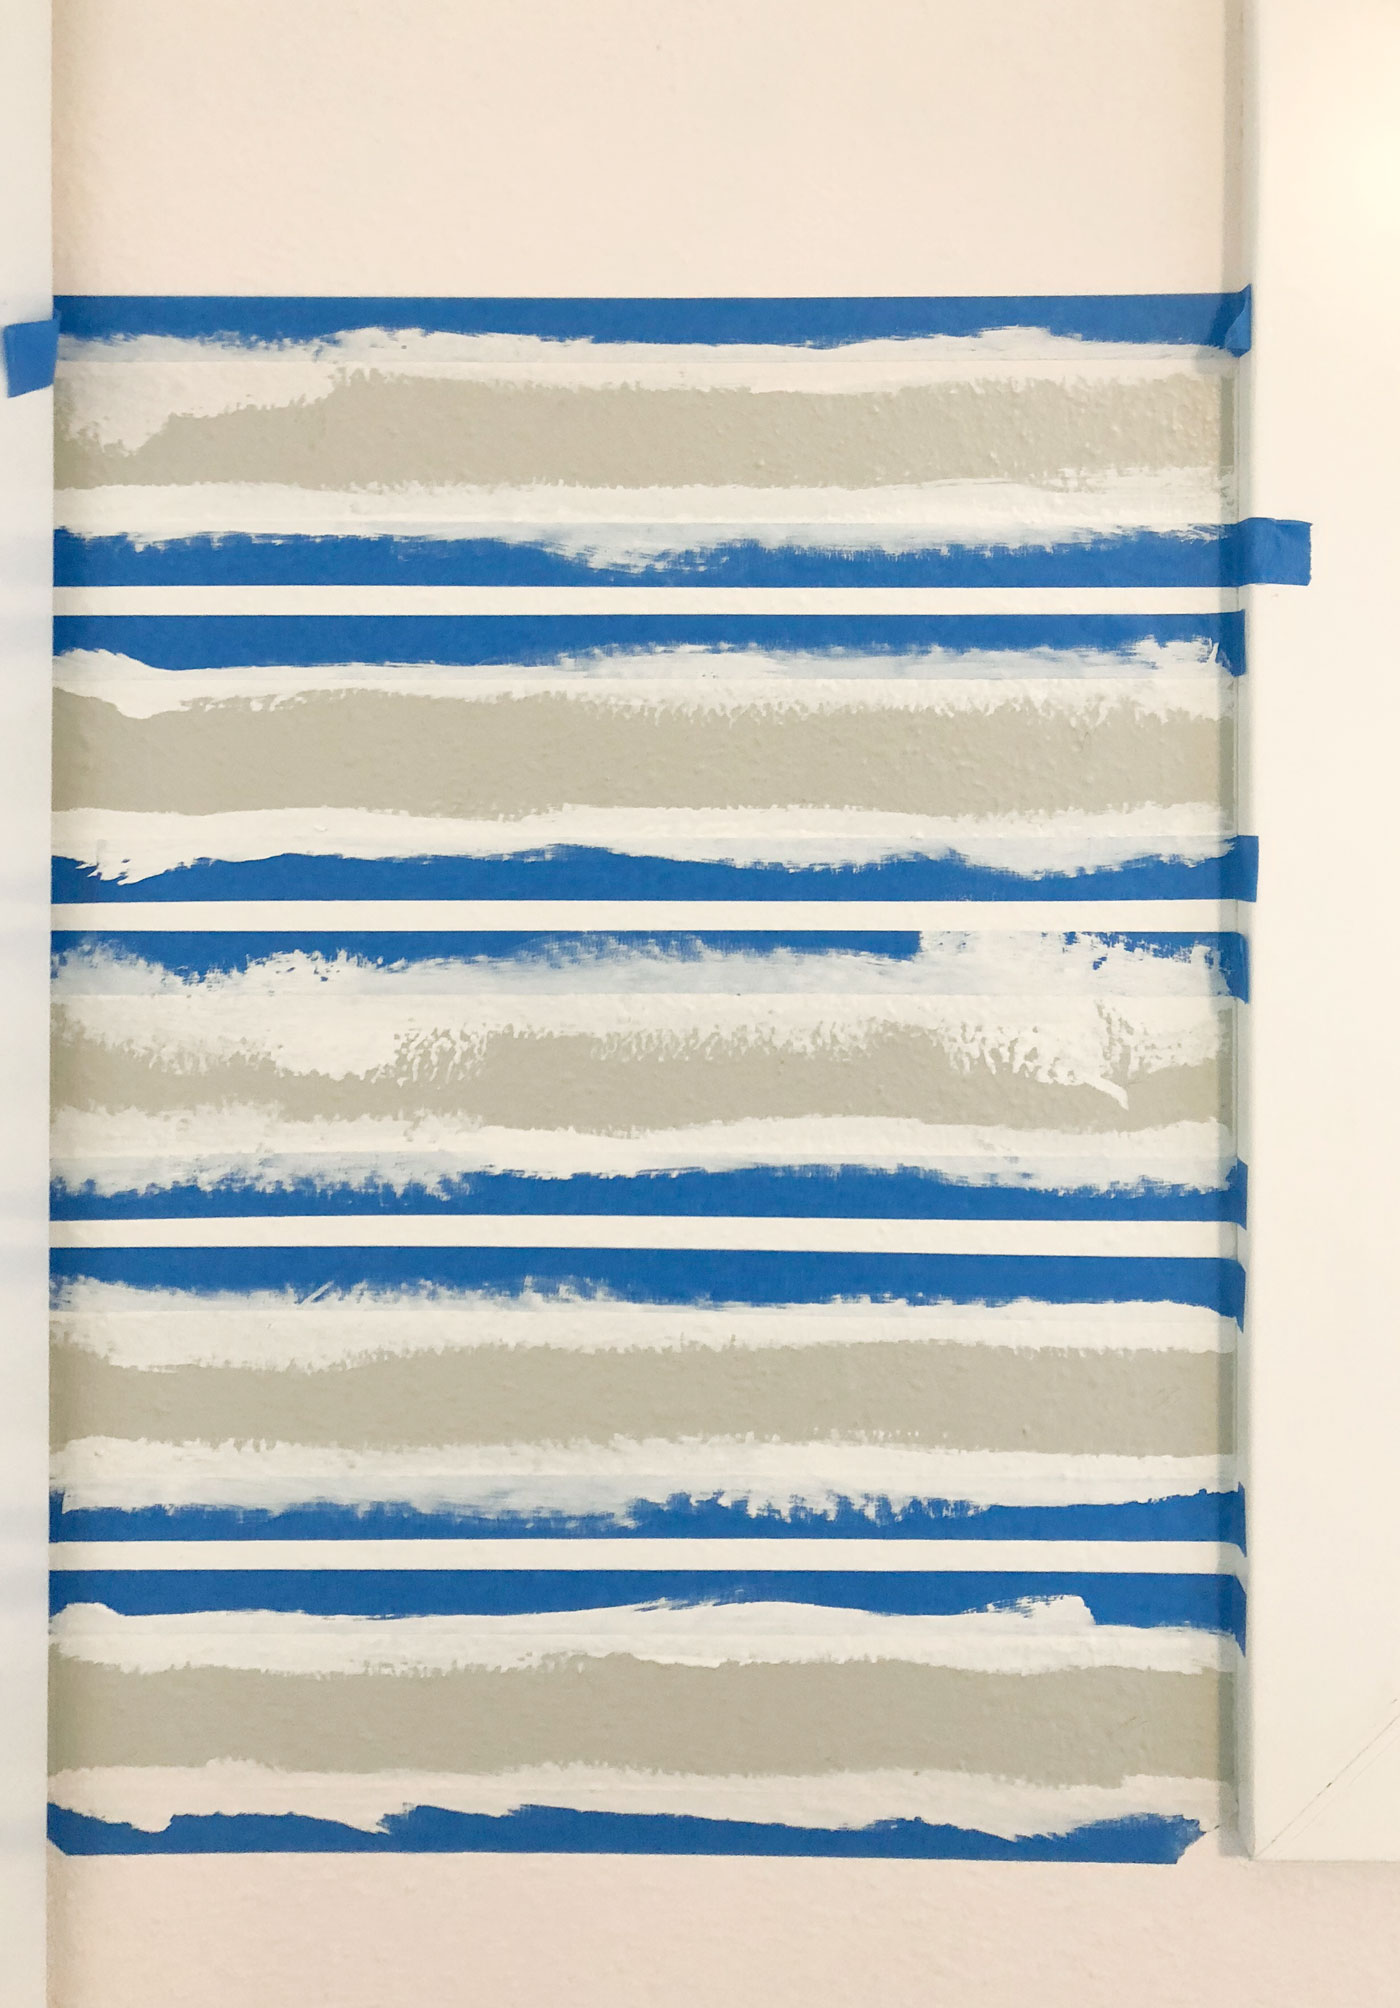
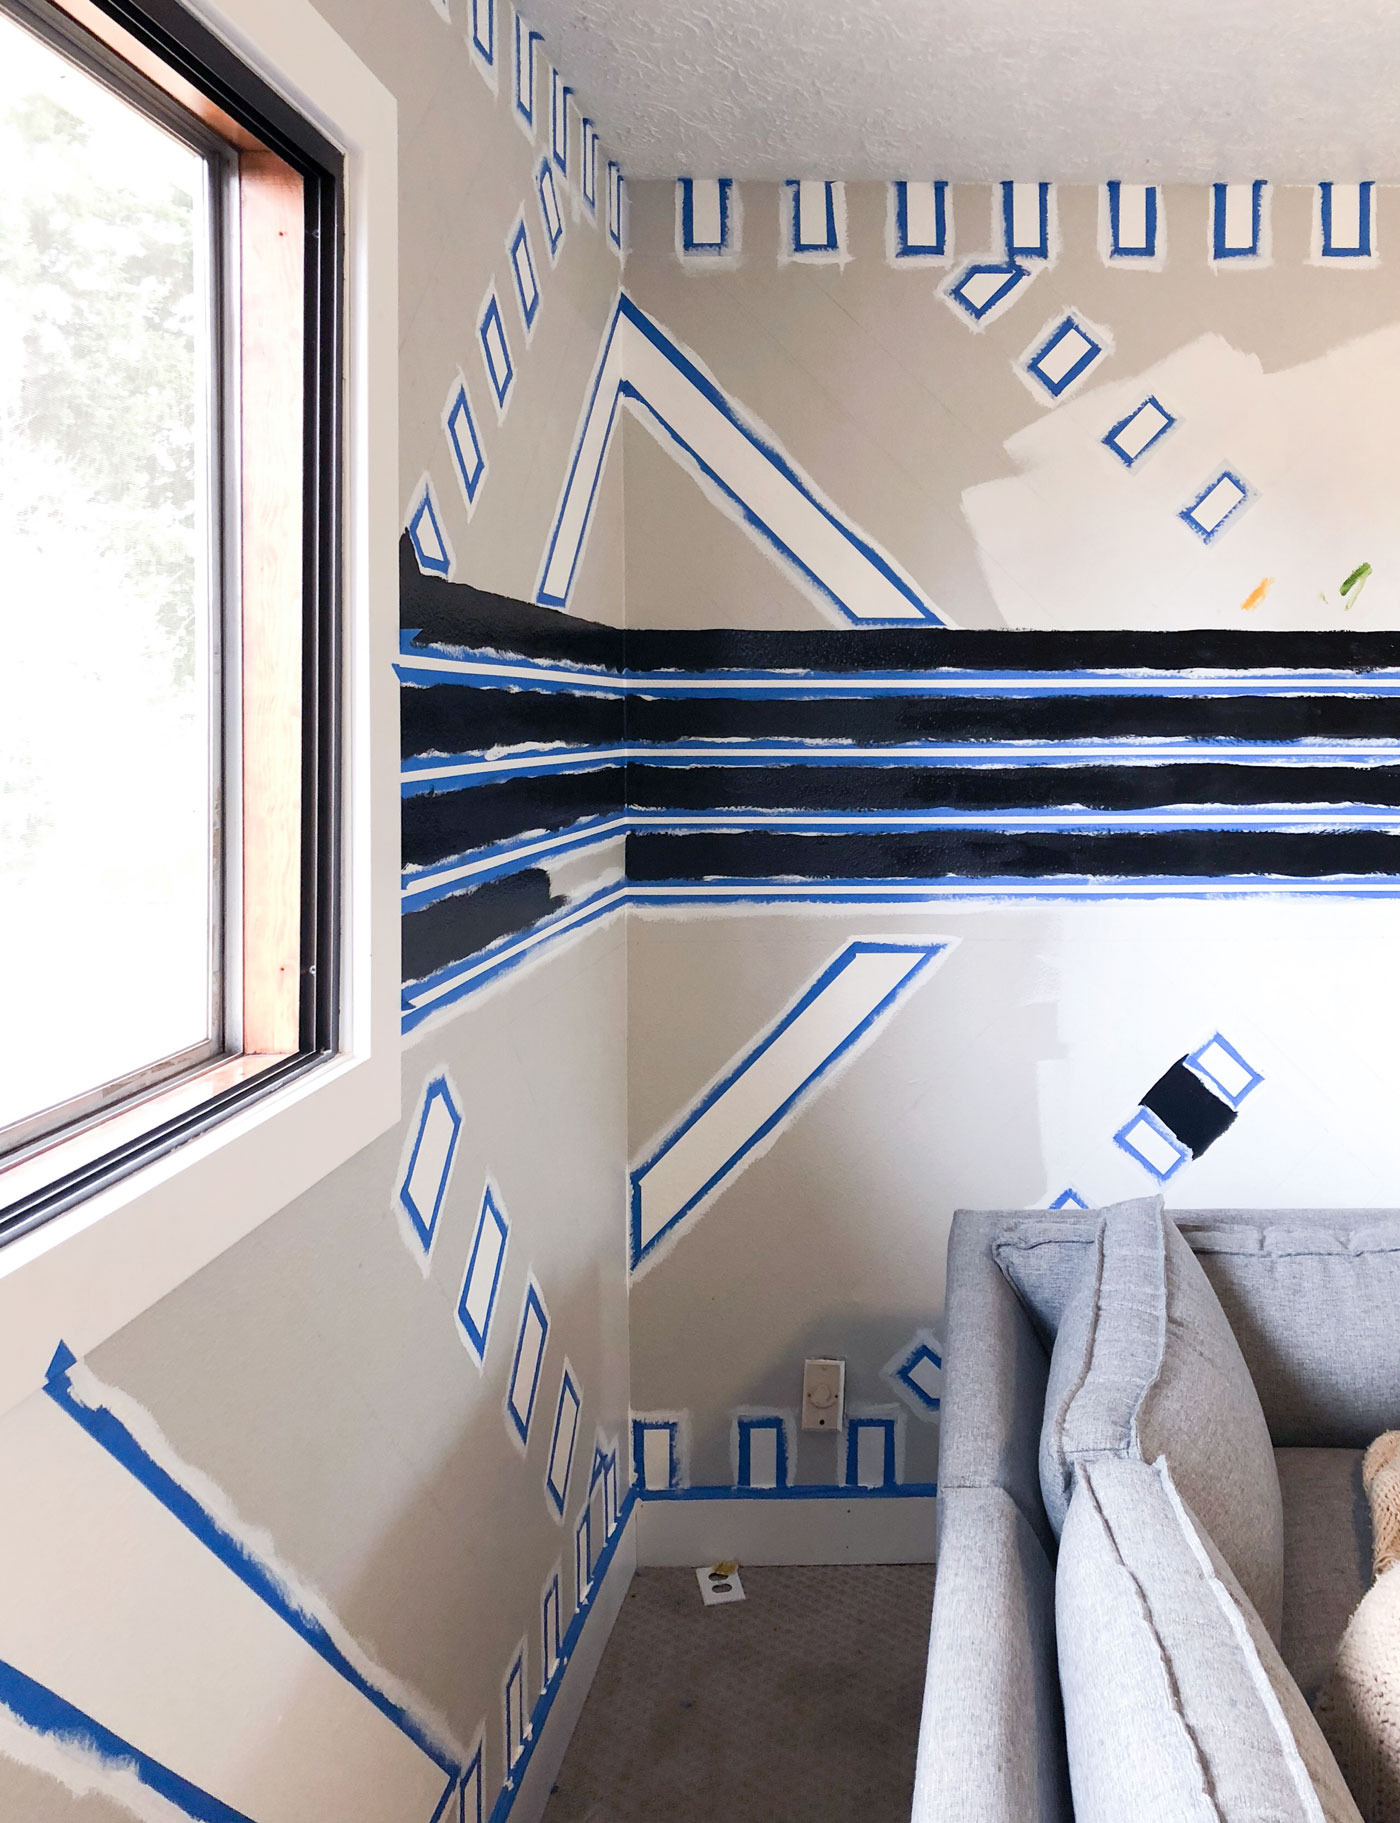
And now we begin painting! Make sure you read this post about the basics of a straight line first. From here you have to think about your layers. I do the lighter colors first (so much easier to cover than the darker ones). So I started by painting on all of the white, taping over all the white, and painting the edges of the tape with white. Wahoo! Time to paint the other colors! From here go to the other lighter colors. Continue the process of painting, taping over, then painting over the edges. It’s an annoying endless cycle you will never complete. When I say never, what I really mean is that you will finish, it’s just going to take 70 hours to do so.
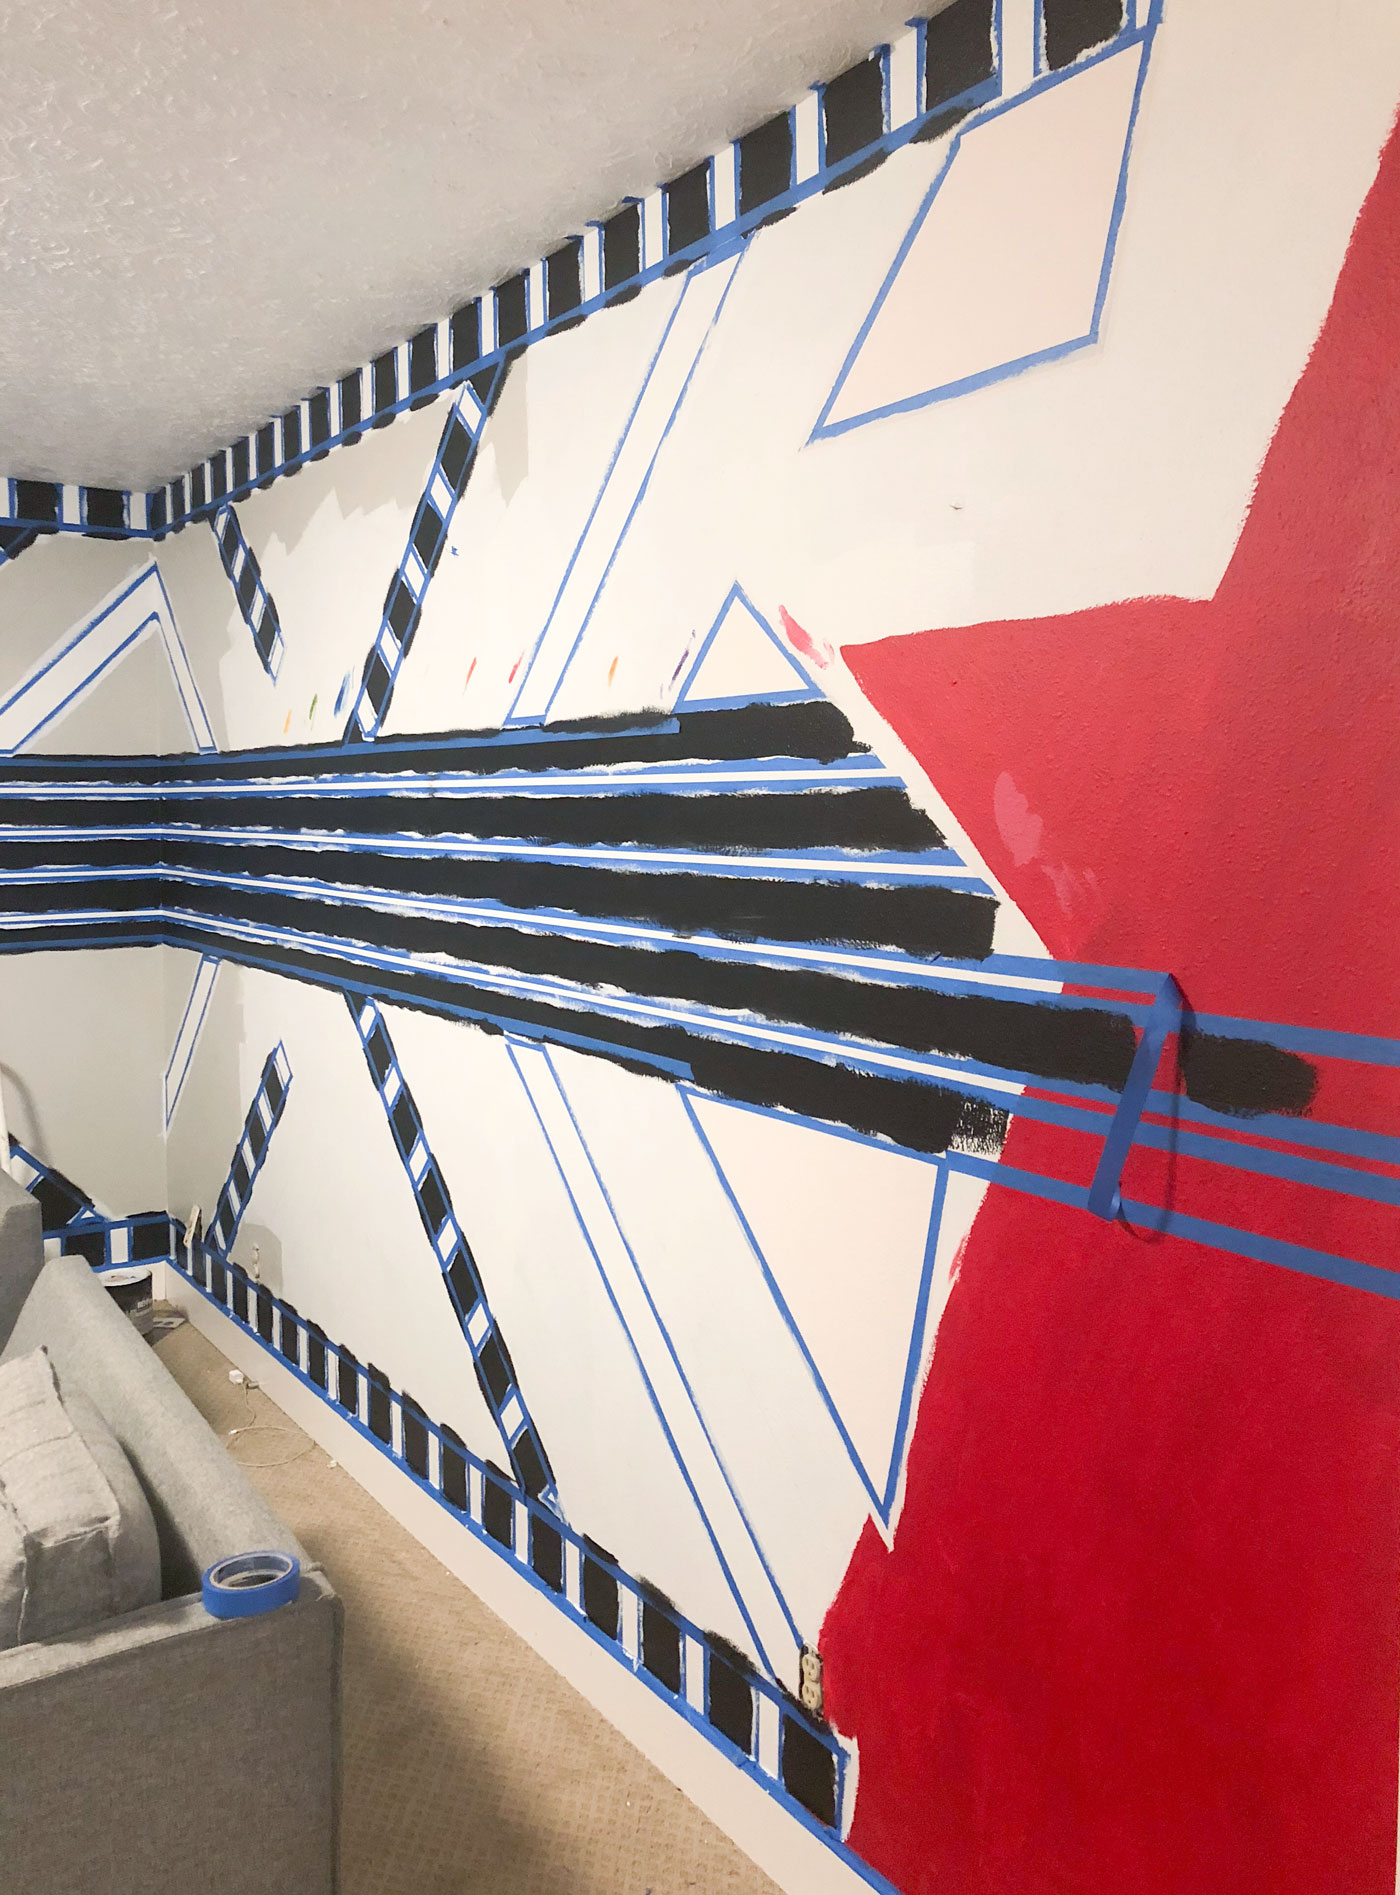
Do Not Give In to the Anxiety
Around hour 50 I hit the desperate stage of regret. Why did I do this? What was I thinking? This is way too busy! I hate it all!! At this stage (which happens 75% of the way through every project), the only thing to do is continue. You have to carry on and finish the vision. Swap out a color if necessary (I sure did!), but carry on! Things always look better once the tape comes off.
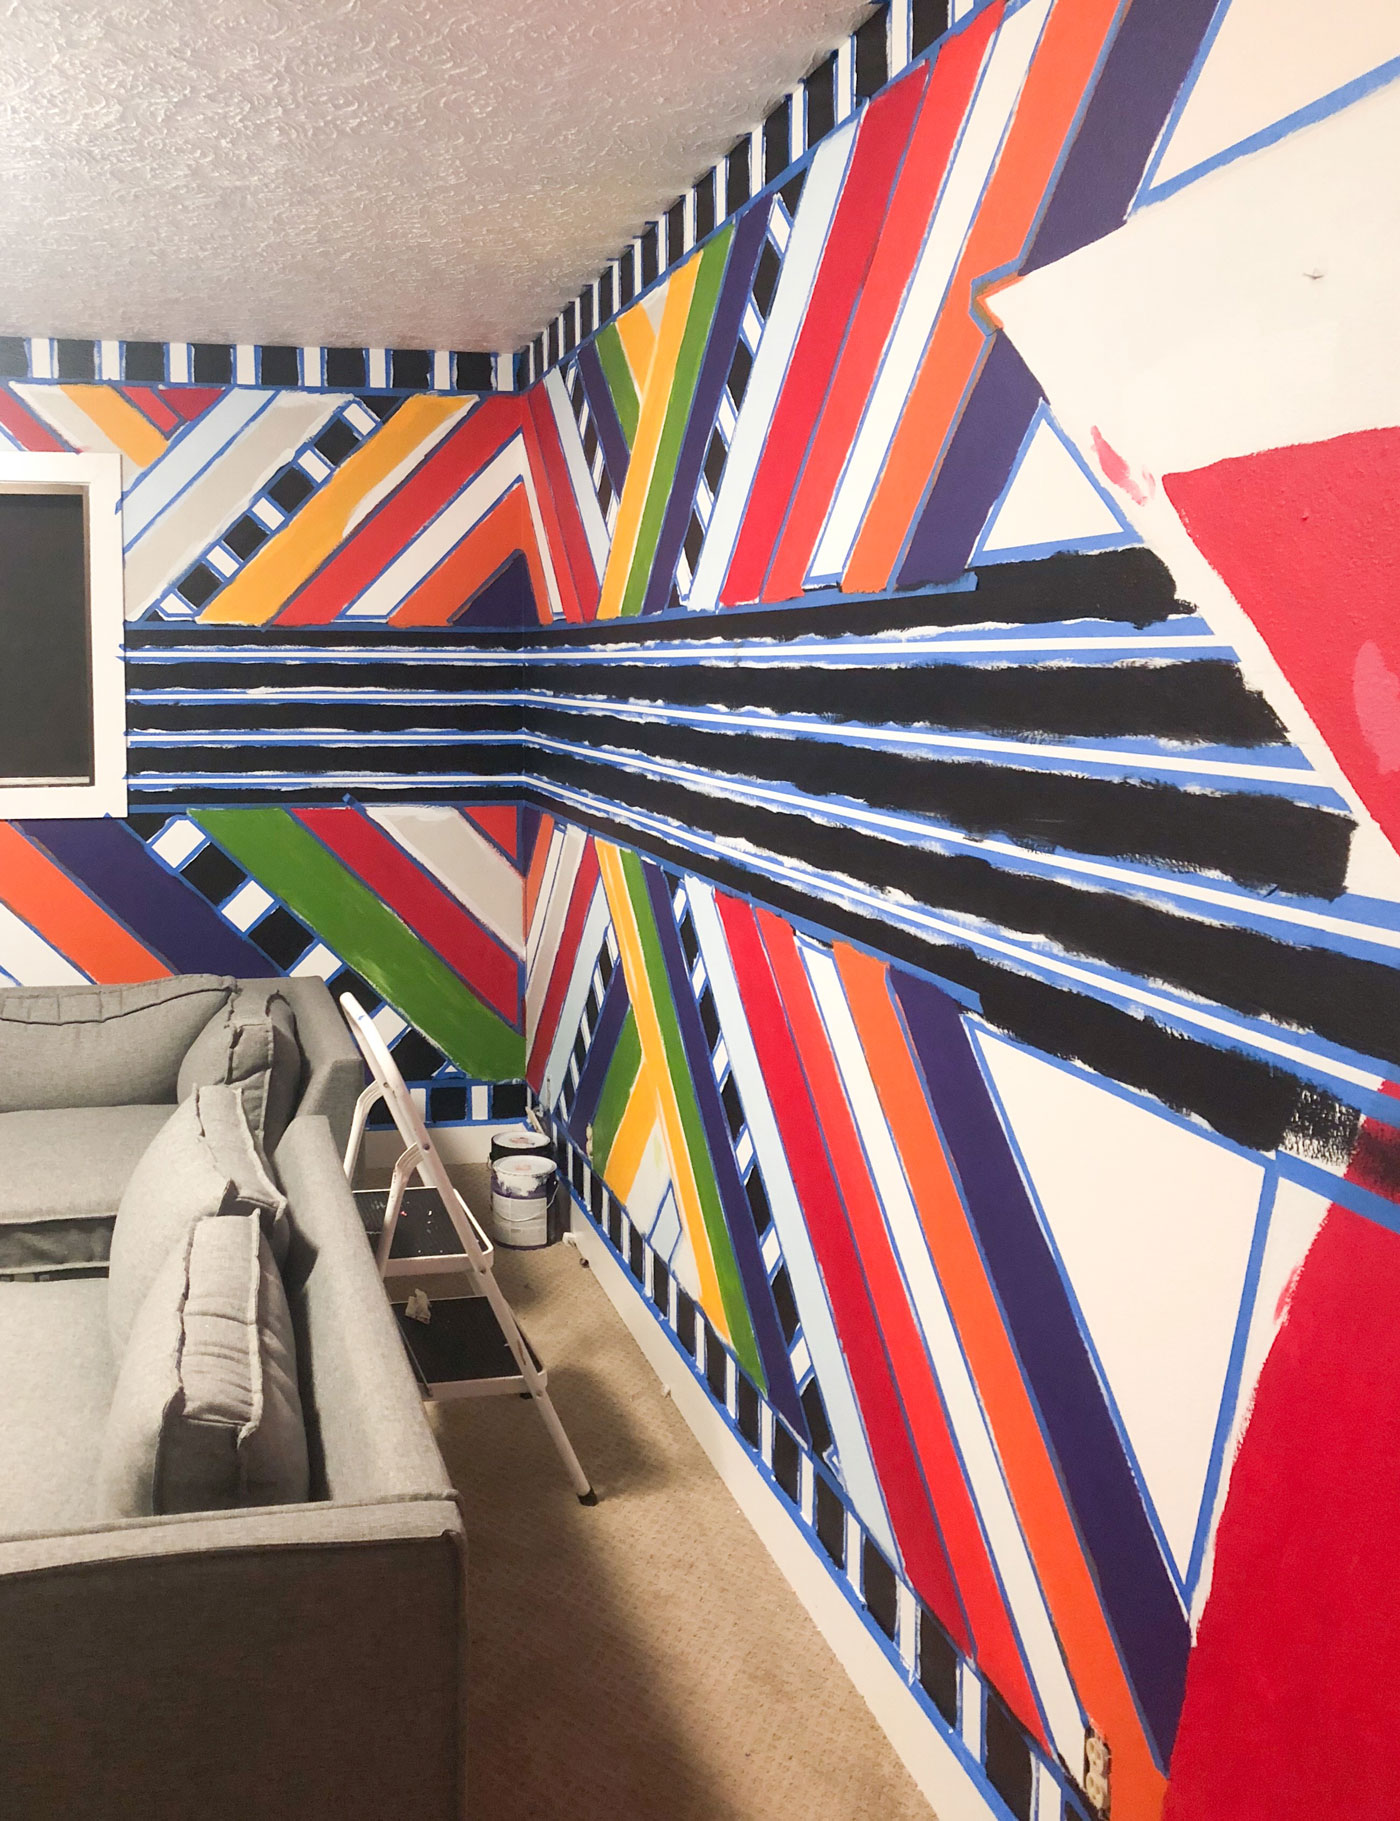
Peel That Tape off, You Beautiful Land Mermaid, You
Once I experienced the magic of taking off all the tape, I had to whip out the baby brush. No matter how careful you are with the paint-tape-paint method, if you have a textured wall you’re going to have leakage. Especially if you are going through 5 rolls of tape in the process. It took about 2 hours of teeny, tiny touch-ups to get this guys looking clean. Be patient. It’s these last two hours that take your mural from looking “meh” to “maaavelous”. DO IT. Do not skip this step!
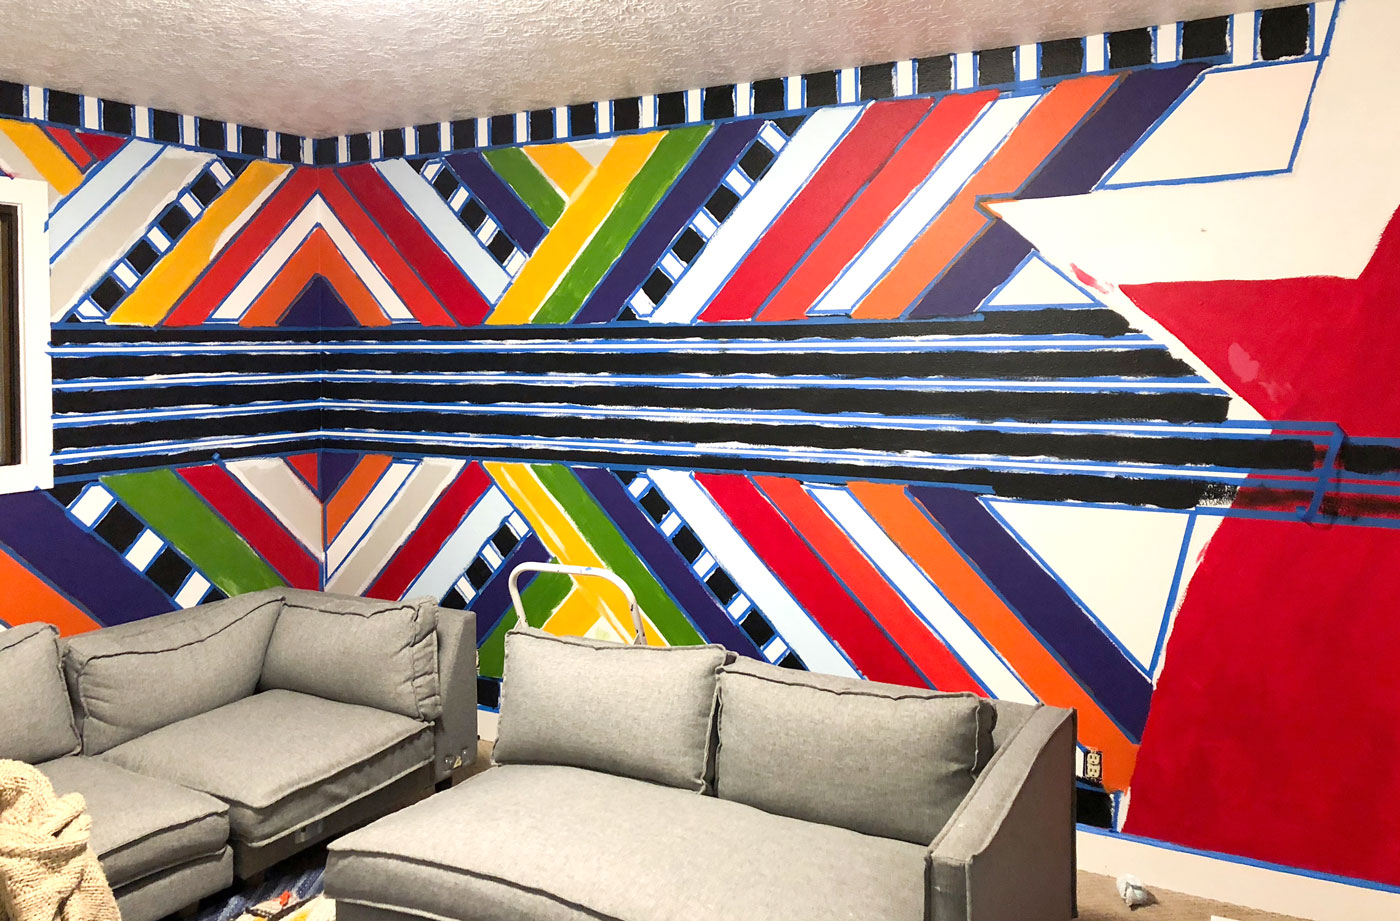
After this, you’re good to go. Be happy. Enjoy the funky, bold room you created! And for heaven’s sake, balance out all that color with a neutral couch!!
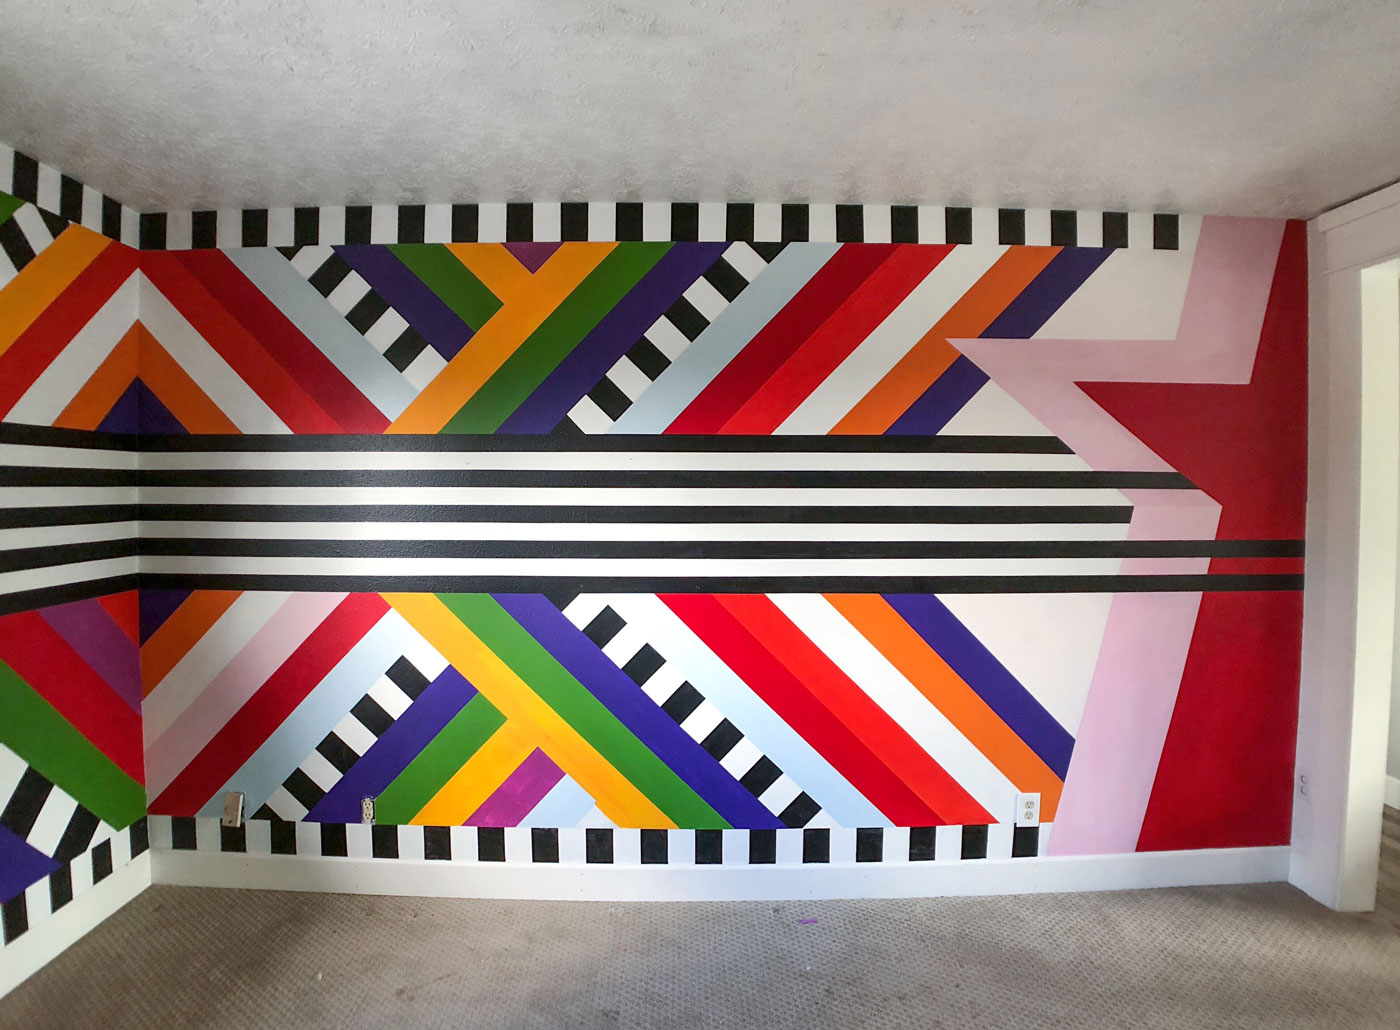


So awesome! 🌟
Hi, it’s Toni, a painter from Arizona. You did an absolutely beautiful job!! Look how great it looks with just a little patience! Congratulations!
Looks great! What type of paint did you use?
It’s a great source of knowledge; I think it will be helpful for lot of people who are looking for learning more about bold stripes and killer accent walls . Thank you very much for sharing this article.
Wow, the pattern definitely makes a statement. Well done!
I really appreciate you for publishing this blog here about bold stripes and killer accent walls; it’s really a helpful and very useful for us. This is really appreciated that you have presented this data over here, I love all the information shared. Great article!
I love that rug in your second picture! Where did you get it?
This post is a few years old, so I hope by now that you’ve gotten an actually comfortable couch? I understood the draw for an aesthetically pleasing couch but… uh, it’s your media room, you should have a couch you can binge on.
If you’re looking for inspiration for some daring new home decor, look no further than this article on the Banyan Bridges blog. The author gives great examples of how to make a space more interesting and fashionable through the use of bold stripes and accent walls. The photos given are great examples of how these design elements can be used in various settings, and the post as a whole is well written. In sum, this is a great guide for anyone considering a change in their home’s aesthetic.