

This is part of a Christmas tree roundup of some ridiculously talented designers as part of #myhomestylebloghop. Links to them below!
Confession. I have to get this off my chest to begin. I am not someone who does themed Christmas trees. I am 100% that person who has shoeboxes of odds and ends ornaments they’ve collected their whole life. I put up random kid craft projects. I make ornaments out of random objects the pique my interest. That’s usually what my tree looks like.
But even with that, your tree always has to have some base decorations. I realized, I don’t love about 60% of the ornaments that we’ve accumulated over the years. Heavy, fragile, glittery bulbs. Ornate metal dangling thingies. Not to mention shreds of fabric that have been going on our family trees since the year I was born.
I received an invite from Stephanie (Casa Watkins Living) to join the My Home Style Christmas Tree blog hop. I wasn’t super interested until Stephanie said, “I’d love to see what a Banyan Bridges’ Christmas tree would look like.”
Dear reader, I was intrigued as well. Challenge accepted.
The Quest
The most tragic thing about what I’m going to share with you today is that I’m not doing it on a live tree. But folks, this is not the time yet to get my tree. And a massive tree it will be. They will sing its praises for generations.
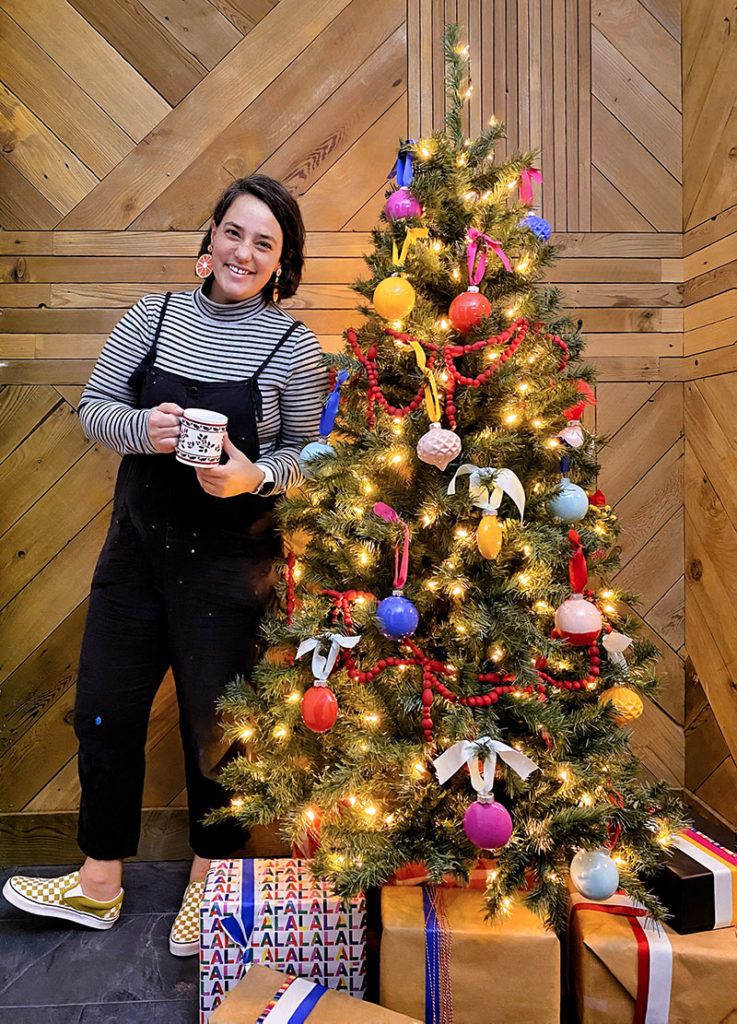
But for now, I got this cute little tree from Home Depot.
Now, the hardest part about this was to balance the Banyan Bridges with Christmas. If you went too hard with stripes and colors, you’d lose sight of the feeling of Christmas. Countless Christmas movies have taught me that without that essential ingredient Santa’s sleigh doesn’t function and Disney produces too many Santa Clause movies. You don’t want to overrun something that’s magical by nature.
I set out to create very specific items for my tree:
- Red wood garland from City Home
- Paint shaking ornaments
- Ribbon ornament ties
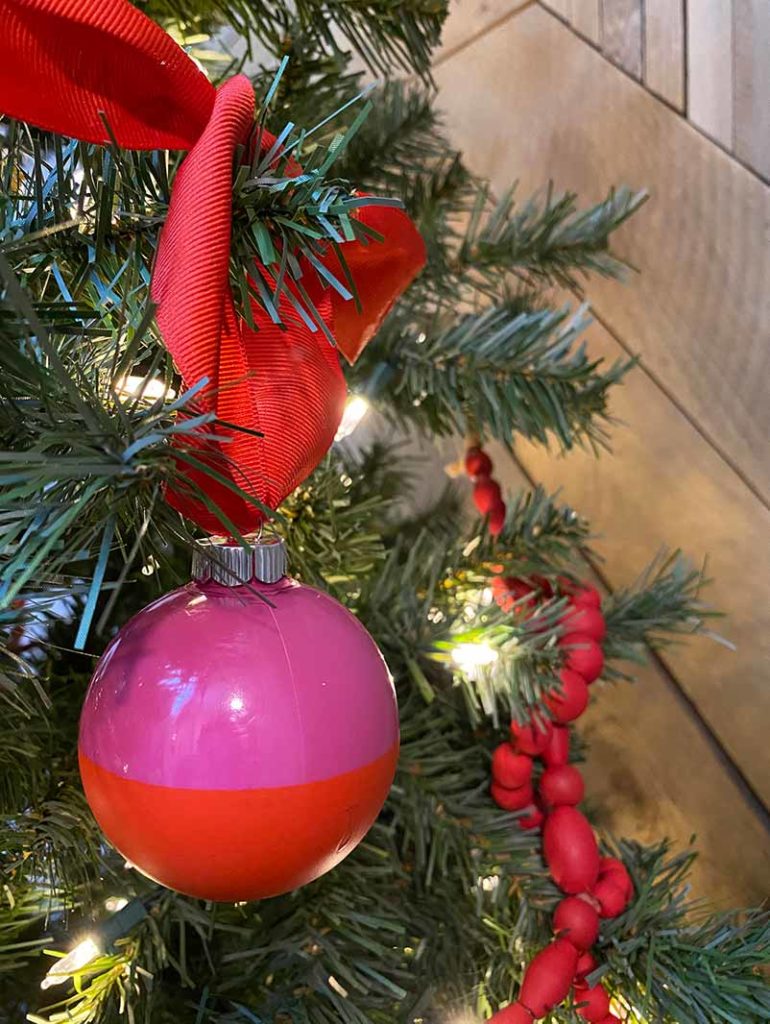
Red Wood Garland
It’s not a secret that I love City Home. I find the most amazing stuff in their Vancouver and Portland stores. But coming across this treasure was a particular treat. I couldn’t find a link on their site but did find it elsewhere. If you are local though, go in and check out their Christmas decor supply!
I really love red on Christmas trees. Obvi. It contrasts so incredibly well and it feels warm, cozy. Plus, this was made from wood. I love ornaments that feel sturdy and that will last many years to come. The wood has this lovely scalloped design with multiple layers. This definitely made it look more sophisticated, but still gave me the punch of color I needed without resorting to holly.
Ribbon Ornament Ties
The most important part of making these ornaments was figuring out the right palet
te. It seems ridiculous to say this, but there are many colors that are just not going to pop or play with the dark green tree. Even with lots of lights on the tree, colors will get shrouded in the darkness of the branches.
I went to JoAnn’s and I started with going through ribbons. I went around and picked up different colors that sang to me. Definitely heard choirs of angels as I picked out different matches. I played with them a bit in front of me to make sure they would work together as if they were stripes in a mural.
I cut the ribbons into 14 inch strips that I could add to my ornaments.

Paint Shaking Ornaments
Now that I had my colors picked out for the ribbon, I went through my sample pots of paint from previous murals. If you don’t have bright colors around, as always, I recommend getting swatches and sample pots to get the job done. I paired them up with the ribbons to make sure we had some complementary and contrasting options.
Aubry of Hello Maypole is the OG Paint shaking ornament maestro, and she has a great video tutorial here. The process is pretty straightforward.
- Buy empty, transparent plastic ornaments
- Put about a teaspoon of paint in the ornament
- Place a finger over the ornament hanging opening
- Shake vigorously to the beat of “Don’t Stop ‘Til You Get Enough”
- Rotate the ornament so the paint spreads evenly
- Apply more paint if it doesn’t cover the full surface and repeat
- Remove finger from opening
- Do not lick finger – wash finger
- Leave to dry
- Return the hanging fixture to the ornament
I tied the ribbons onto the ornaments and voila! I was ready to decorate!
Apply Decorations Generously
The most important step is to have your Nat King Cole Christmas music ready and to place it on loud enough that your neighbors know that you don’t really care about when it’s okay to start doing Christmas. Yes, Jim. I’m talking about you.
I placed the garland on the tree first as a base and then added the ornaments. After some adjustment—there it was. A beautiful, bold, bursting with magic little Christmas tree.
Charlie Brown, eat your heart out.


Monday:
Casa Watkins Living // Up To Date Interiors // Taryn Whiteaker Designs // Cherished Bliss // Thou Swell // Cassie Bustamante
Tuesday:
The DIY Mommy // PMQ for Two // Jeweled Interiors // Kate Decorates // Banyan Bridges // Making Home Base
Wednesday:
Monica Wants It // House of Hipsters // Cuckoo 4 Design // Delineate Your Dwelling // Lolly Lane // Mango Manor
Thursday:
Two Twenty One // Lemon Thistle // Iris Nacole // Au Petite Salon // Setting for Four // Whispering Pines Homestead
Friday:
The Handmade Home // Our Fifth House // Tag & Tibby // Daly Digs // House Homemade // Love Your Abode

Hahahaha Charlie Brown is shaking in his boots! Adore your tree and it’s fabulous as I had expected!! Gorgeous and in true Banyan Bridges style. Colorful and popping personality Christmas tree.
Love the ornaments and the ribbons are such a great idea.
So glad you joined this year. I love your Banyan Bridges tree!!
I love the way you do a tree Racheal!
I need that garland ASAP
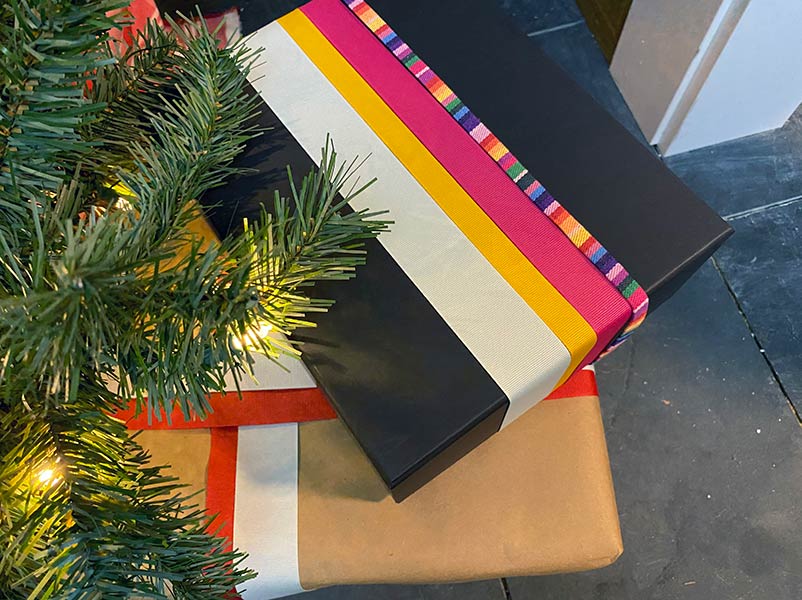
love this fun tree! it’s so you- the gifts are perfect, too!
Please hire Garrett as your permanent ghost writer and let us sing his praises forever! Of course, I love your vibrantly creative spirit and insane passion for colors, Rachael, and your hubby’s sassy style and punchy turn of phrase is the perfect complement. You make a fabulous team.
This is so beautiful!! I love your colorful tree!!
This is such a fun Christmas tree! I love it!
You know we love this! It’s absolutely fabulous. I love that I found you in one week through two separate things! SO funny. ;} Love everything you do!