
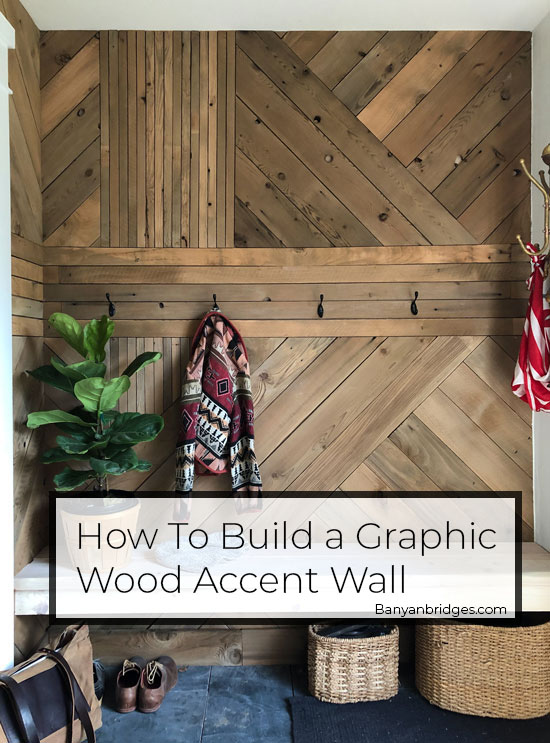
Ok friends, wood accent wall time. I will start by saying that I am no expert. If you’ve seen me working in my sweatpants and messy bun, this is no surprise. But what I will tell you is my method for creating these walls.
Materials
- Wood. Lots of it.
- 1/4 in Plywood for sheathing the walls
- Screws
- Miter Saw
- Pin Nailer
- Patience
Choosing Wood
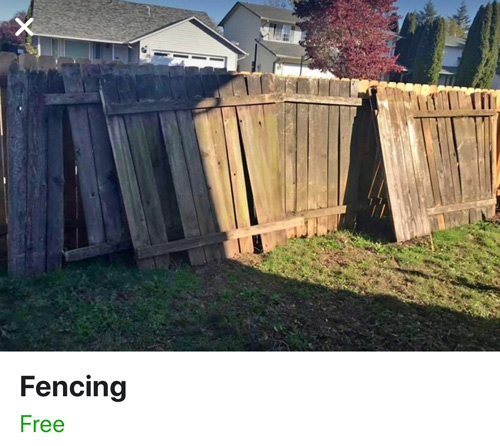
I used cedar fence boards for this project. They were reclaimed from an old fence, pressure washed, dried, and had nails removed. I then sanded them all down so they were smooth (just with rough 80 grit sandpaper). If you’re using cedar fencing from the hardware store, you will also need to give it a quick sanding.
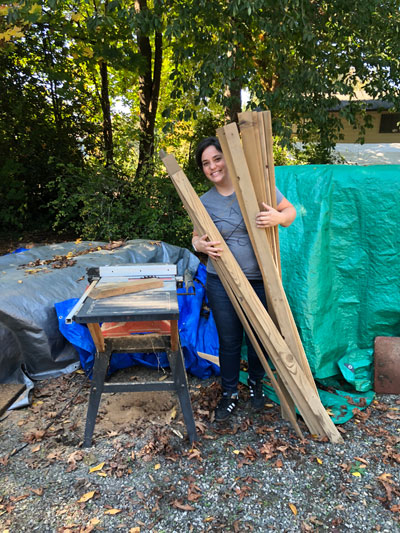
Just for reference, cedar fencing runs about 6 inches wide. most of the wood pieces I’ve used are the full width (all the angled pieces). The narrower bands of wood that run horizontally across the walls were ripped in half, and the narrowest strips that are vertical were ripped once more. So we’ve got full width, half width and quarter width.
Depending on the wood you buy, you may not need to sand it or rip it, but this was my process.
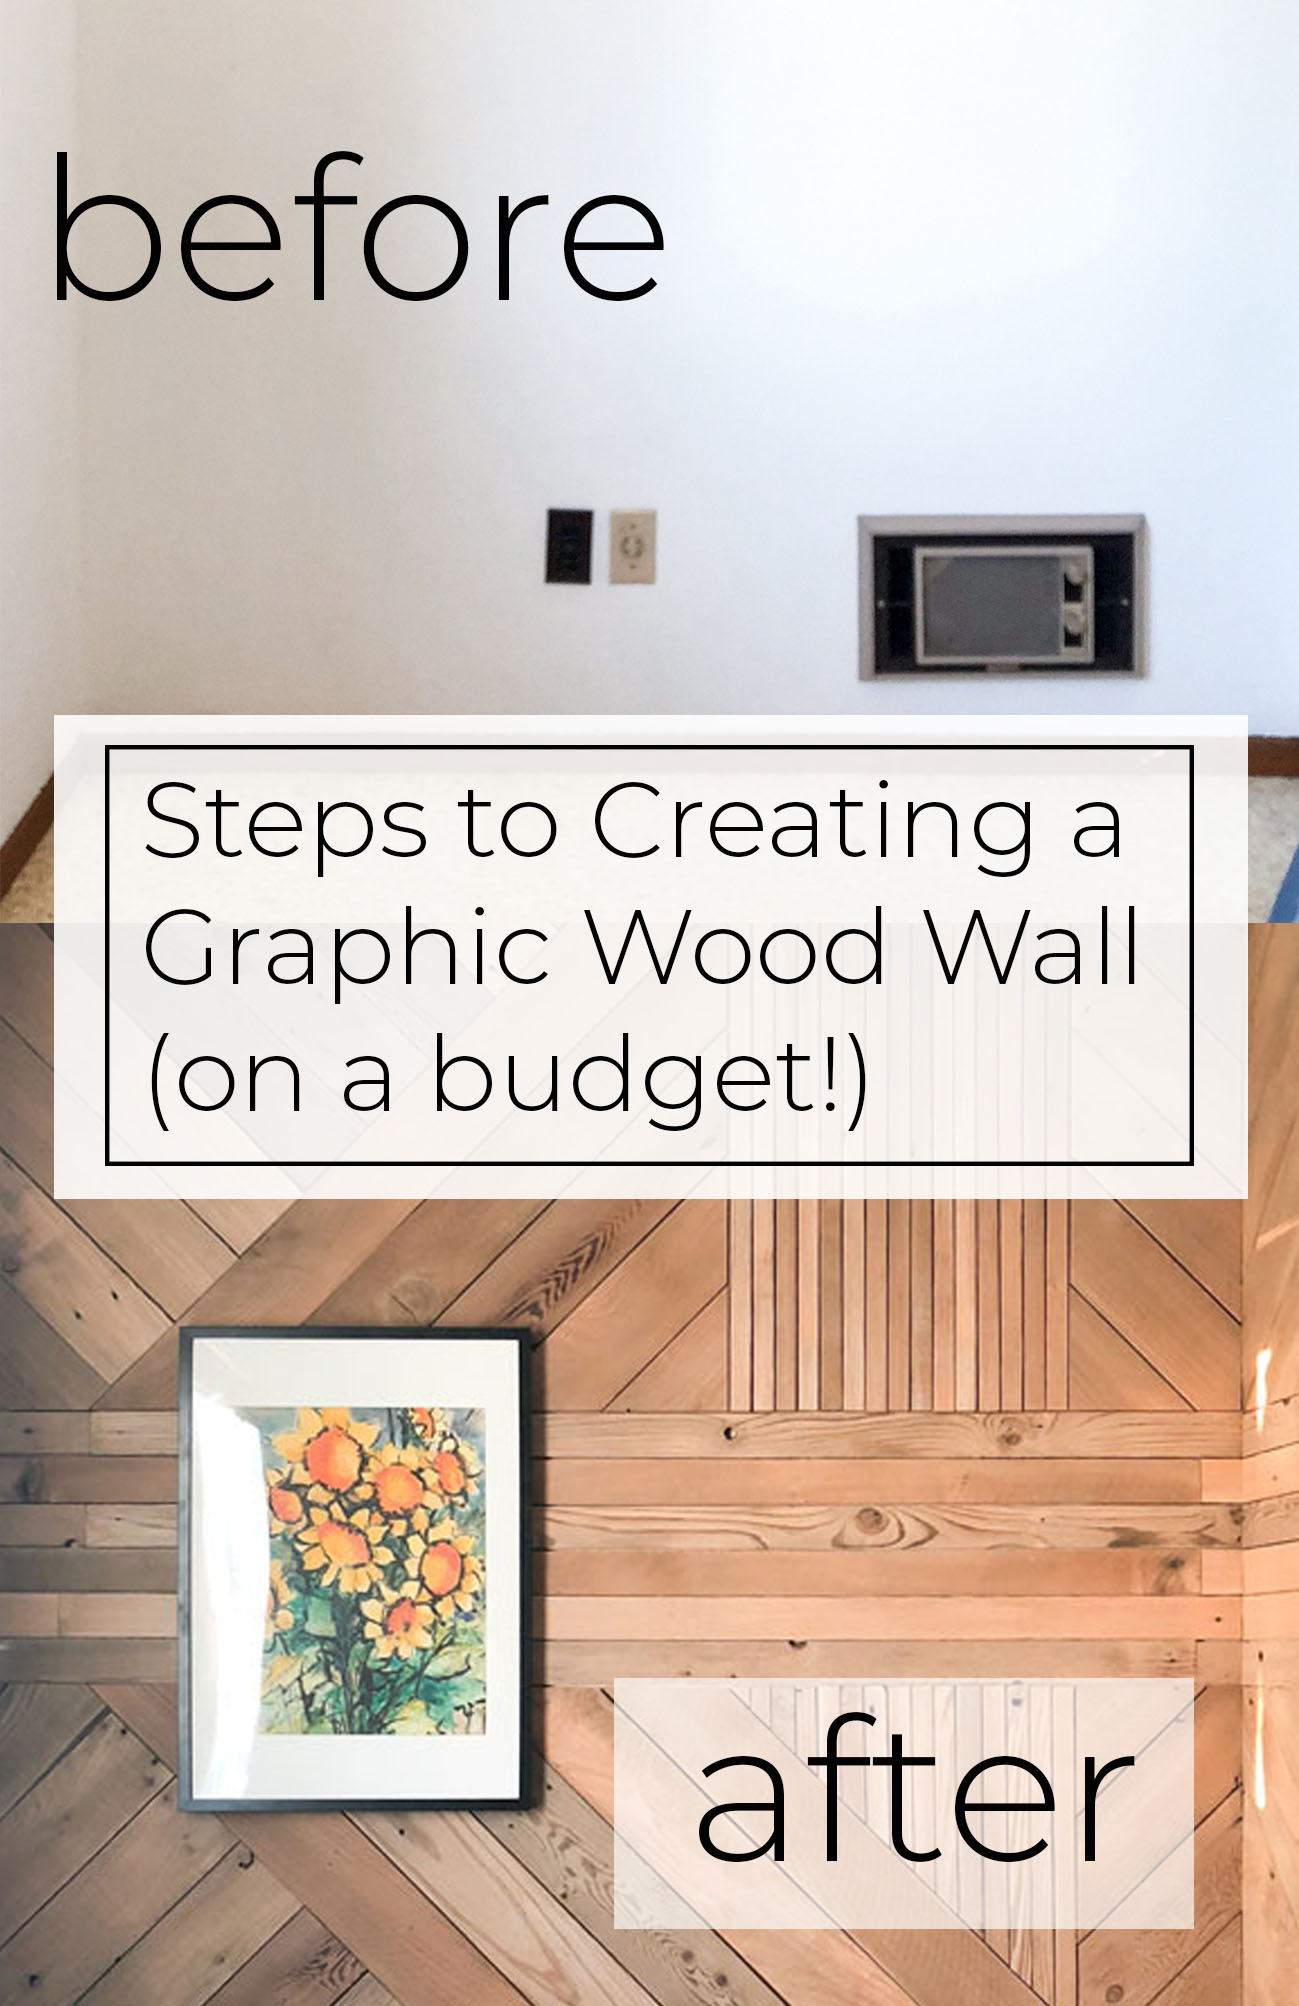
Prepping the Wall
We are going to be covering each wall with 1/4 inch plywood. First, remove all trim from the wall, all outlet covers and anything else that protrudes from the wall (I had to remove an in-wall heater that I knew we wouldn’t use. Use a stud-finder and mark all studs. I like to measure the distance between each stud and the corner, so that when I cover my the wall with the plywood I know where the studs are to secure it. I also mark on the plywood where each stud is and using a long straight edge I draw a long pencil line along the stud to reference easily.
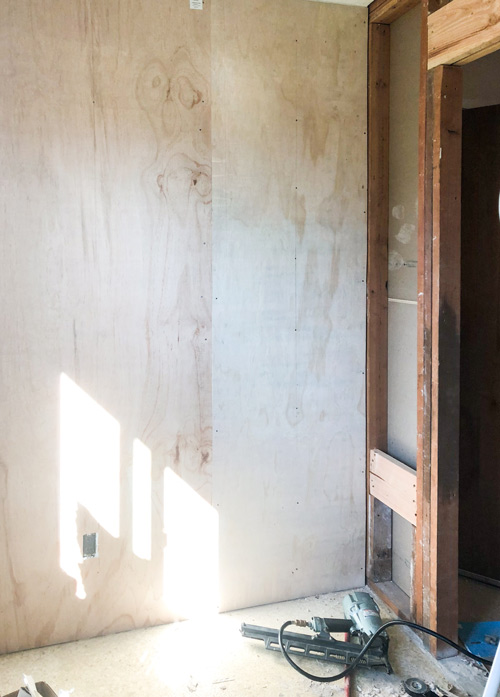
Measure and cut areas in the plywood around any outlets you may have on the wall (this just requires careful measuring. It’s ok if you’re cuts aren’t pretty; you’ll be covering them up with the decorative wood.
Screw the plywood into the wall, making a smooth wall of wood. At this point you could stain it or paint it if you were planning to do a dark wall. I left mine natural. You can see it in some places where the gaps in my wood are larger, but I don’t think it matters.
Planning Your Design
This is arguably the most important part of the job. I had thought that I could just wing it, but right before starting I realized that I had already designed a geometric striped wall–so I just used that same design and translated it to wood. I think you can use this cheat too. Search the interwebs. Find a linear pattern you like (lets find some inspiration, not plagerism). Once you find something that you like the basics of, work from there. Decide the widths of your boards and how they will correlate to the lines in the art. Find some ways you can mix it up and make it your own.
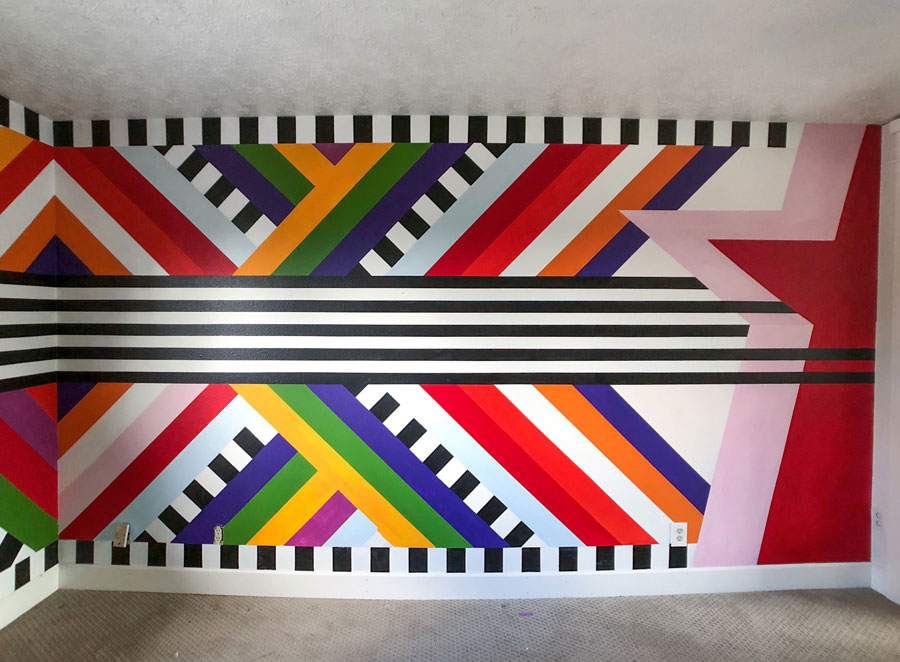
As I was plugging away, I got the idea to add in the narrow vertical stripes. And I’m so glad I did! They break up the design, and I think the narrowness of them makes it feel fresh. They’re my favorite detail. So, although you may have a (somewhat vague) plan, don’t be afraid to improvise.
Installing the Wood
For this project I used a Ryobi Pin Nailer. I think it is an essential tool for a wood wall of this size and intricacy. I’ve seen other wood feature walls attached with glue and finish nails, but the heads of finish nails are still visible. The pins in a pin nail are literally just that: pins. Without heads. You put them in, they disappear. Like magic. If you needed another reason to buy a pin nailer, this job is it!
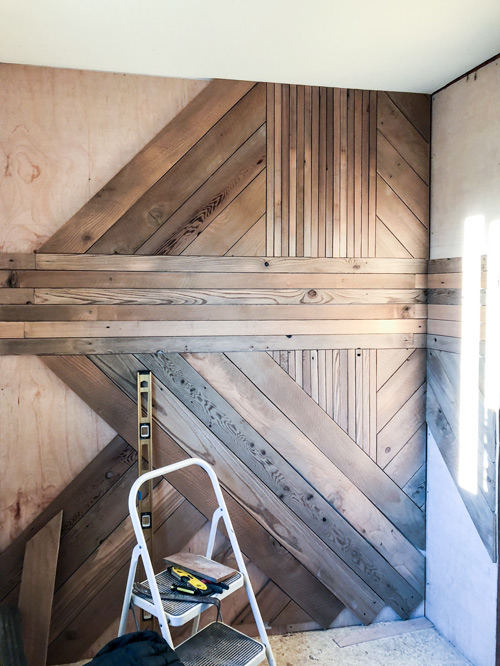
I started by nailing up my horizontal stripes. They were the central reference point for my project, and the most important part to have level. I rounded each corner as well, making sure everything fit together as closely as possible. Due to the irregularity of the wood, some of the seams are a bit off (some pieces are wider than others). This was a bit annoying, but not enough that I re-cut them.
These particular wood pieces are about 2.75 inches wide each, and I just eyeballed the gaps between them. If you’re not comfortable with that, you might consider using tiling spacers. This job took so long (about 70 ish hours for the full room), if I were to measure all the gaps I probably would have gone crazy.
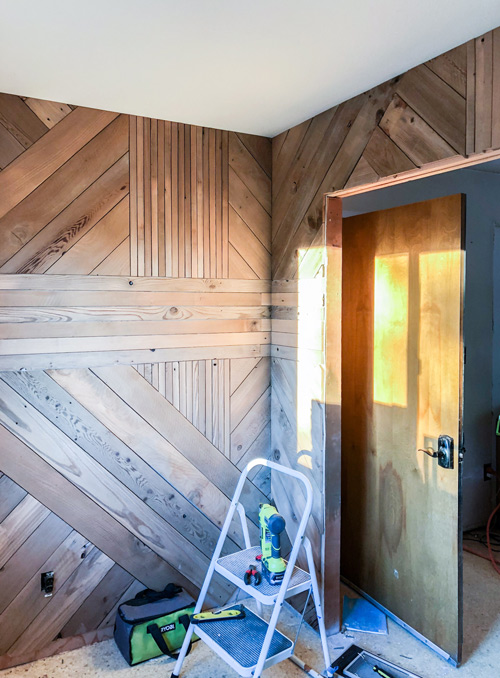
When deciding where to start my angled pieces, I just chose a random start point. I measured a cut a piece that fit and voila. From here, its just a matter of measuring and cutting, lather, rinse, repeat. Make sure your miter saw is nearby–you will most likely have to make 5,000 cuts, and boy do those steps add up.
I could not have done this without a few audiobooks, podcasts and plenty of Schitt’s Creek to entertain me whilst I plugged away.
You can do this friends. The only thing that stands between you and cool projects in your house is patience and a few bucks. Admittedly, this one costs a bit more than a few bucks if you are actually buying all the wood new, but shhhh… totally worth it!
As always, if you do this, PLEASE TELL ME! I’d love to see your projects and share them!

Very nice!!! I did something like this in our den in San Antonio before we moved, free used cedar. Turned out fantastic and added value when we sold. I will do this again, in my office this time.
Did you paint the wall first so that the gaps were dark?
Hi Stacey! I didn’t actually. I left the wood underneath raw plywood. The shadows from the cracks add enough darkness for contrast!
Thanks for replying! Saves me a trip to the paint store. The plywood is up and I’m on the sanding/staining phase. Yours turned out beautifully.
Another question. You said you used a pin nailer. How thick were your wood planks? Most of the pin nailers I found were only 1”, but my boards are 3/4” so I wouldn’t feel comfortable without longer pins/nails.
Thanks again!
Looks to me that your 1″ pin will stick out of your 3/4″ board about 1/4″ – just right for the 1/4″ plywood under the planks.
stacey..i would love your advice on stain colors…we just built a graphic wall(layed it out on the floor) pine we cut diff lengths and width…my daughters floor is sort of a redish tone laminate floor..cannot figure out stain to use..she wants 3 tones? maybe you could email me I could send you pictures?
I’ve wanted to do this to my vaulted ceilings and have been searching for inspiration all winter (with plans to tackle it in March). This is it!! Thank you. I even have a cedar fence my husband has been threatening to tear down for years – he’s not into the weathered look like I am. Time to compromise!
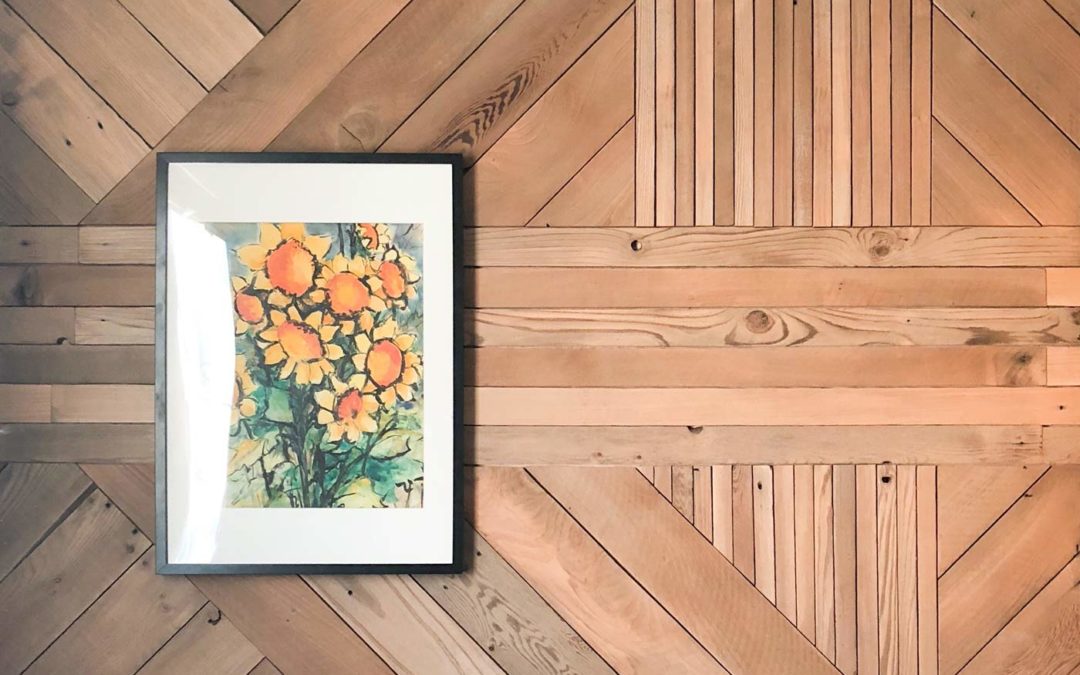
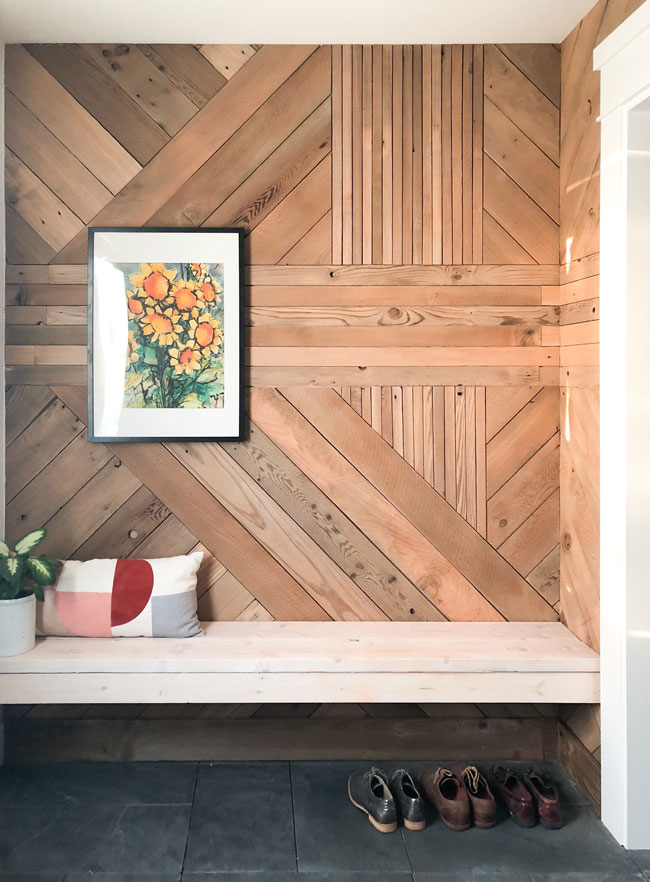
I think you’ve done a fantastic job! The mix, angles, shapes, etc. all coordinate into a lovely backdrop for a wall. The ironic thing is that the wall itself is a piece of art and whatever you hang on it becomes the focal point while the wall takes a step back as a type of “frame” all around the hanging. I hope this makes sense.:) Very creative and thanks for sharing.
Did you replace the drywall with the plywood or did you install the plywood over the top of the drywall? Thanks!
I loved this post! The step-by-step guide on creating a graphic wood accent wall is super helpful. I can’t wait to try it in my own home. The tips on choosing the right wood and pattern really inspired me. Thanks for sharing such great insights!
I assume you sanded these before putting them up? Did you apply any varnish or top coat?