
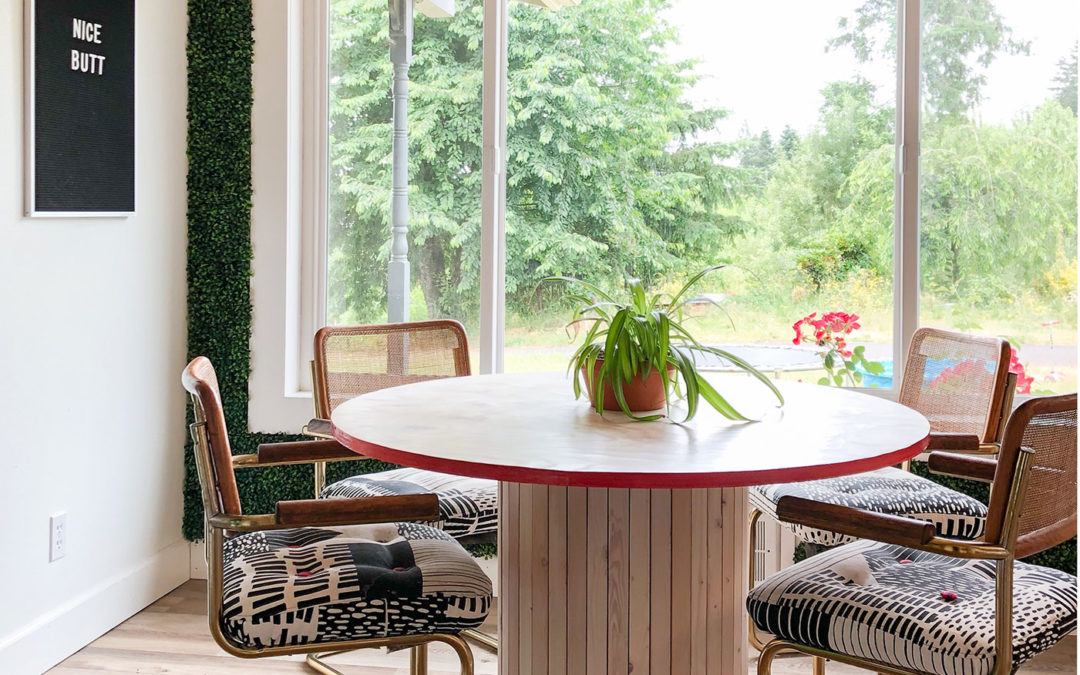
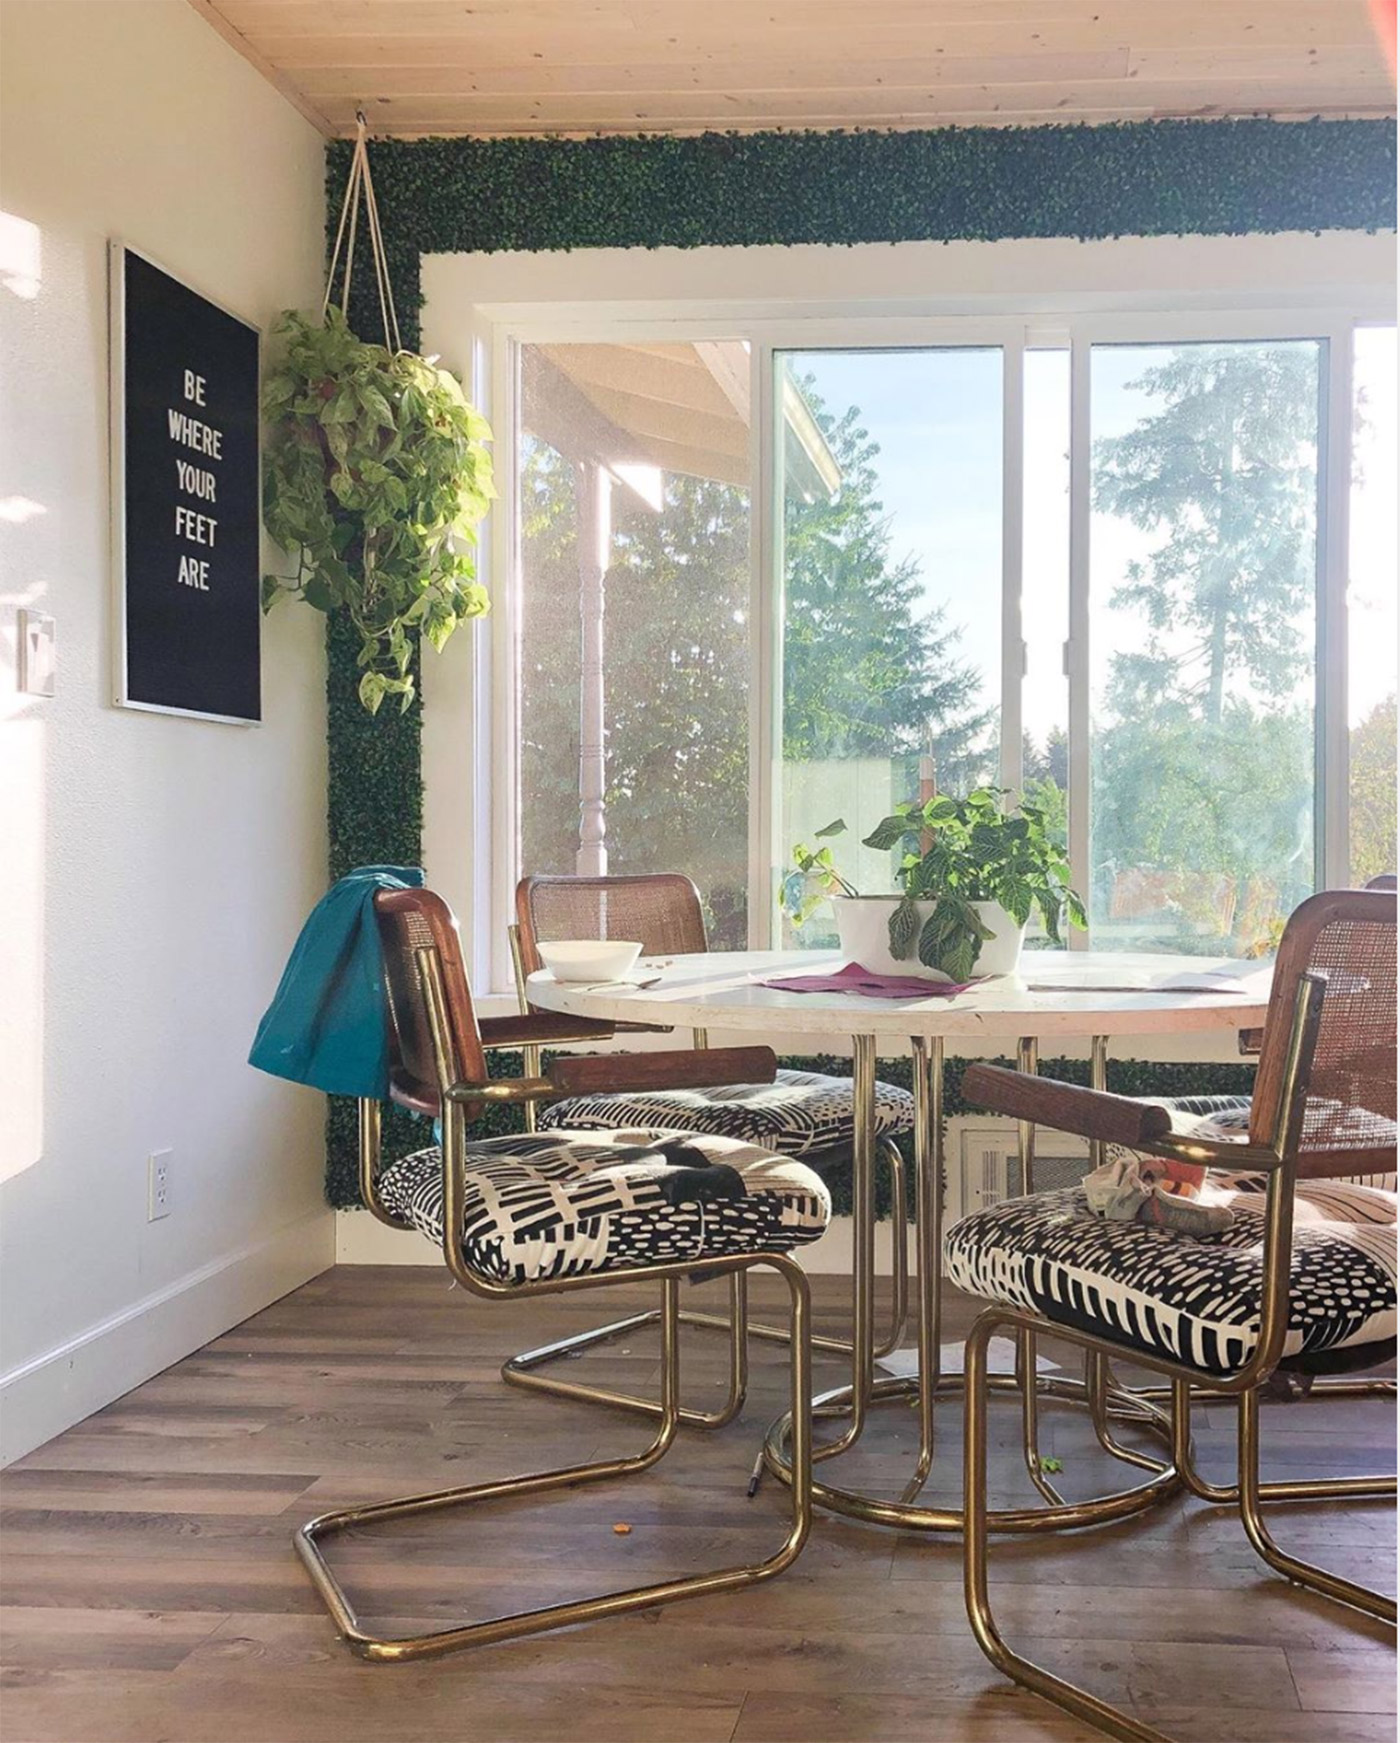
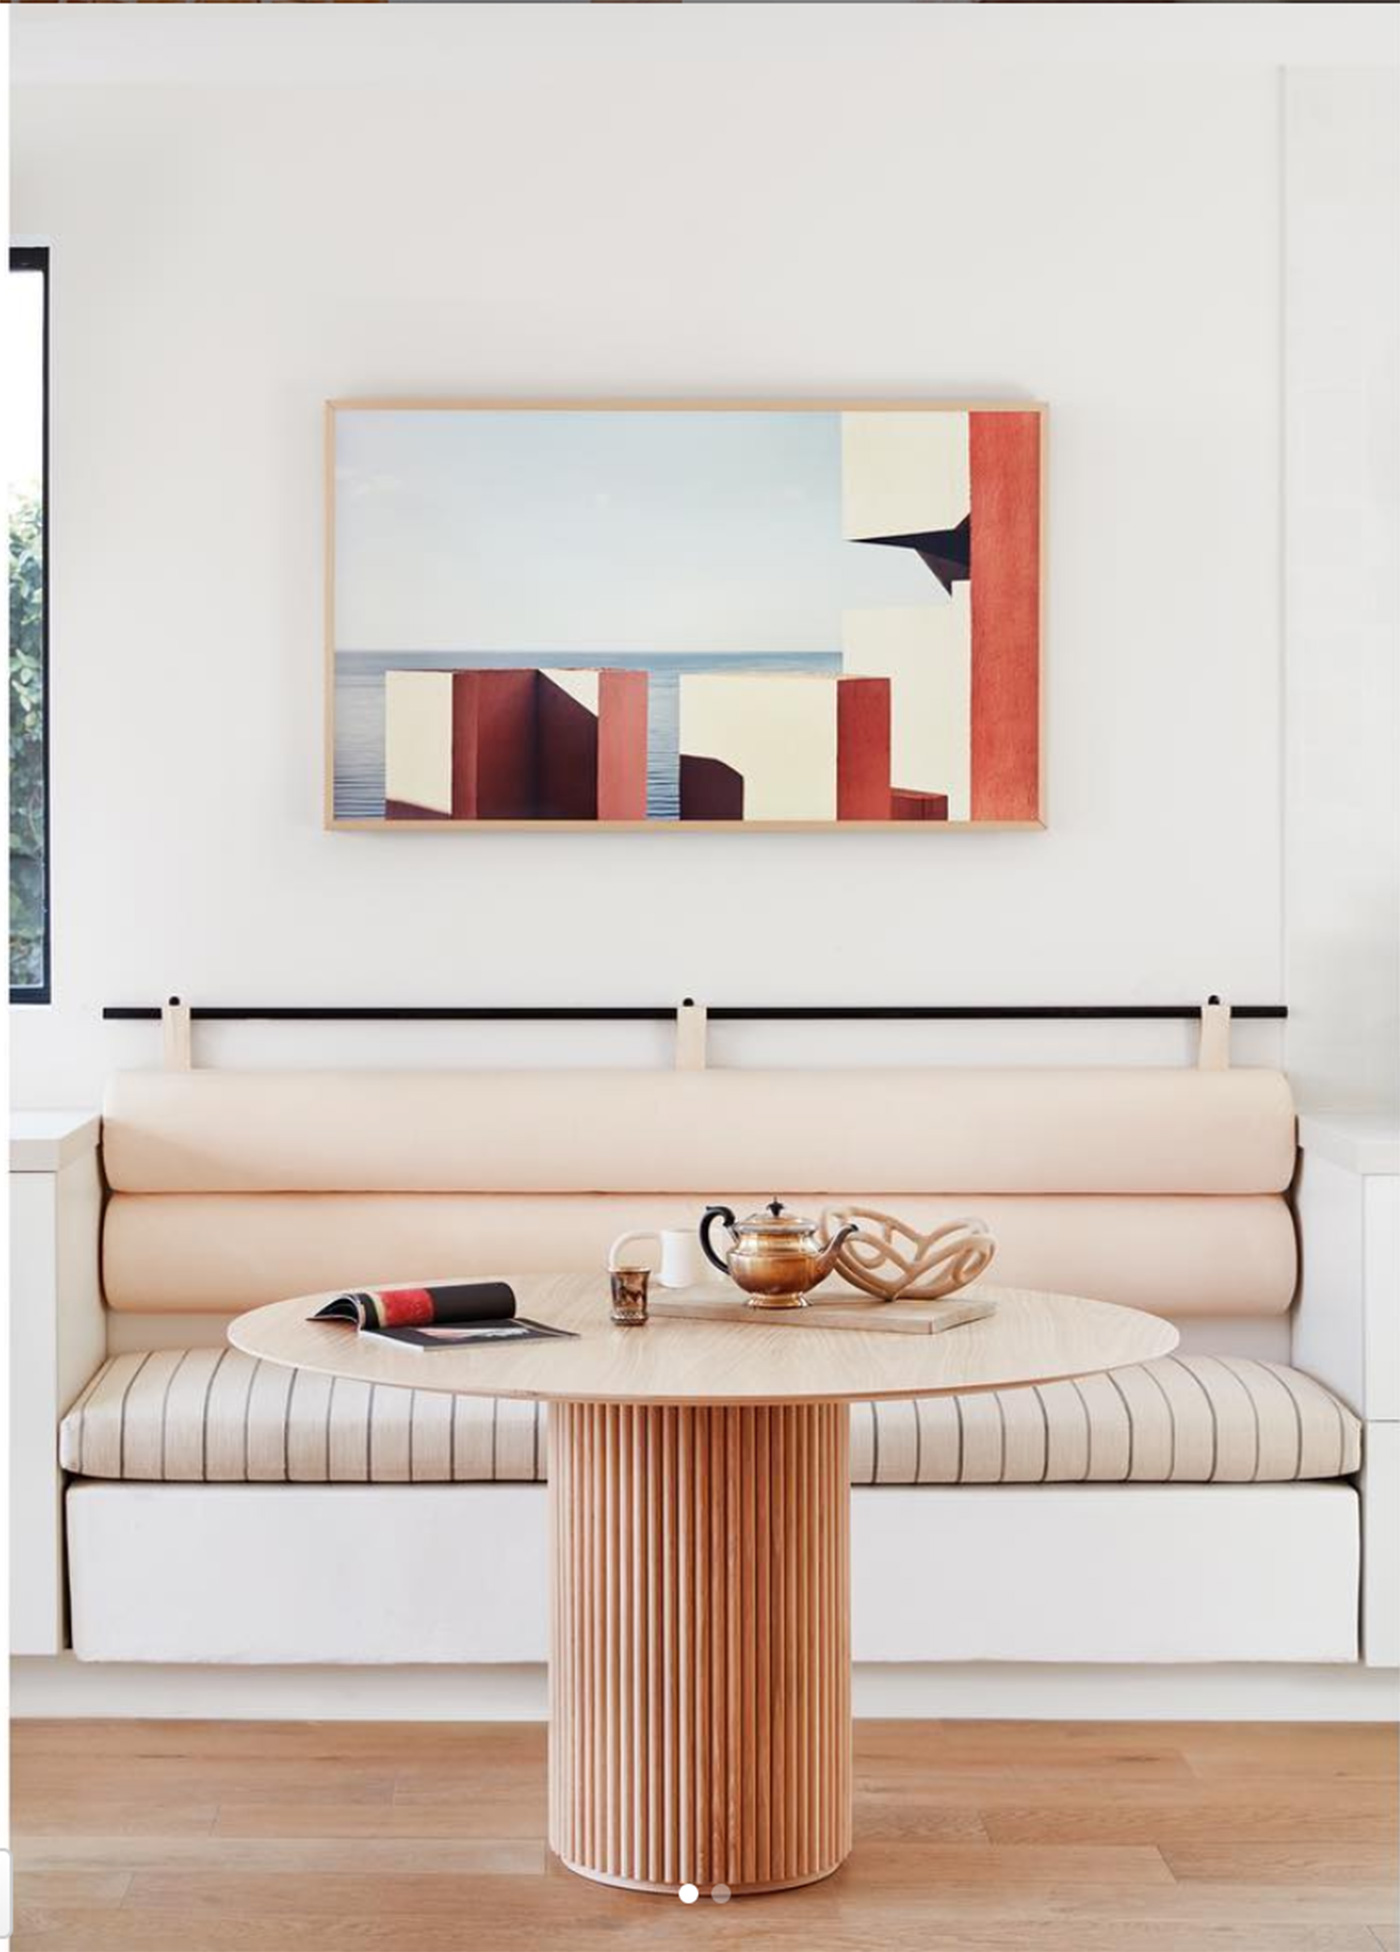
But today? Today is the day to let the chairs shine, and the best way to do that is by creating a solid base that wont compete with them. Perusing instagram the other day I found this gorgeous dinette set by Sarah Sherman Samuel. I love this space, especially the table. I took one look at this base and knew I needed to give it the ole’ DIY try!
Creating a Base
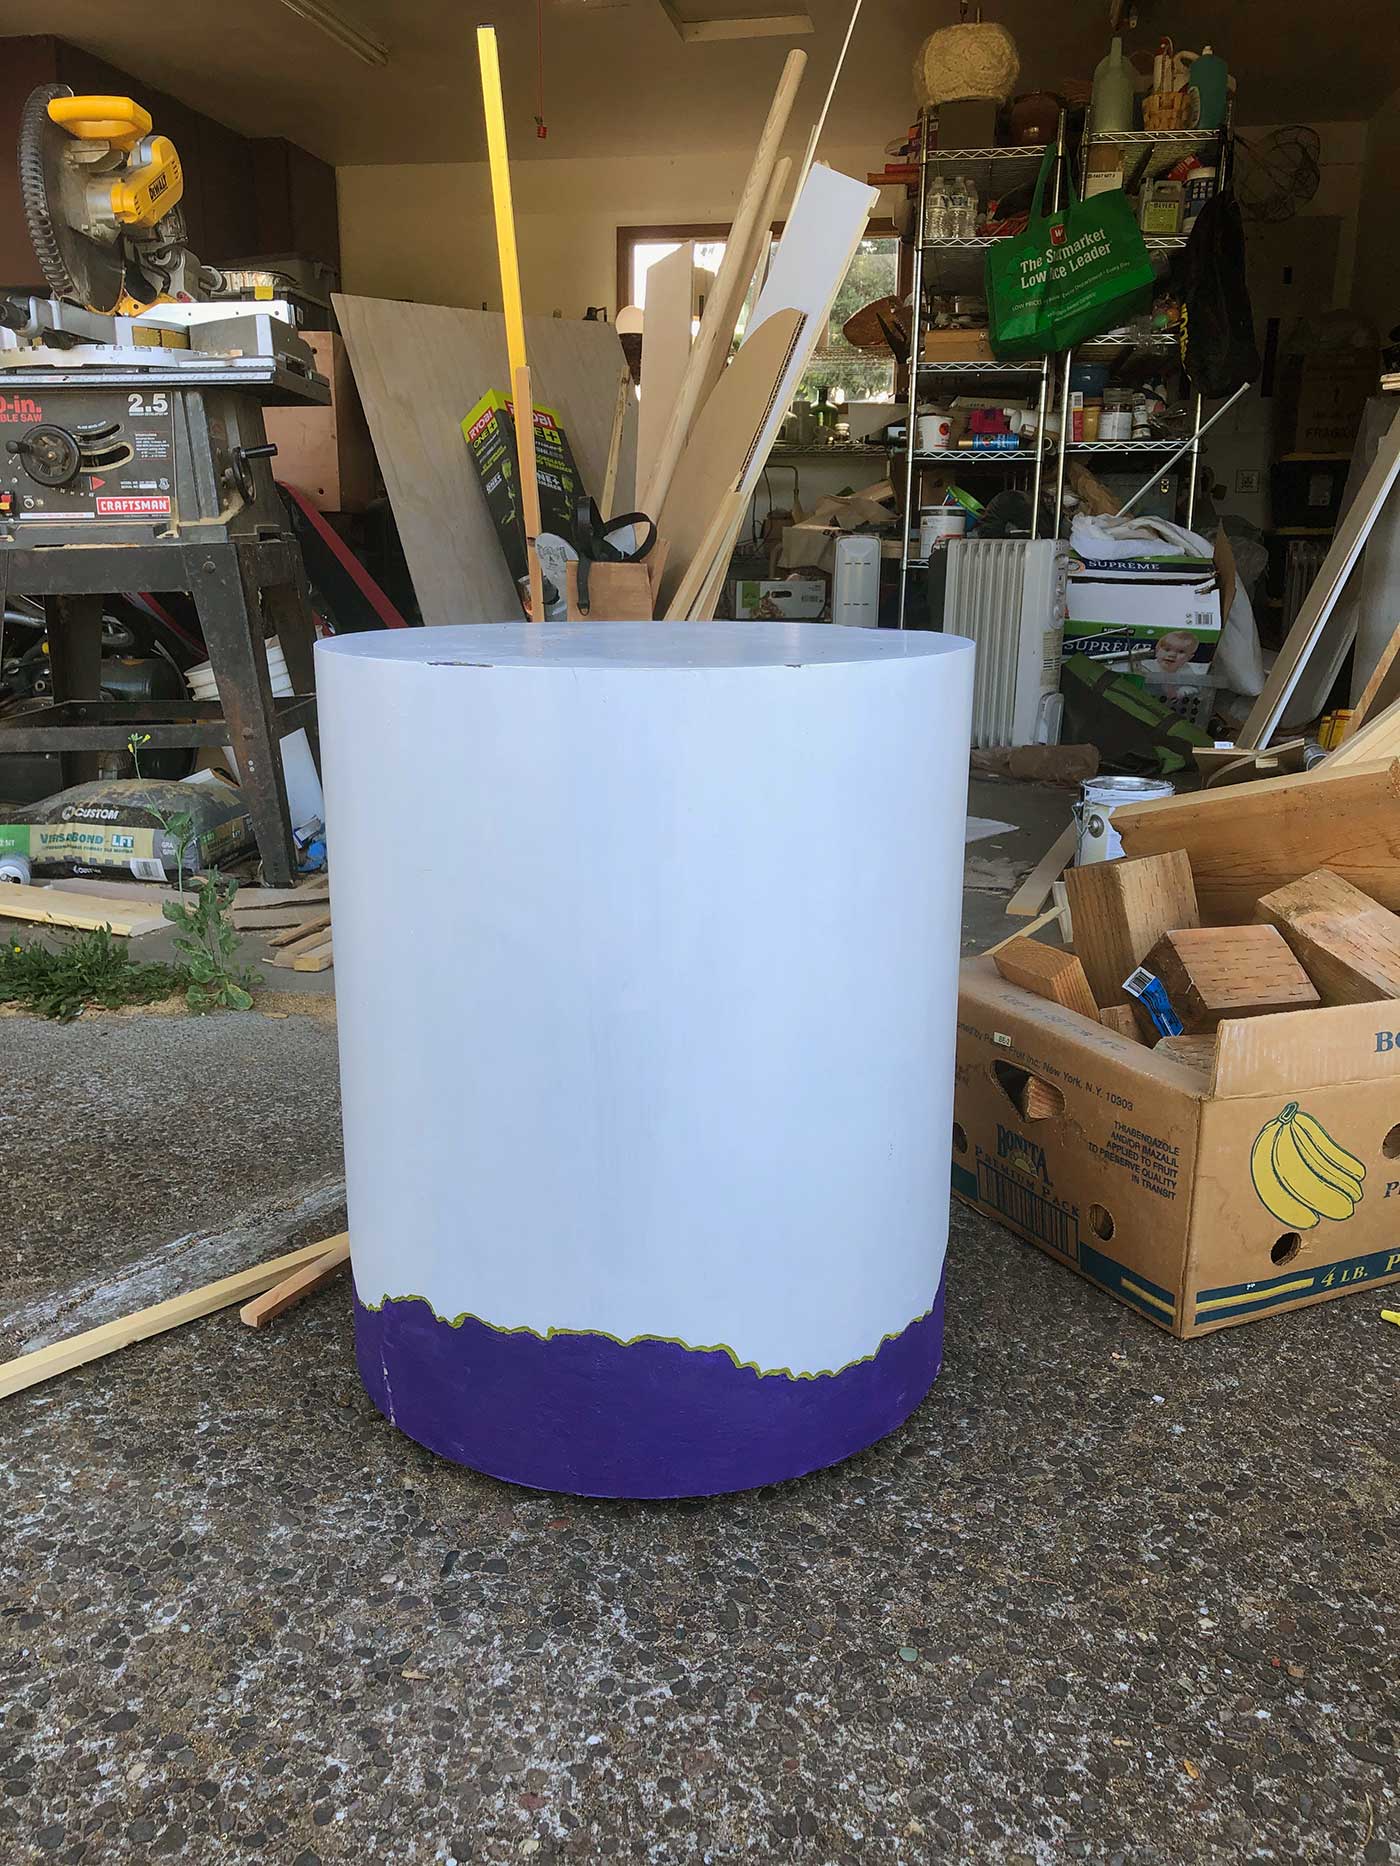
I started with this side table I bought for $4 at a thrift store. I picked it up about 6 months ago, with no real plan, just knowing it was a good deal and a good shape.
The only downside to this side table is its height–it is only 22 inches tall! Most dining tables are around 27-28″, so I needed to add on some height. I also needed a method of attaching the table top to the base. I accomplished both by creating boxes out of scrap wood.
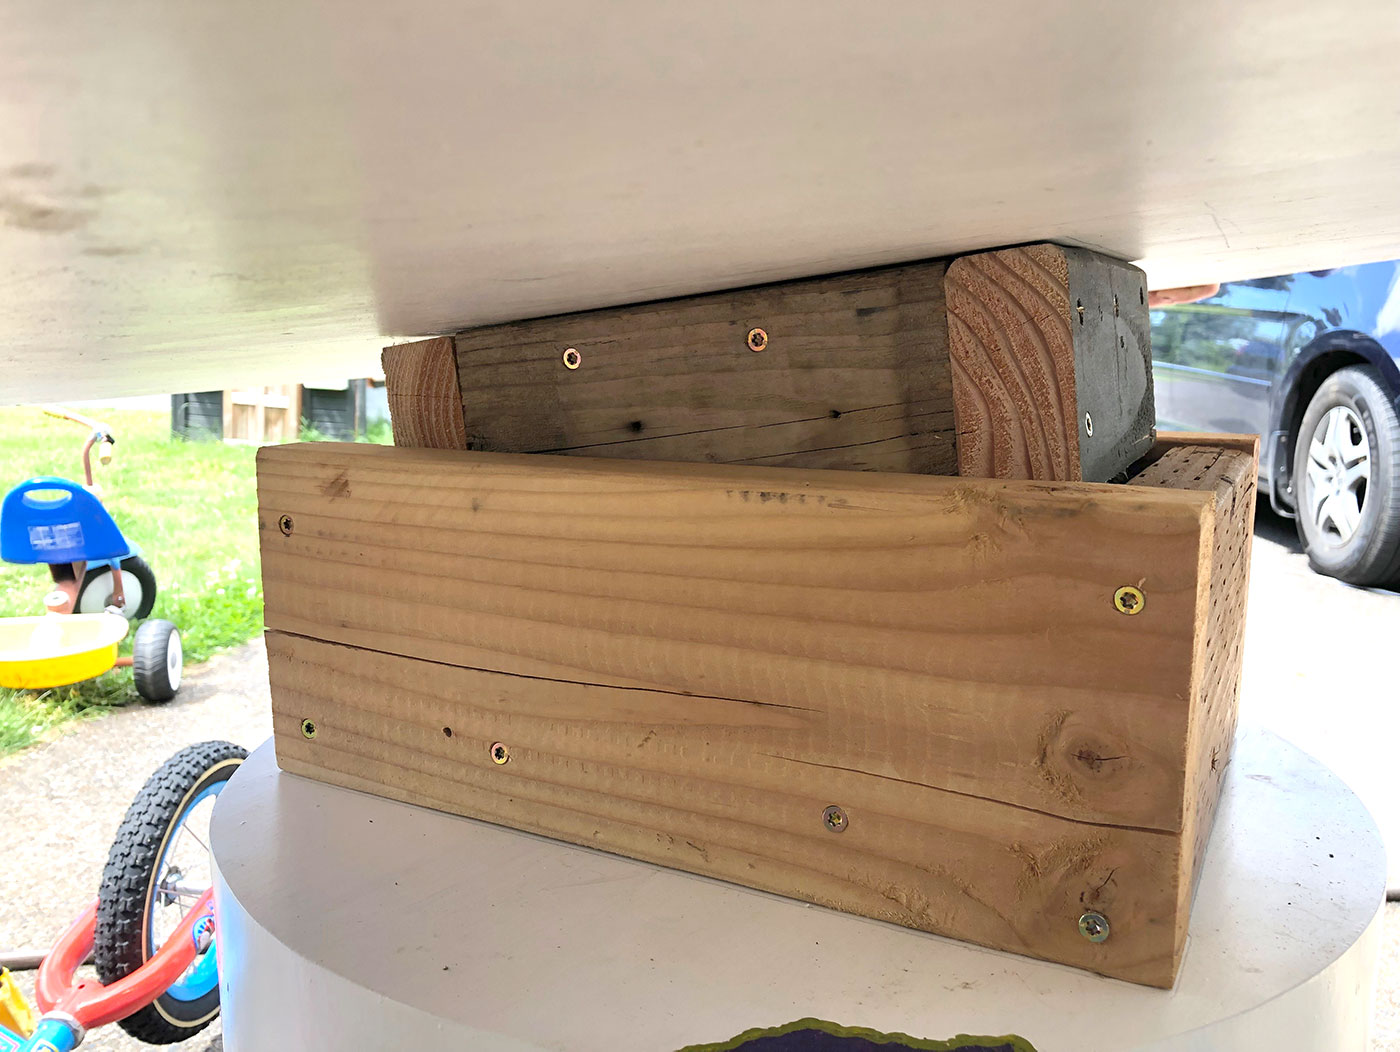
I made my first box (box 1) out of 2×6’s, just smaller than the edges of the table base. I made my smaller box (box 2) just big enough that it would fit inside box 1.
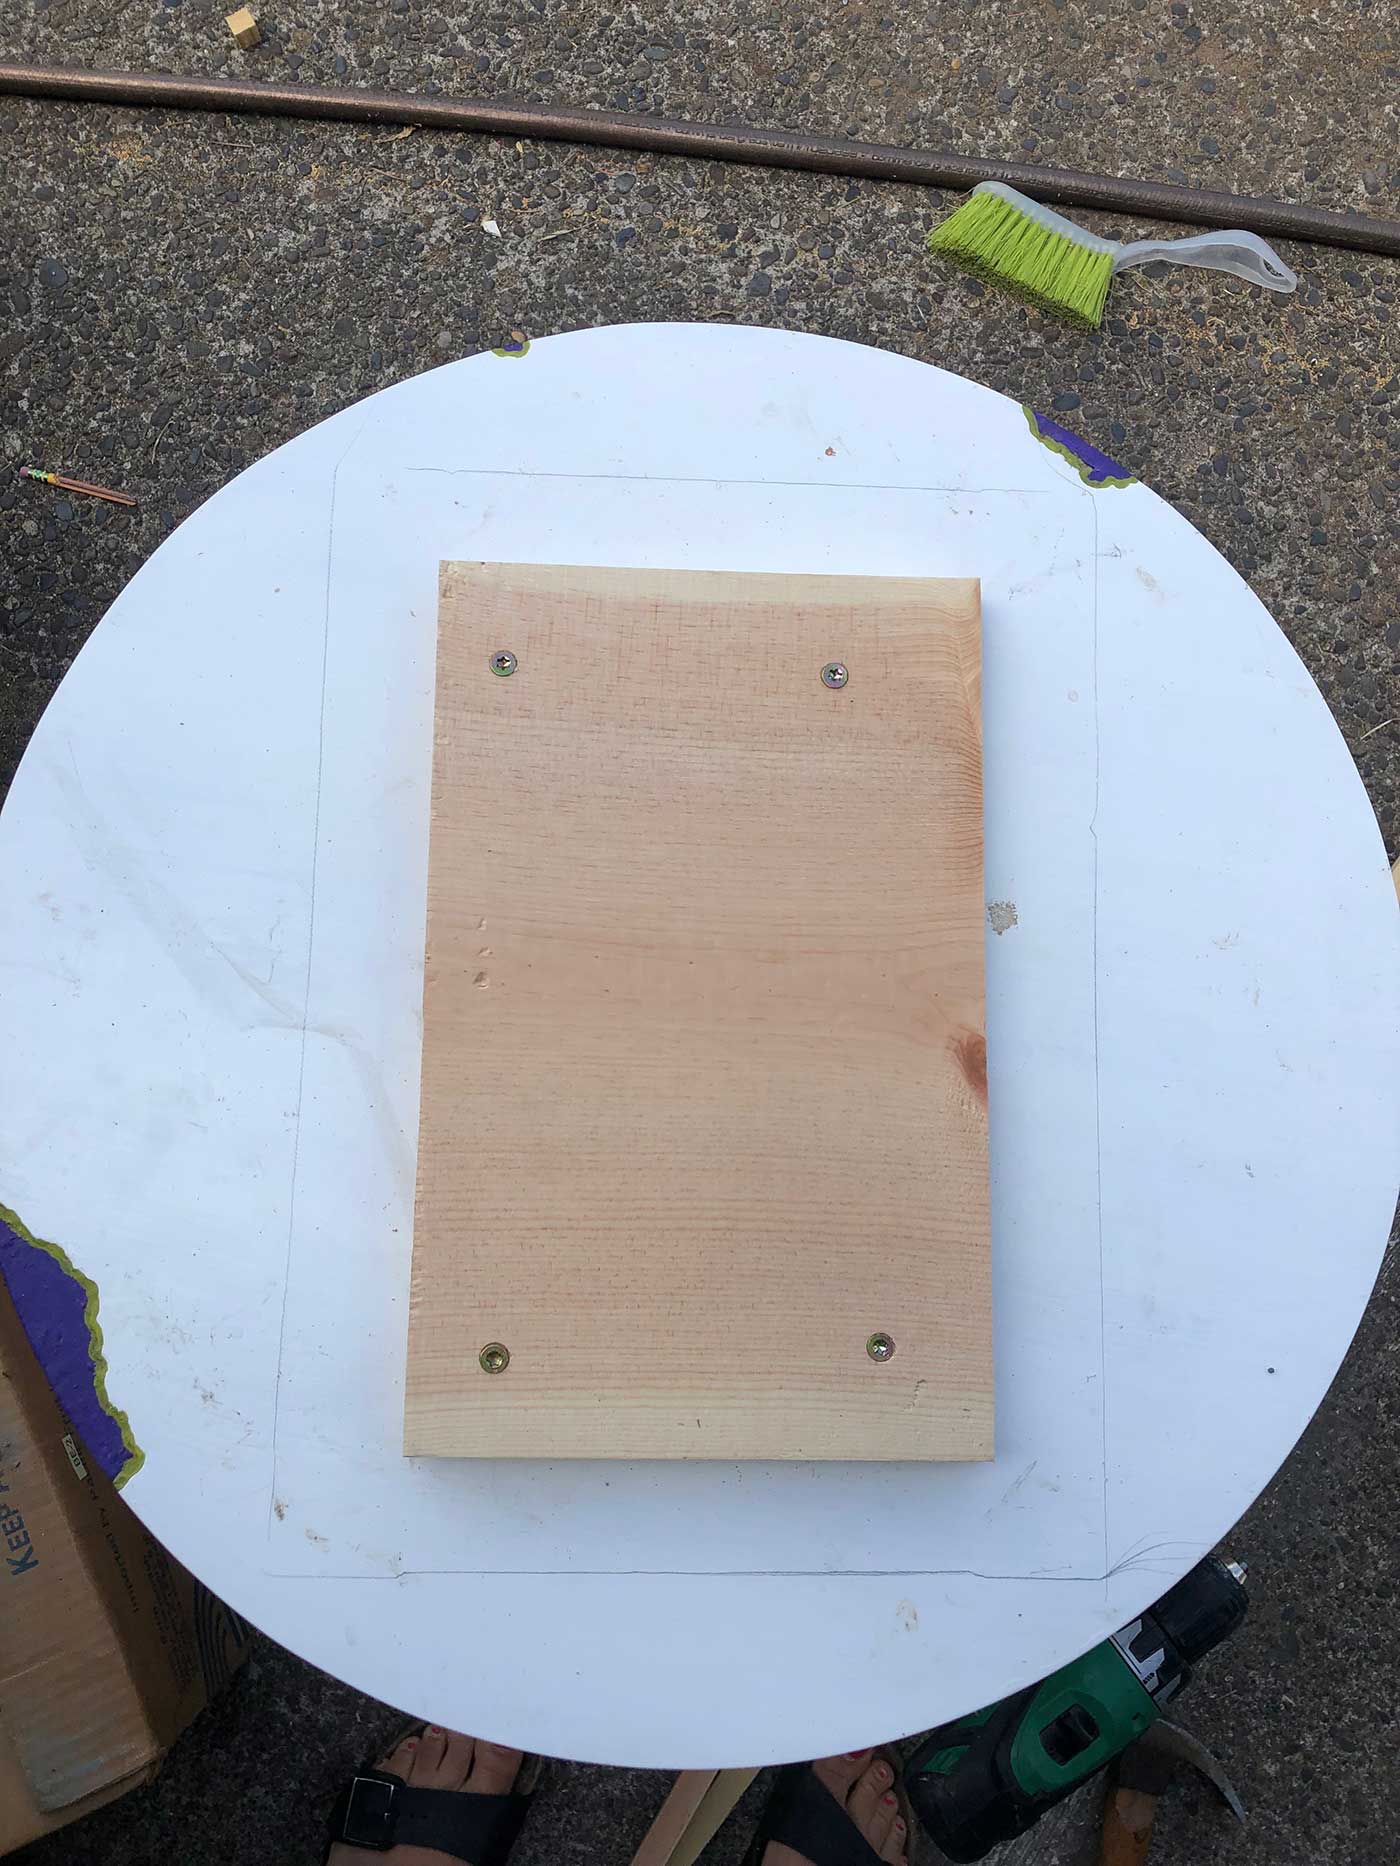
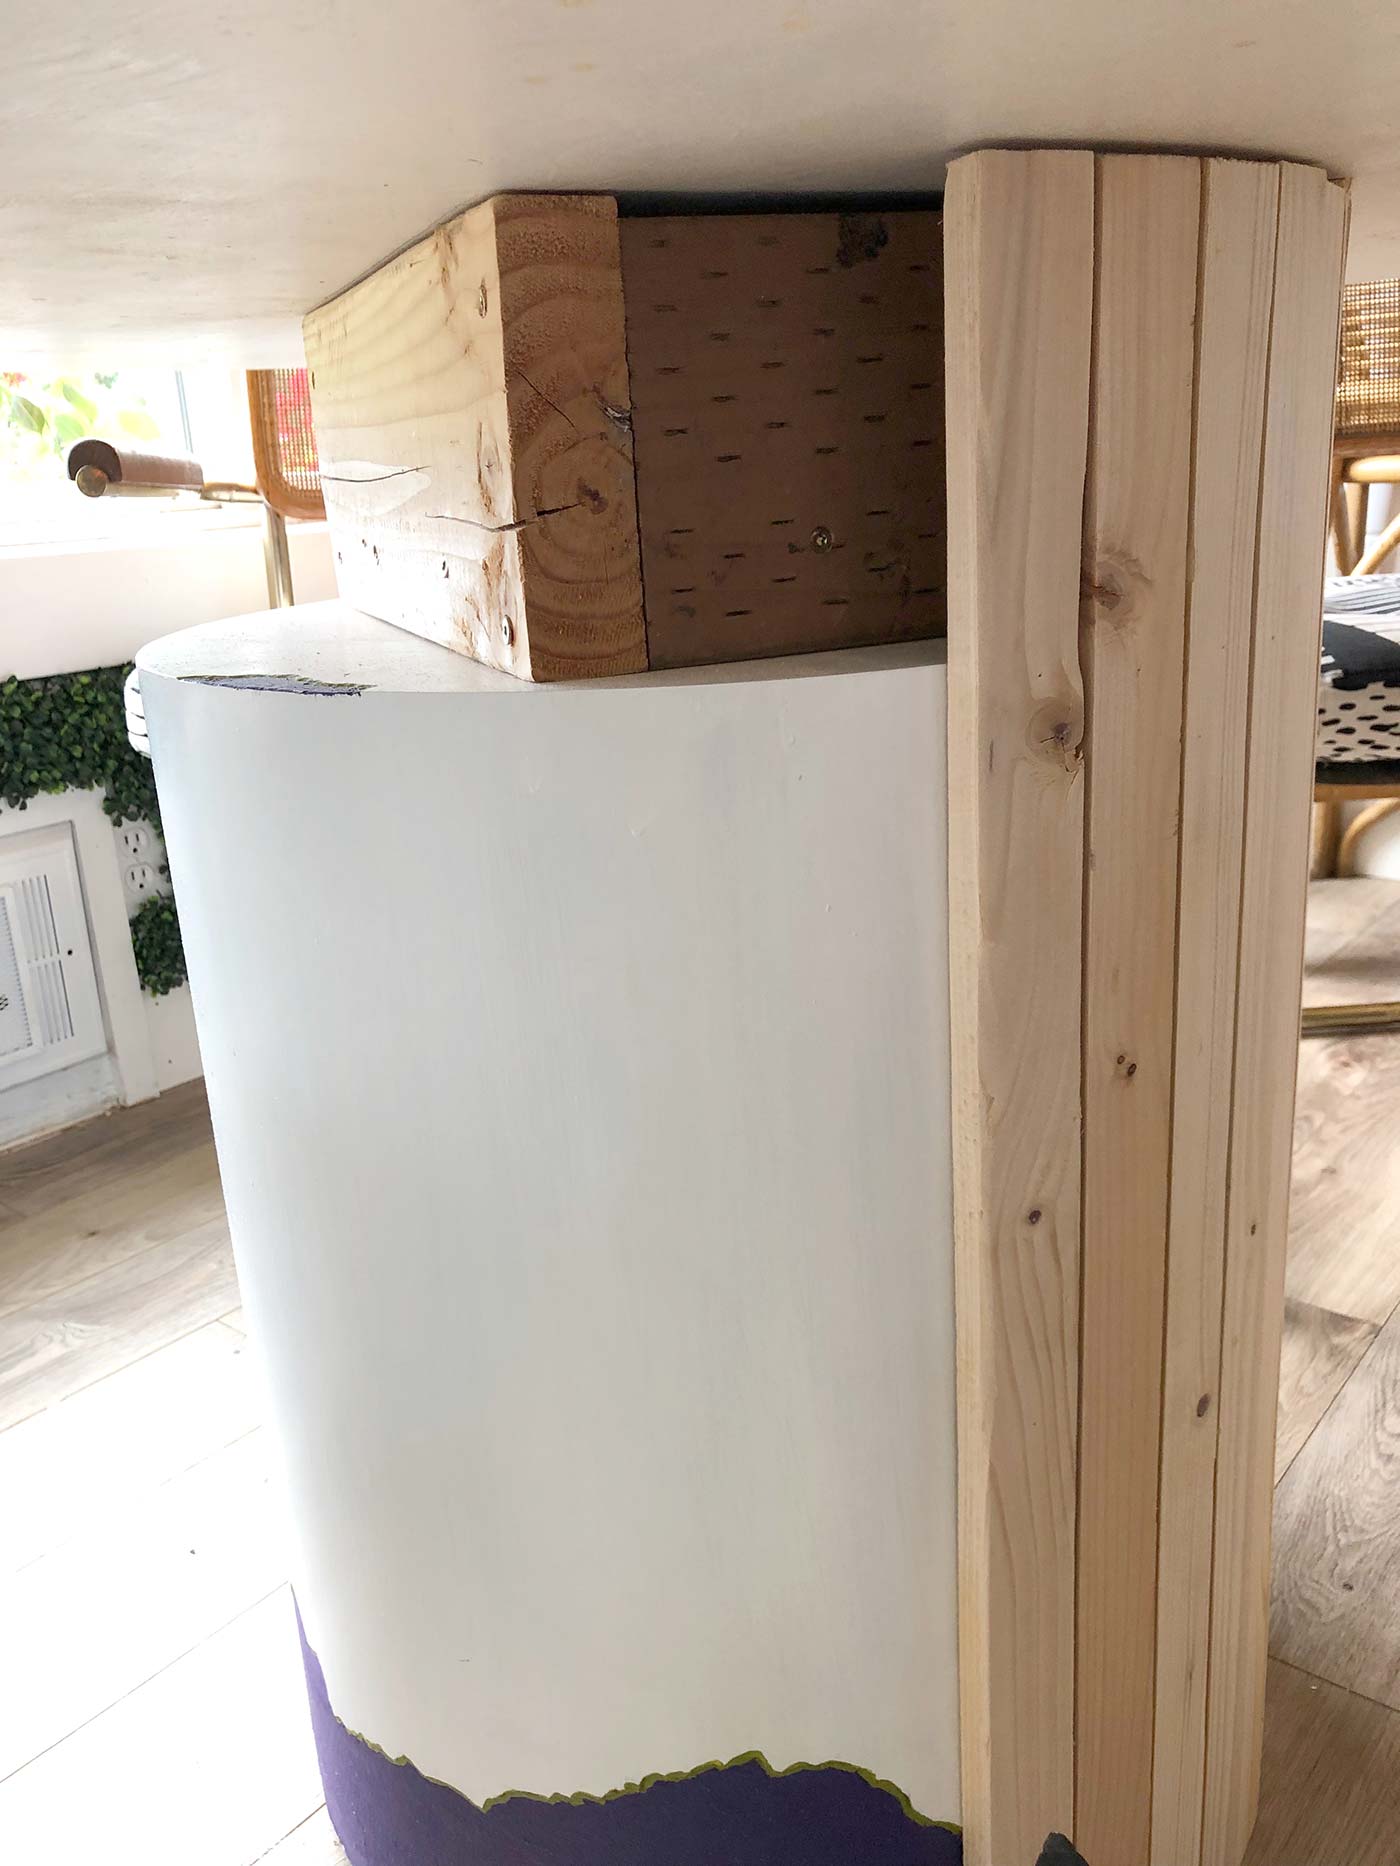
To attach box 1 to the base, I first screwed a chunky piece of wood (that I cut to fit inside box 1) to the top of the table. I then placed box 1 around it and screwed into the sides of the box, attaching it to the board.
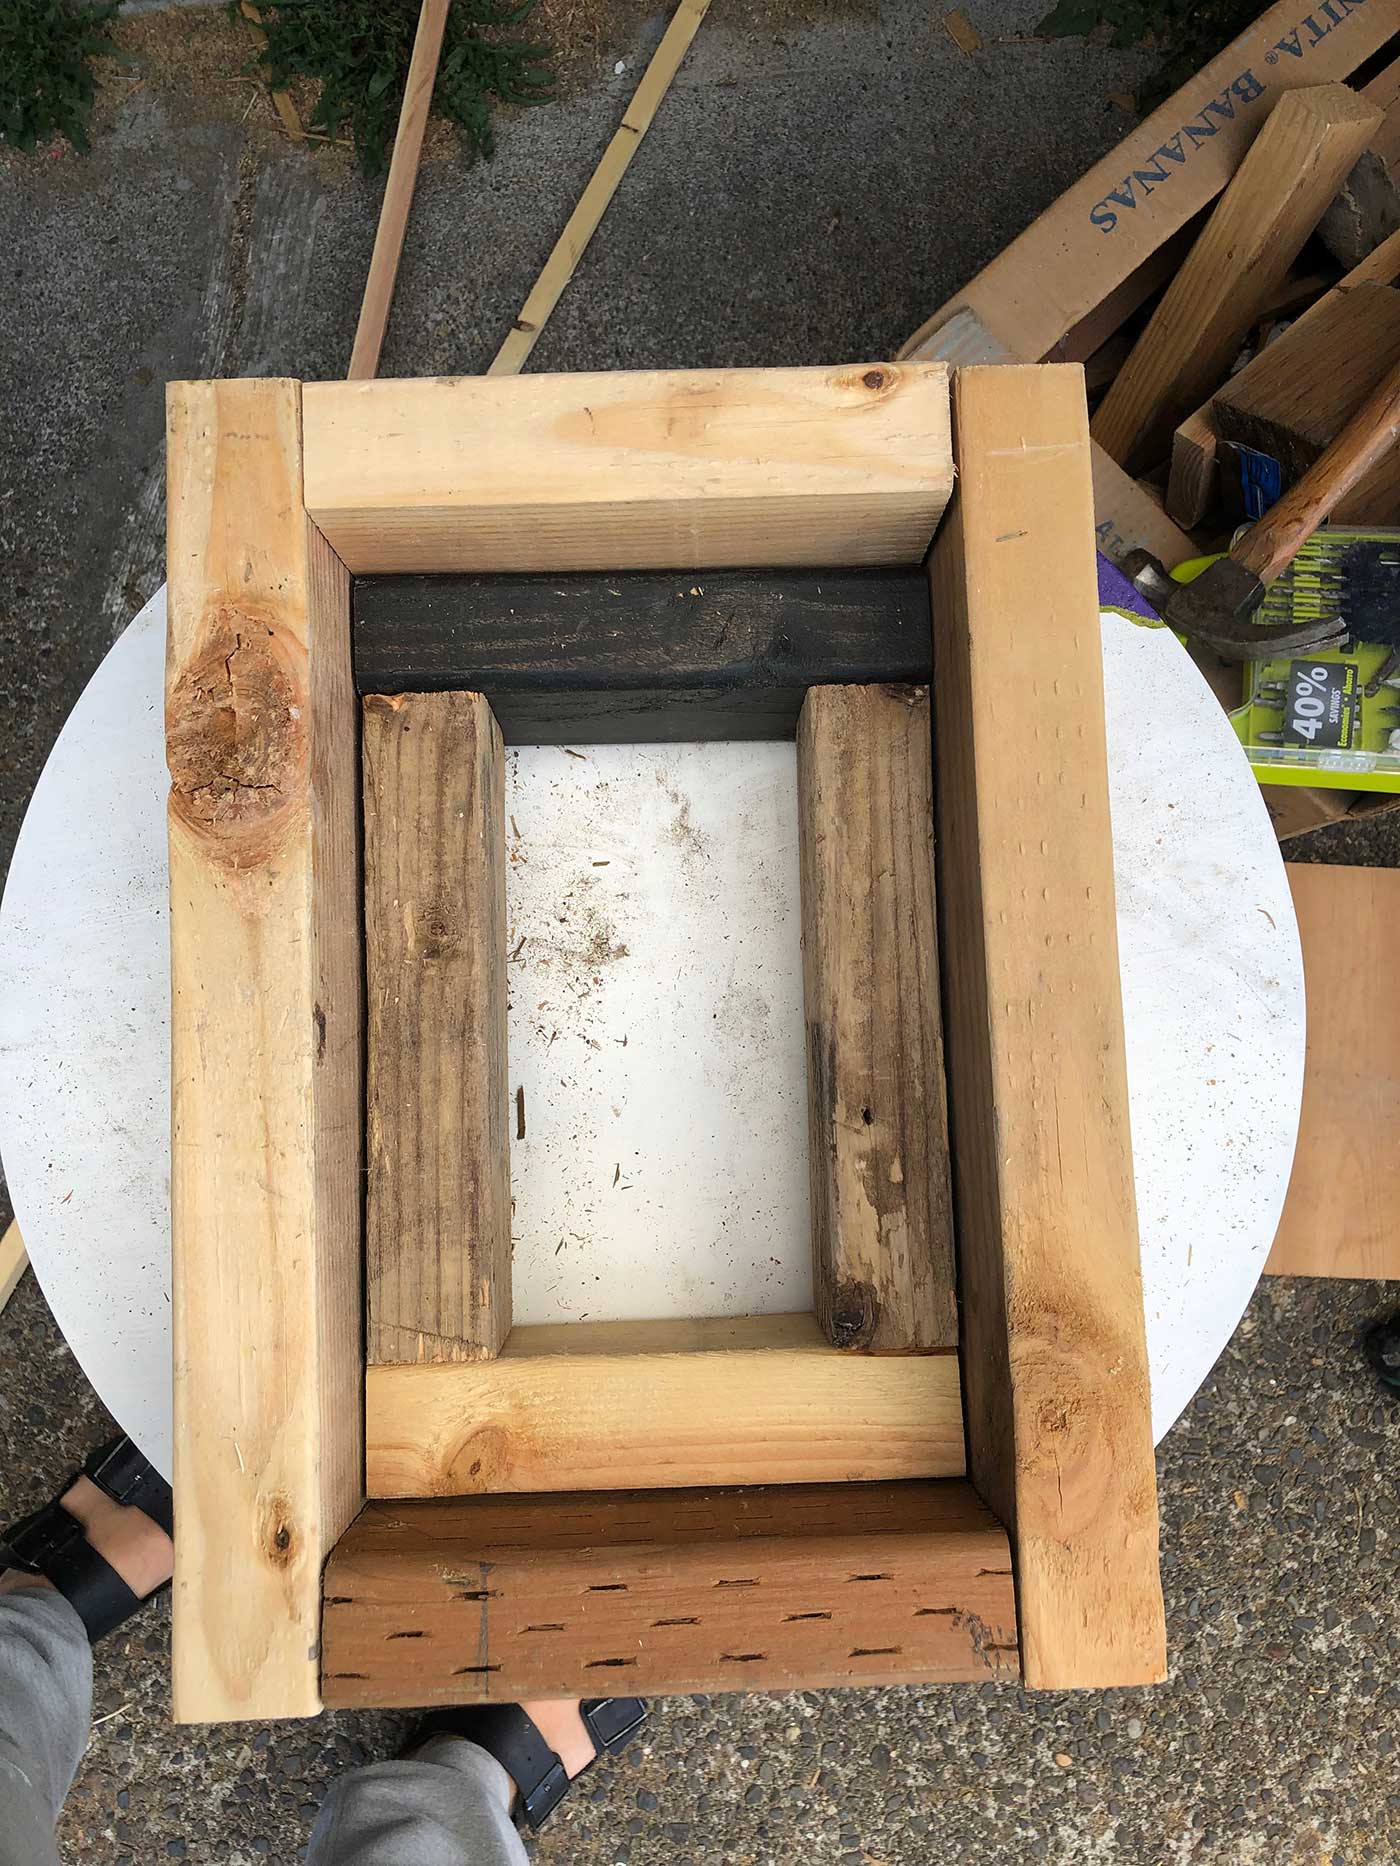
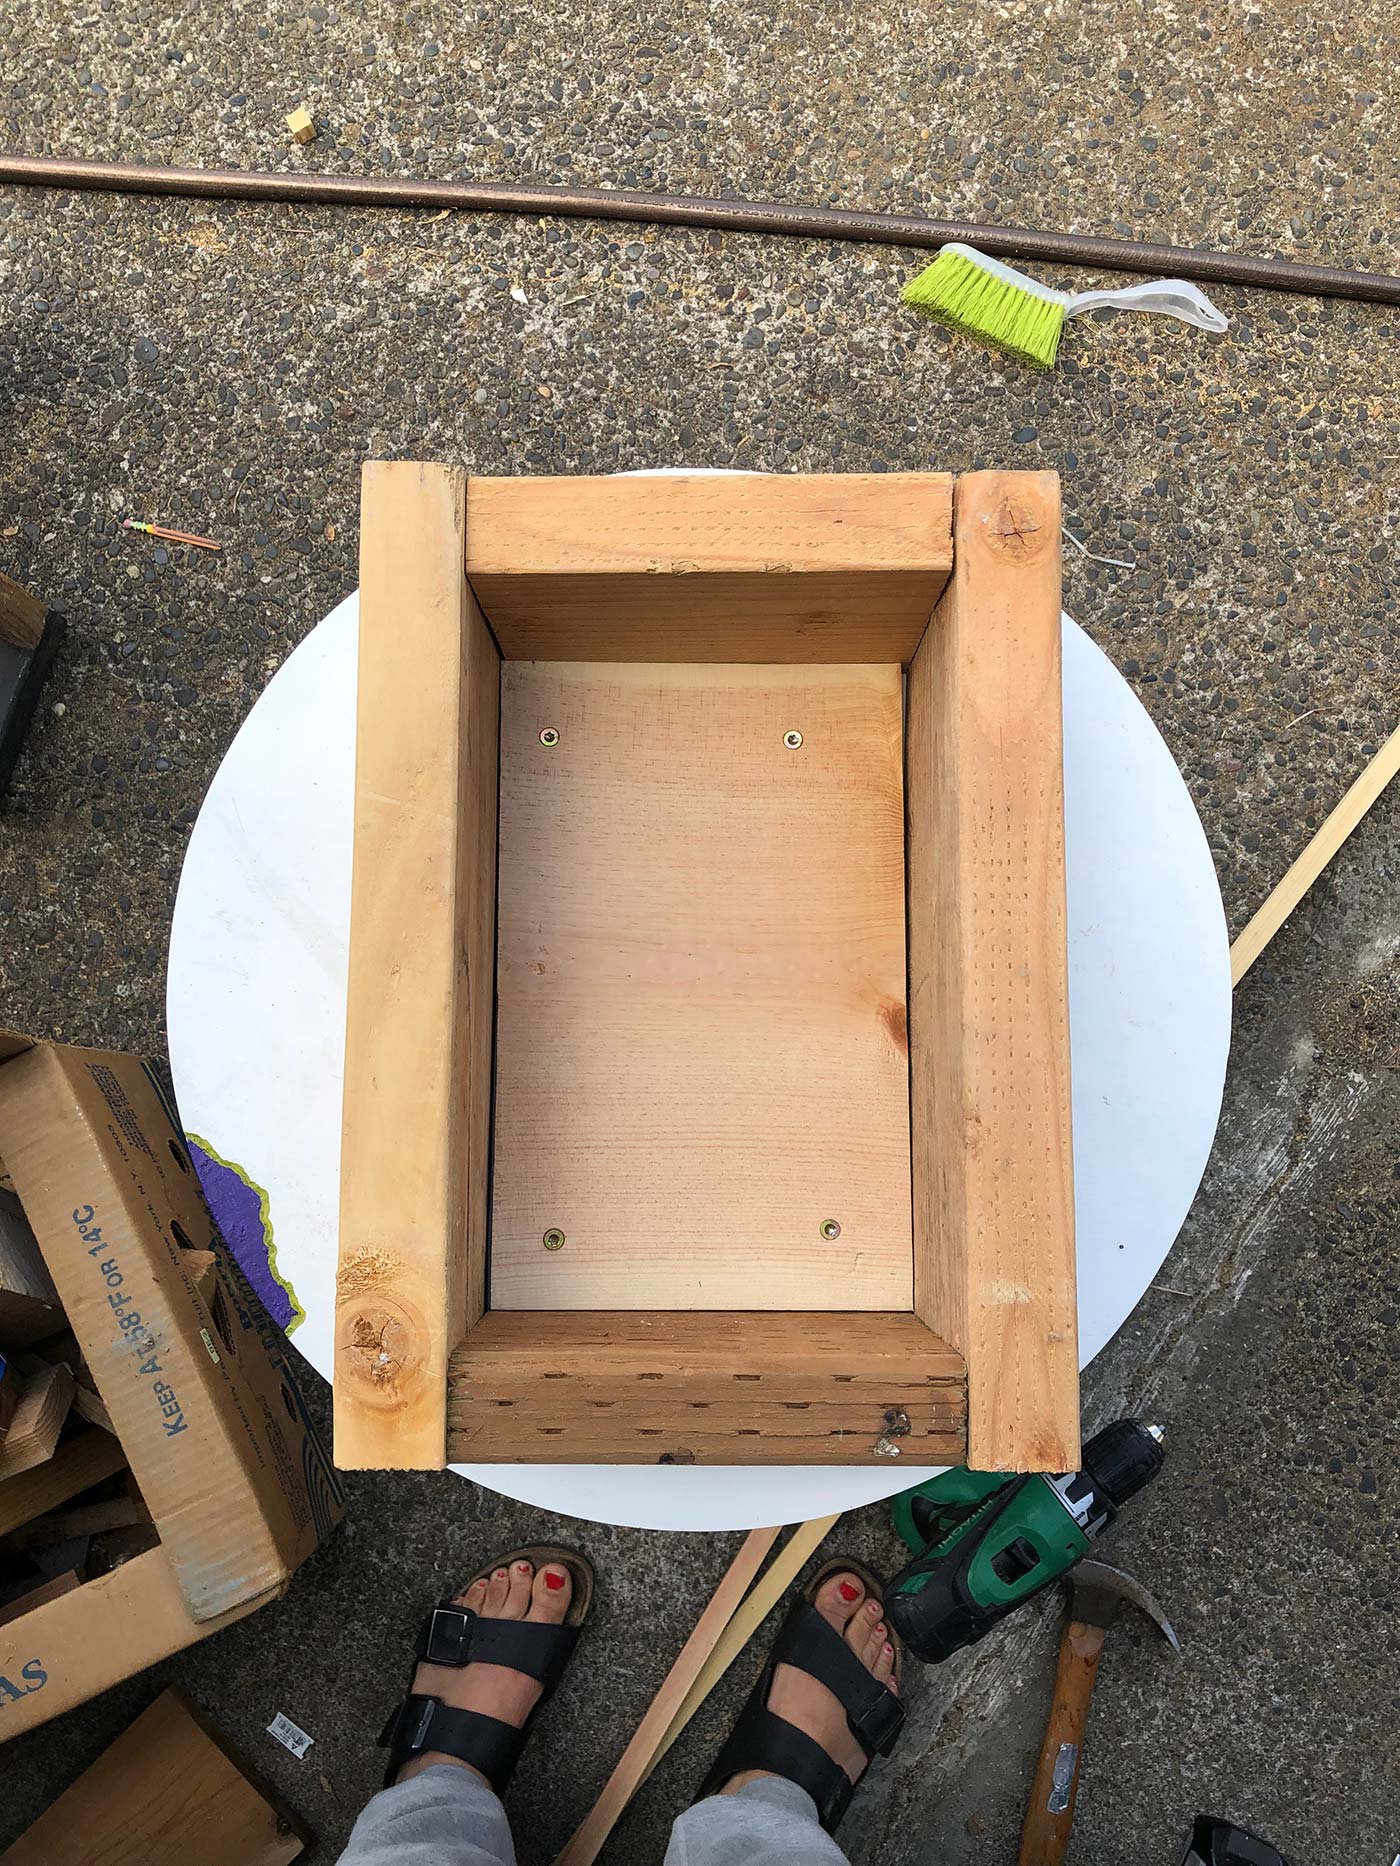
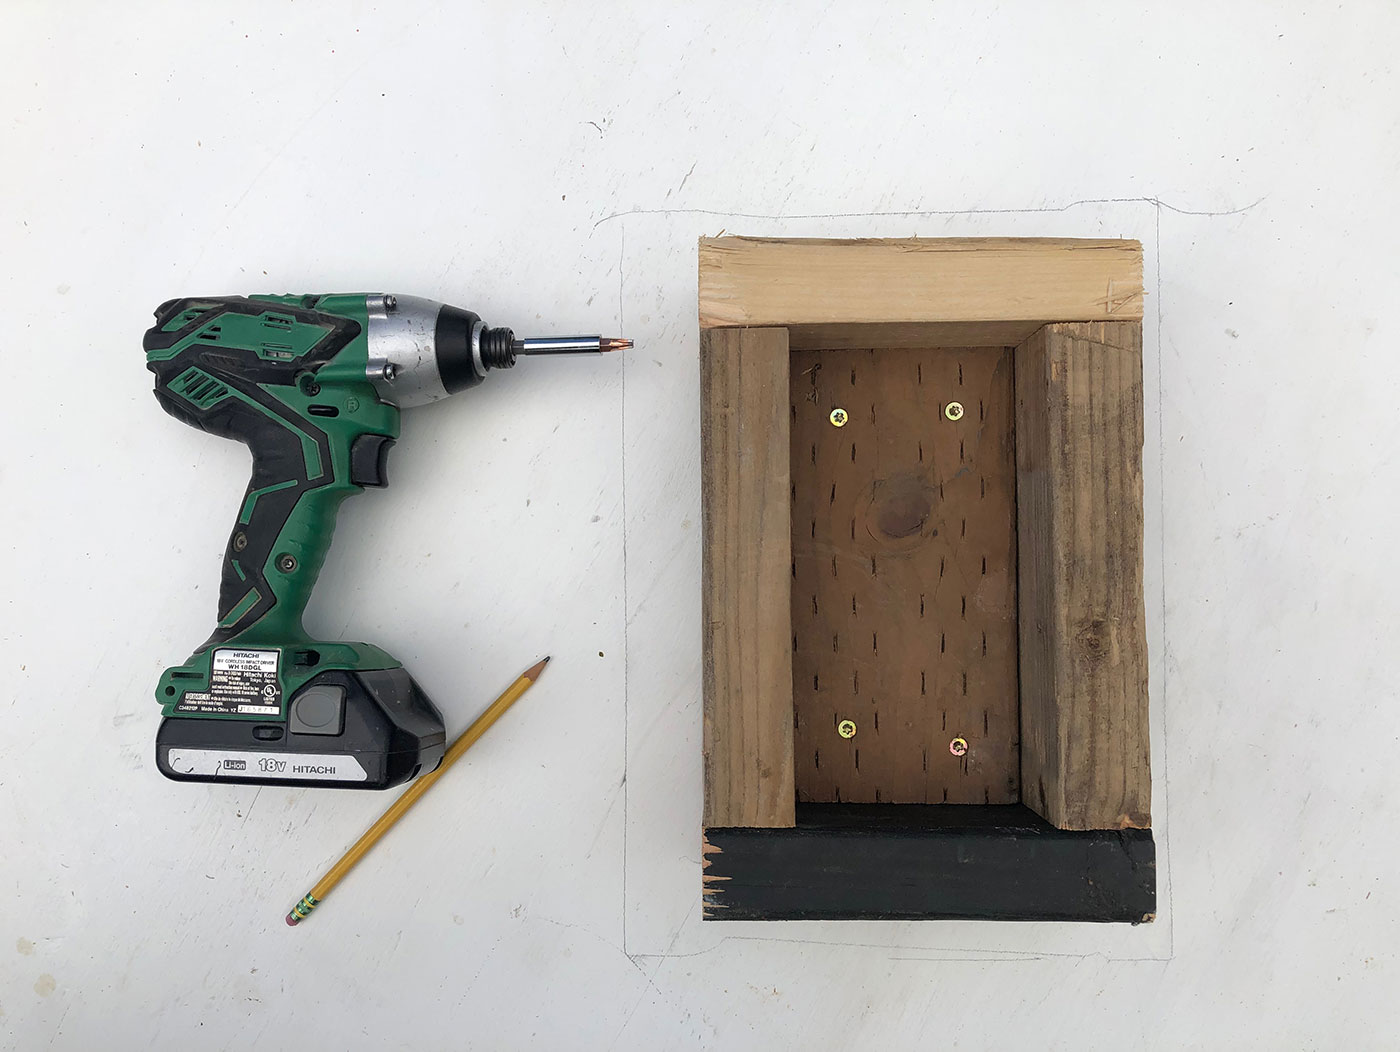
I used the same method to attach box 2 to the table top. Once both of these boxes were attached, I just slipped one inside the other! It’s a snug fit, and the top doesn’t tip if someone leans on an edge! Which is a big difference from before when the top just balanced on the base. Whew!
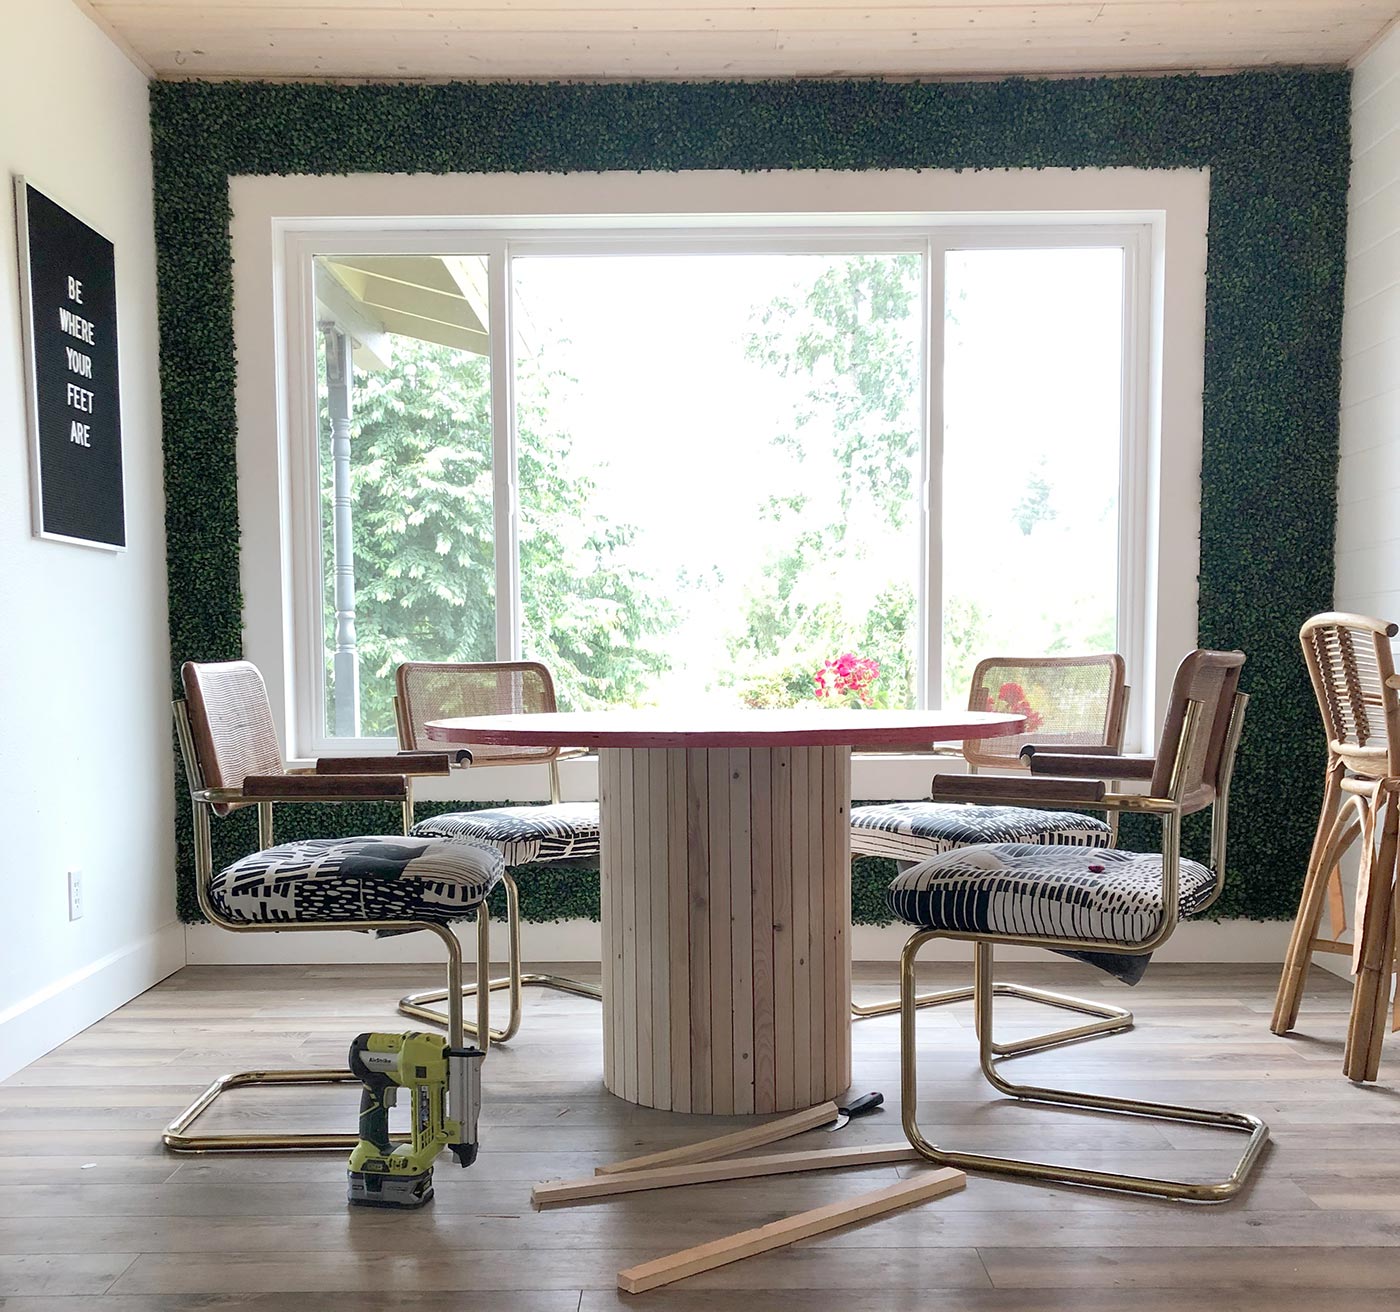
Attaching the Slats
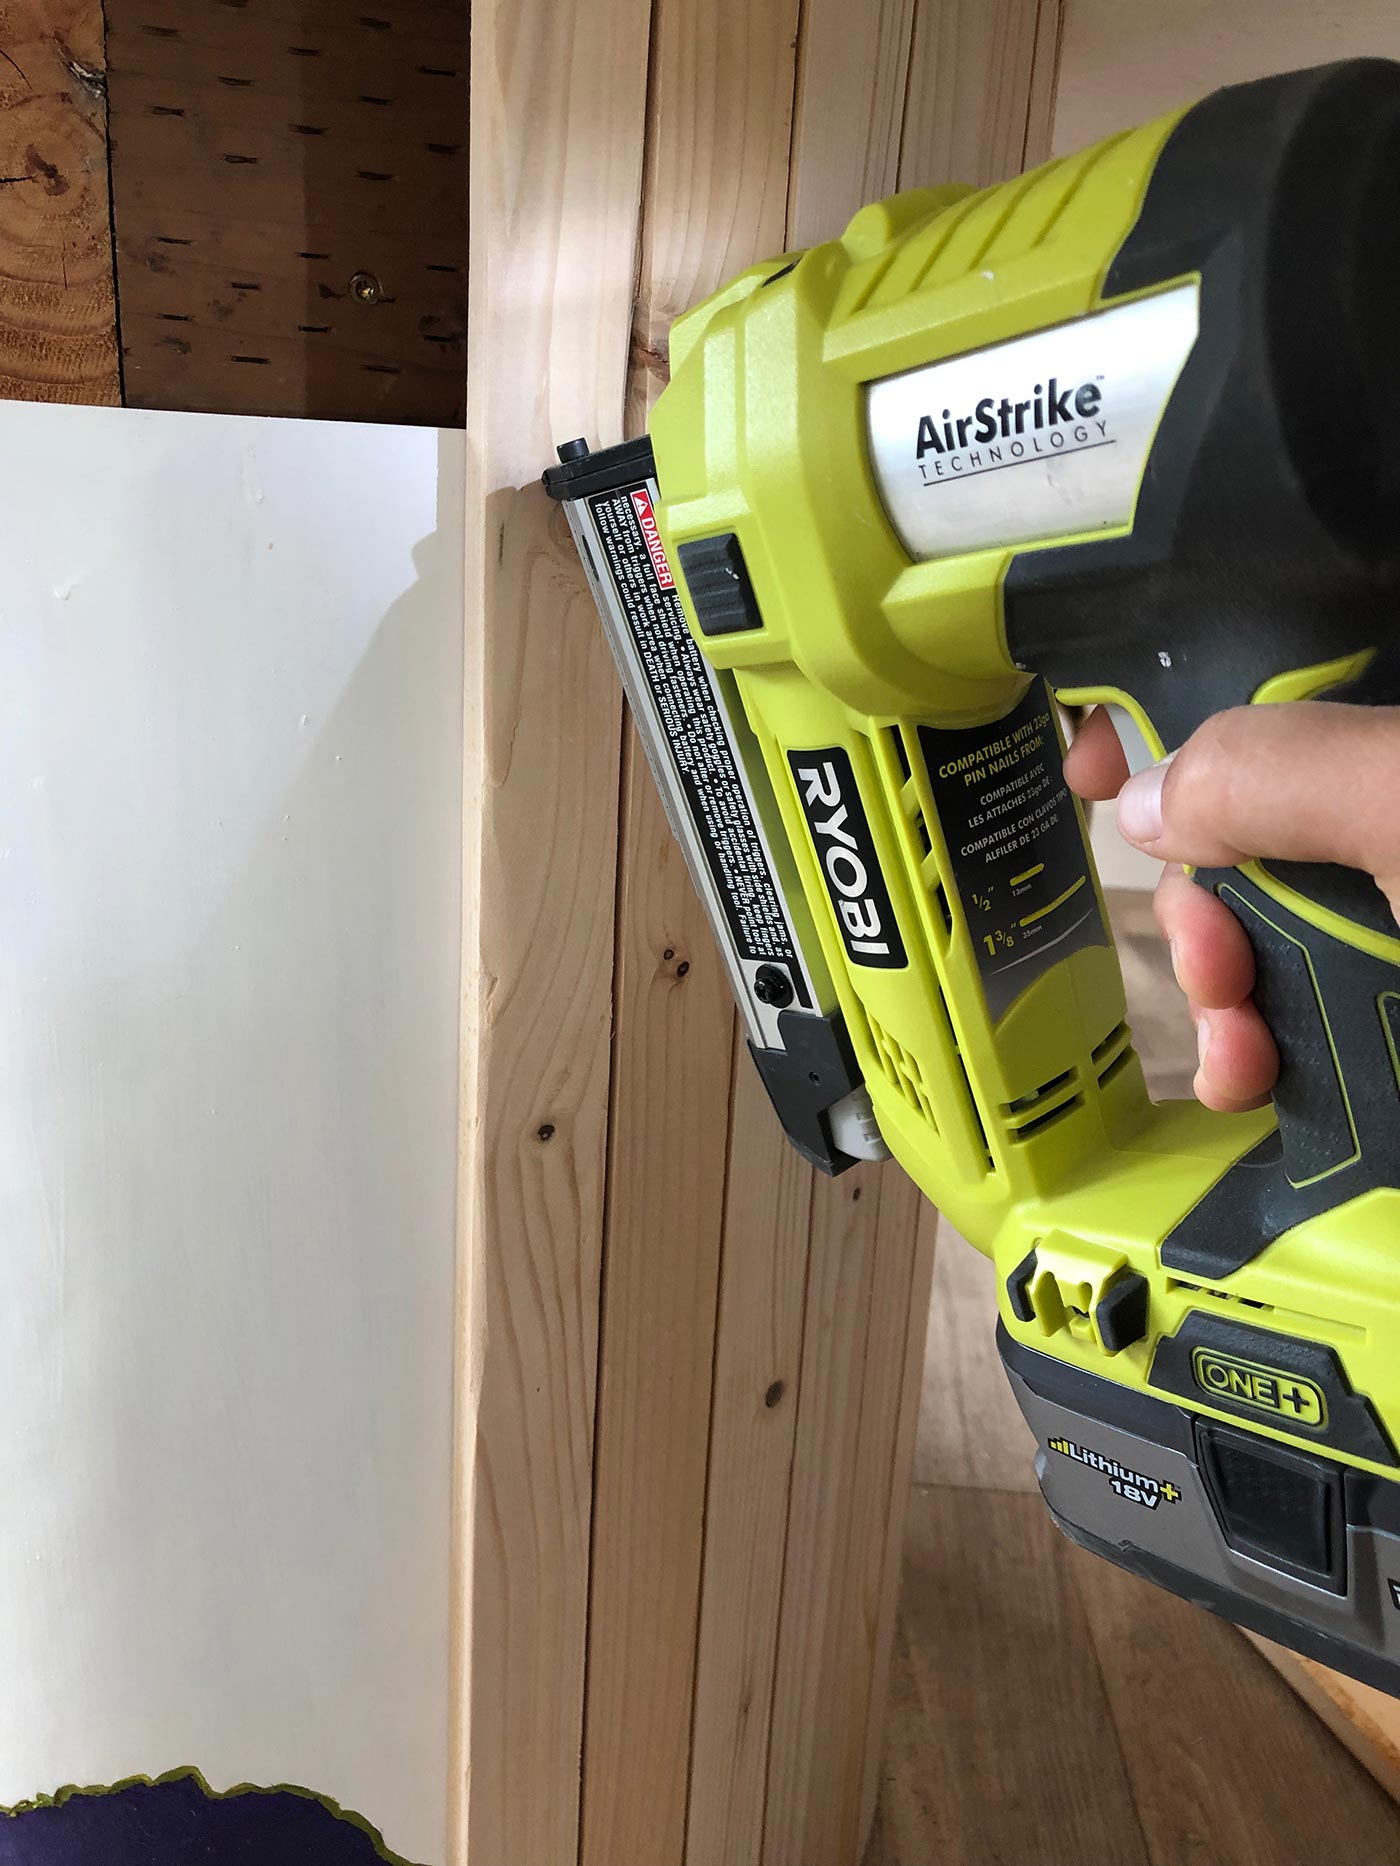
This is where things get simple. Very simple. The space between the table top and the floor is 28 inches. So I cut all my scrap 1x2s to 28 inches. Making sure my first board was straight up and down using a small level, I attached them with my handy-dandy pin-nailer (aka, my most favoritest tool in the world). This part goes quickly, and probably can’t be messed up. I made sure that the boards all lined up evenly along the floor (I had mine touching the floor).
Once I got to the last board, I found that I needed to trim it a bit to fit in, so I used my table saw to cut 1/4 inch off the width of it.

Staining the Wood
I use a LOT of pine in my projects. Most likely because it is the cheapest wood around. My ceilings are tongue and groove pine boards, and 98% of my wood detail work is made with pine.
Pine naturally has a very light hue, but if left naturally, it will yellow as it ages. This is an example of my attic entrance–you can clearly see the difference between the wood I treated and the naturally-aged wood.
I don’t usually prefer the yellow-aged look of pine, but I still want to appreciate the grain, so I use a semi-transparent stain with a white tint.
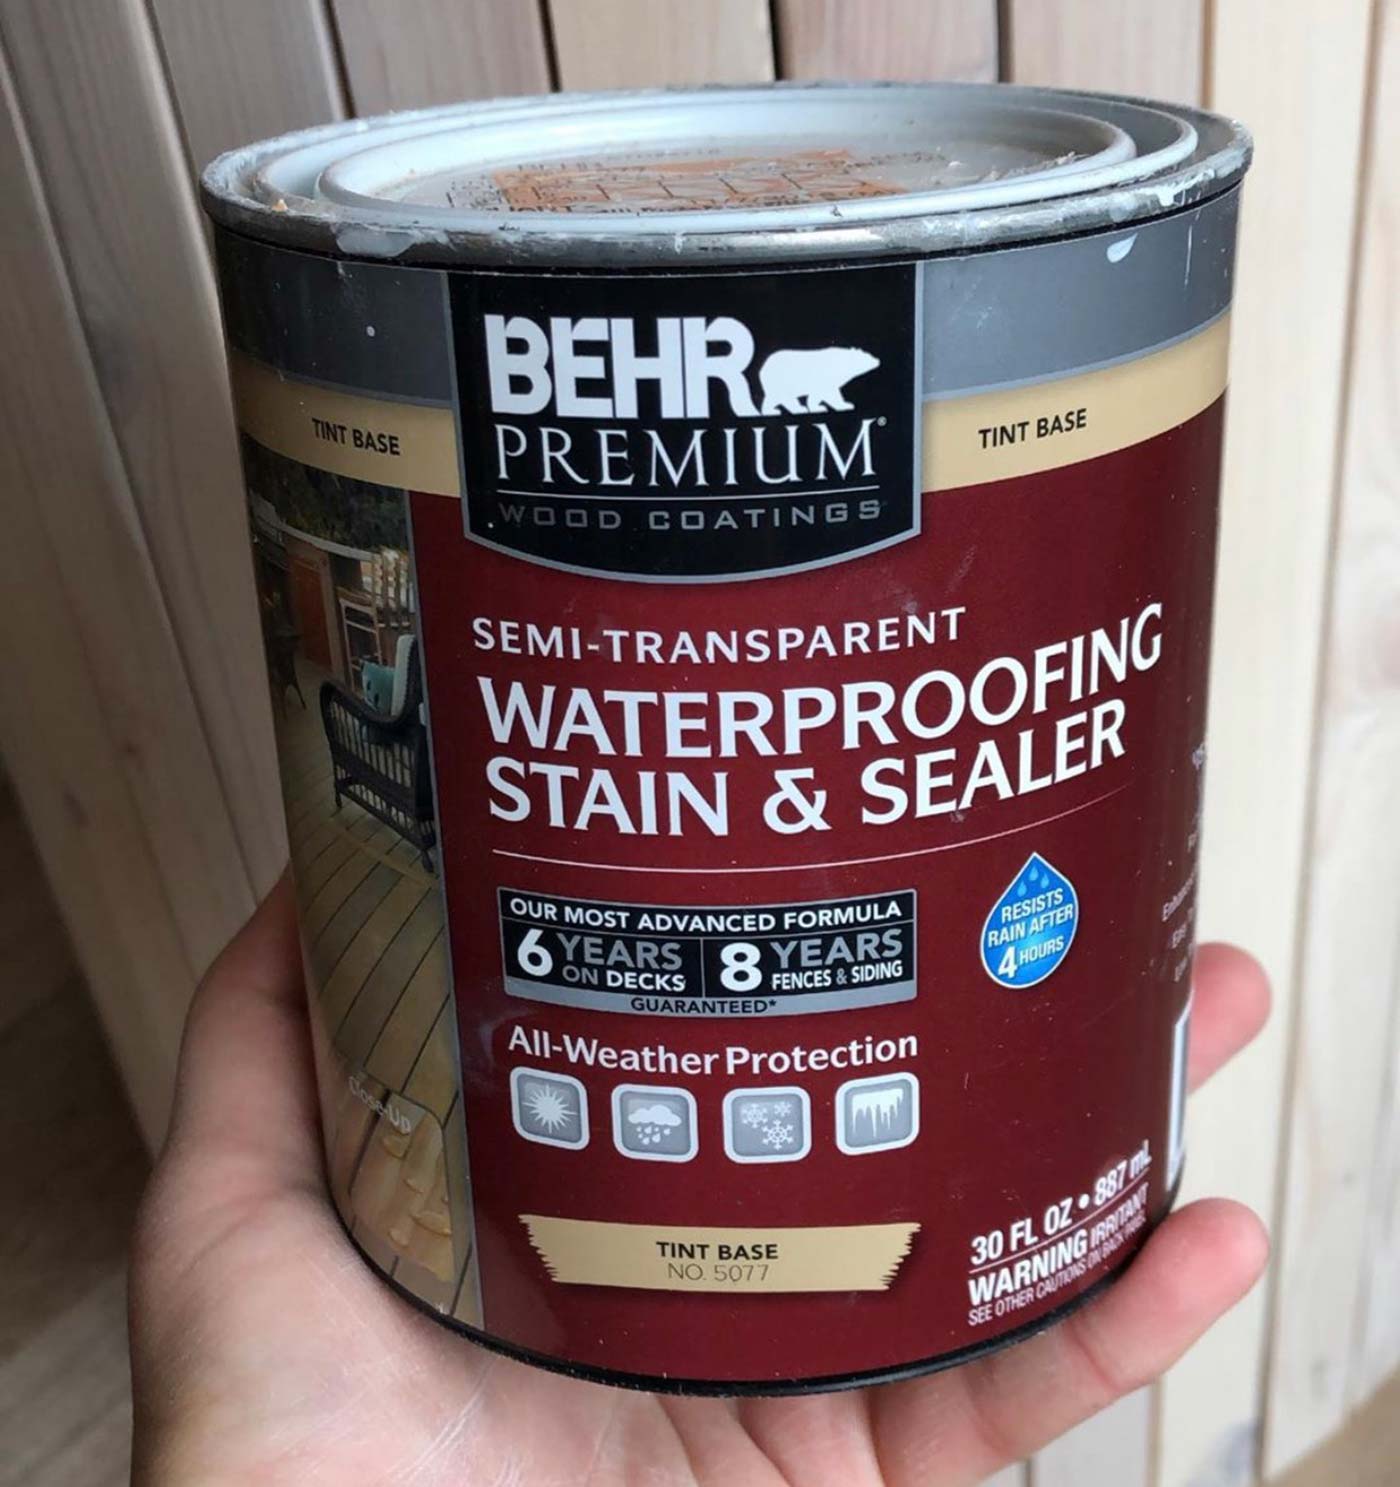
This stain is magic. It lightens up the wood and gives it a bit of a bleached look. Because my wood was all scrap wood, most of it had been sitting around for a while and was yellowed. I had a few pieces that I sanded down so they were fresh and light colored. Using this stain is kind of like using a filter in photo-editing. The boards don’t become identical, but they do feel like they belong together.
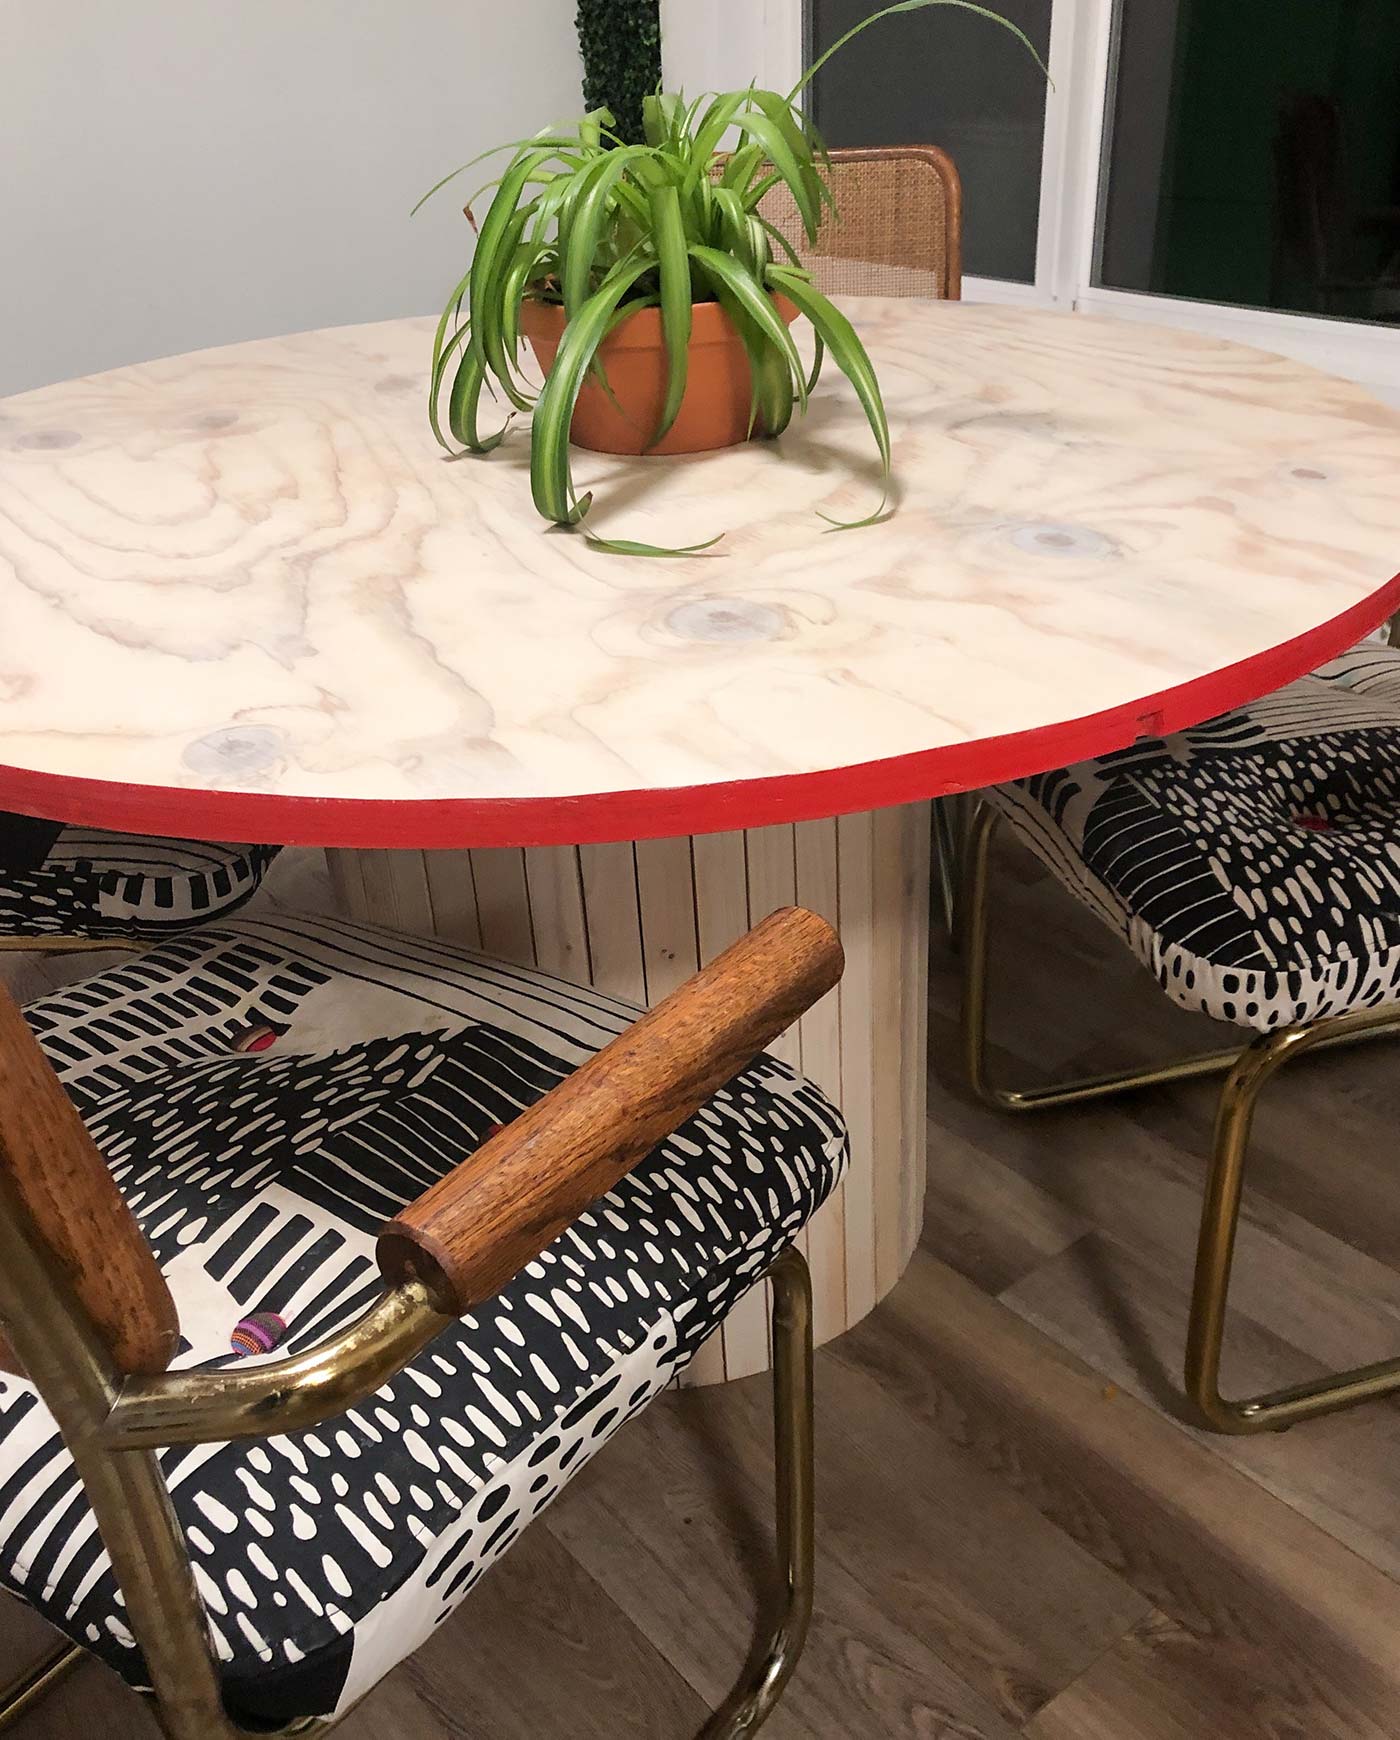 What’s more, the table top even matches now! I used a piece of 1 1/8in plywood for the table top. It’s the same top I had before (which was painted white), I just flipped it over and sanded down the rough wood! I painted the edge red to add some flair, and of course stained the top to match the base. I used a polycrylic to finish the top.
So tell me, what do you think? Do you prefer the brass base? Tell me you love the new one! Lol. And that it’s pretty. Tell me that too in the comments! <insert laughing emoji>

Racheal, you blow me away. Truly. You are brilliant and yes!! The base is perfection!
I love the new one AND it is sooo pretty!! <3
looks awesome
What is the white cylinder?
How did build it to be stable? We bought a table that looks similar which tips over if we lean on it while seated. Wondering if we can put weight into the base somehow so it’s more stable