
Sherwin Williams sponsored this post by giving me me all the paint I needed! Which is so exciting for me. Obviously, though, all the opinions are my own.
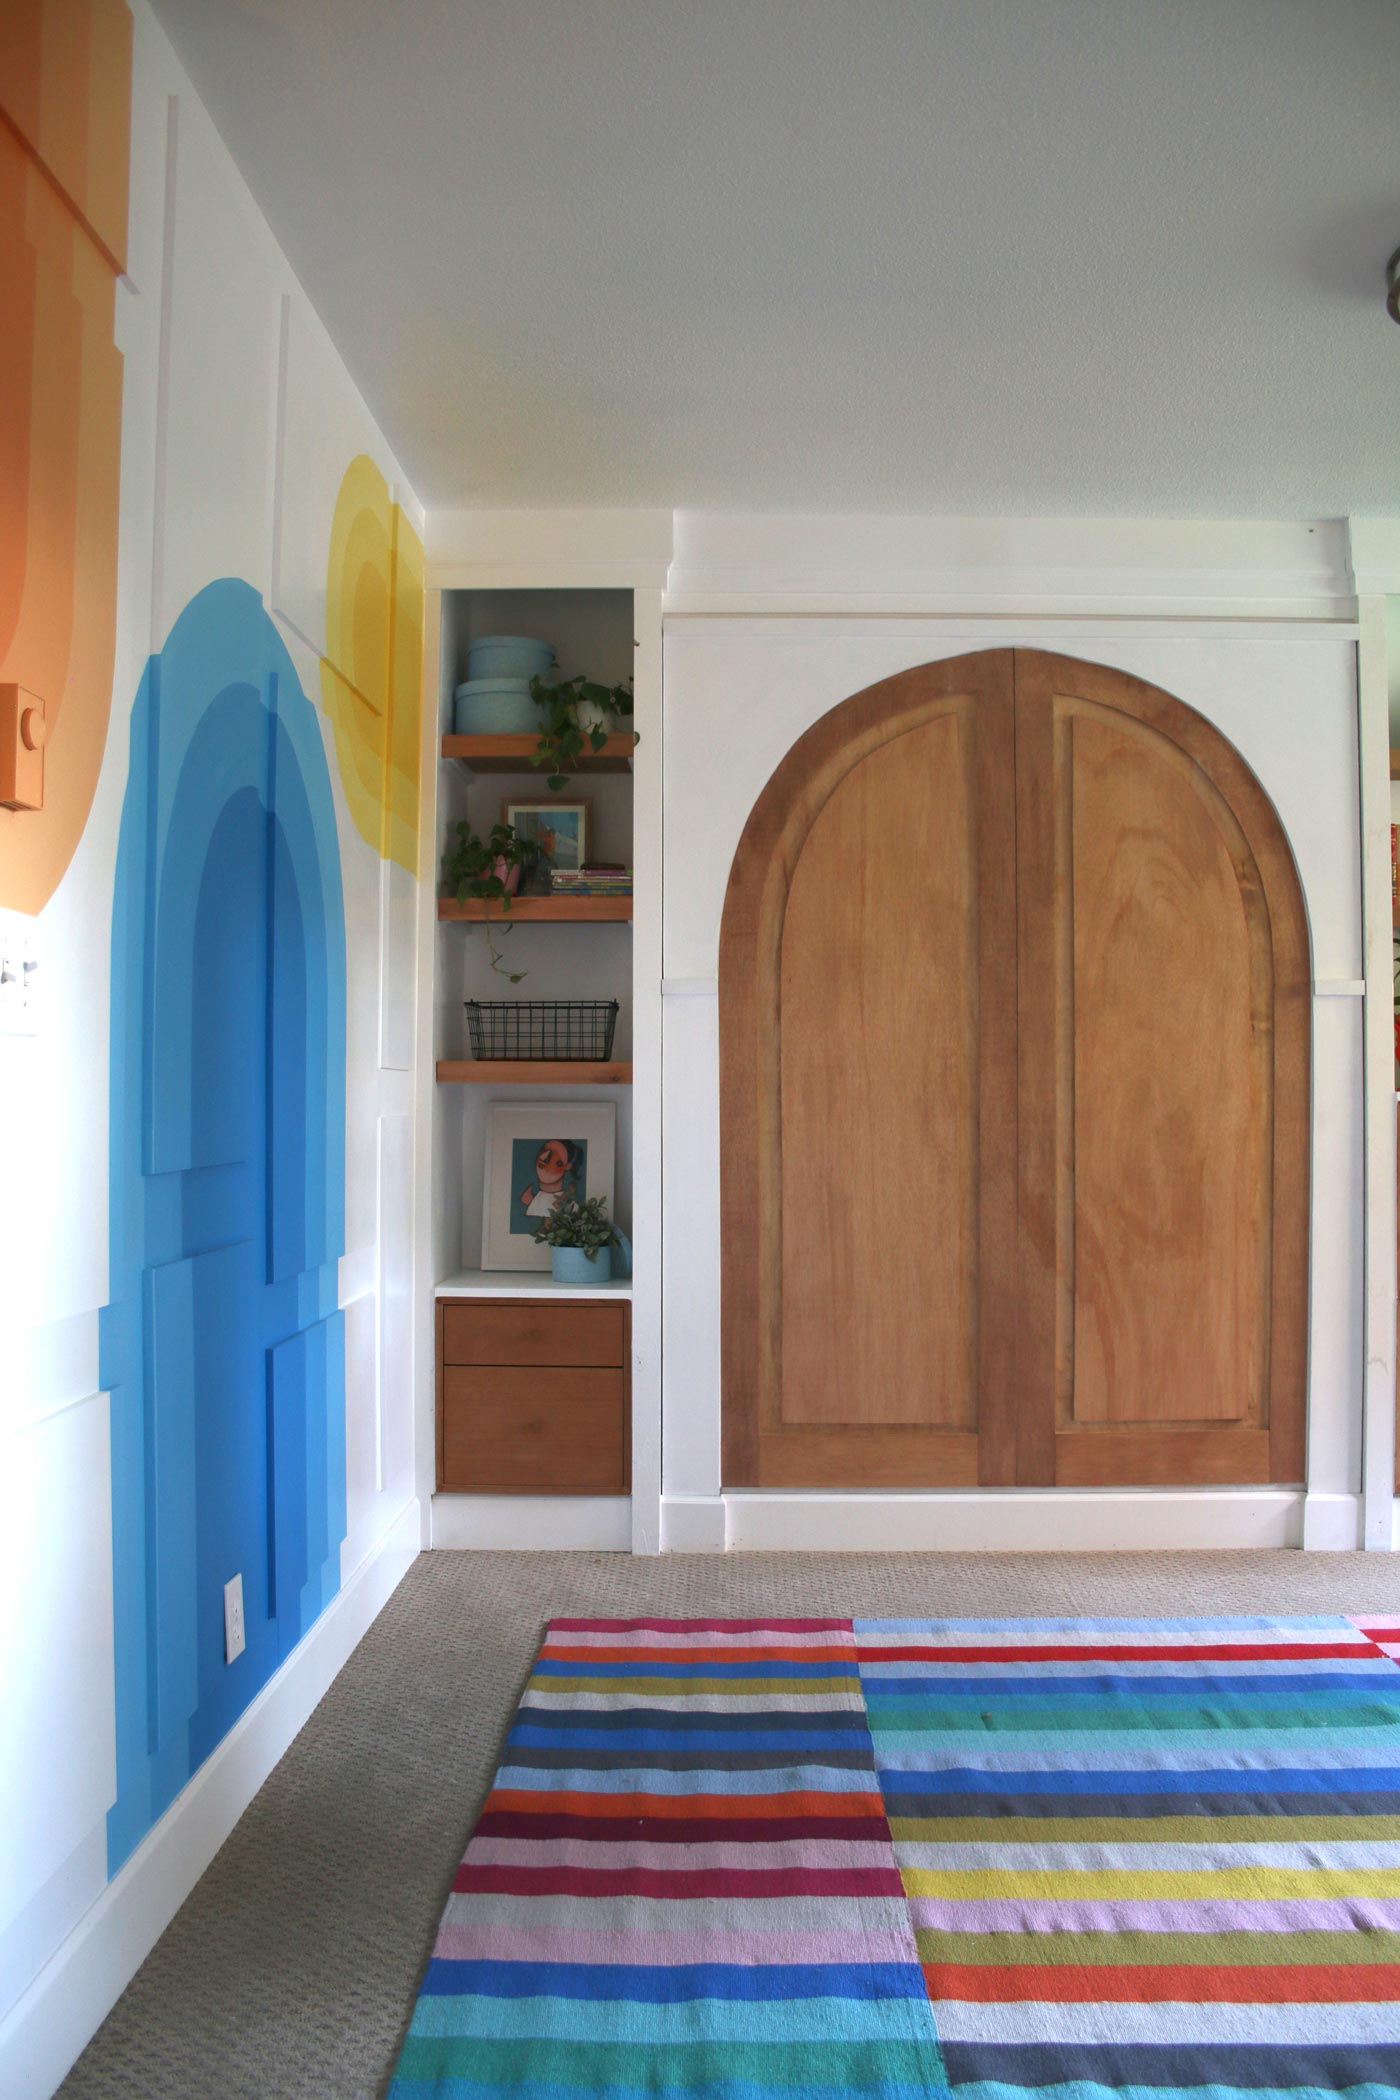
This week has been big on finishes. Paint went up!!! Color came to this room! I finished the built-ins and finished designing the Murphy bed doors! Shoot I even styled this sucker. PROGRESS! It’s been beautiful.
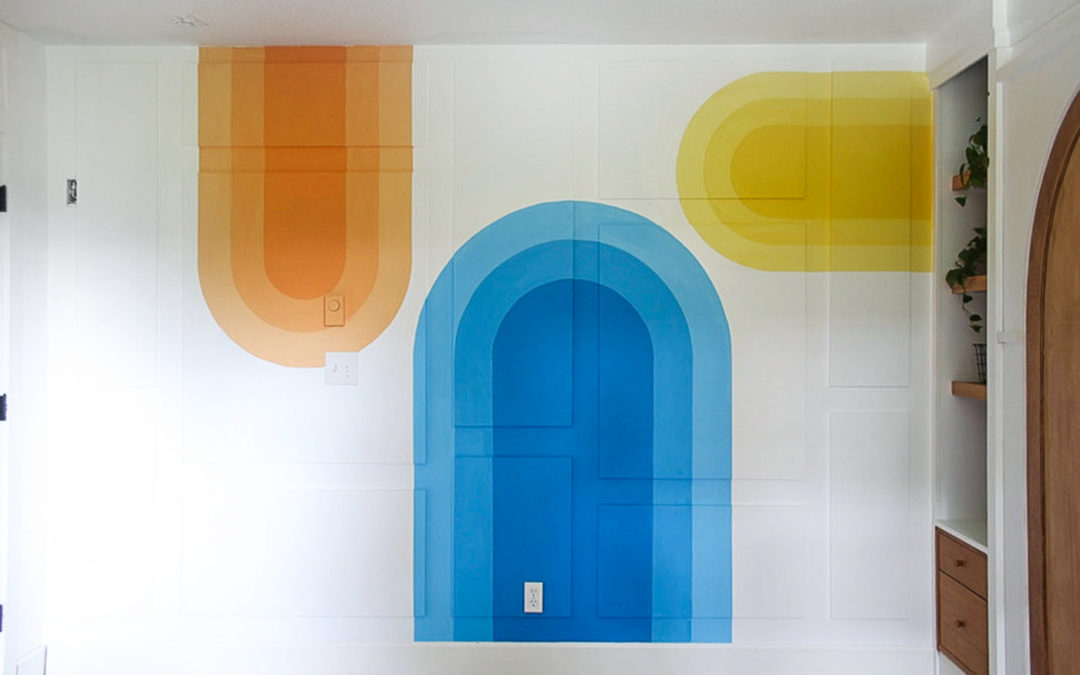
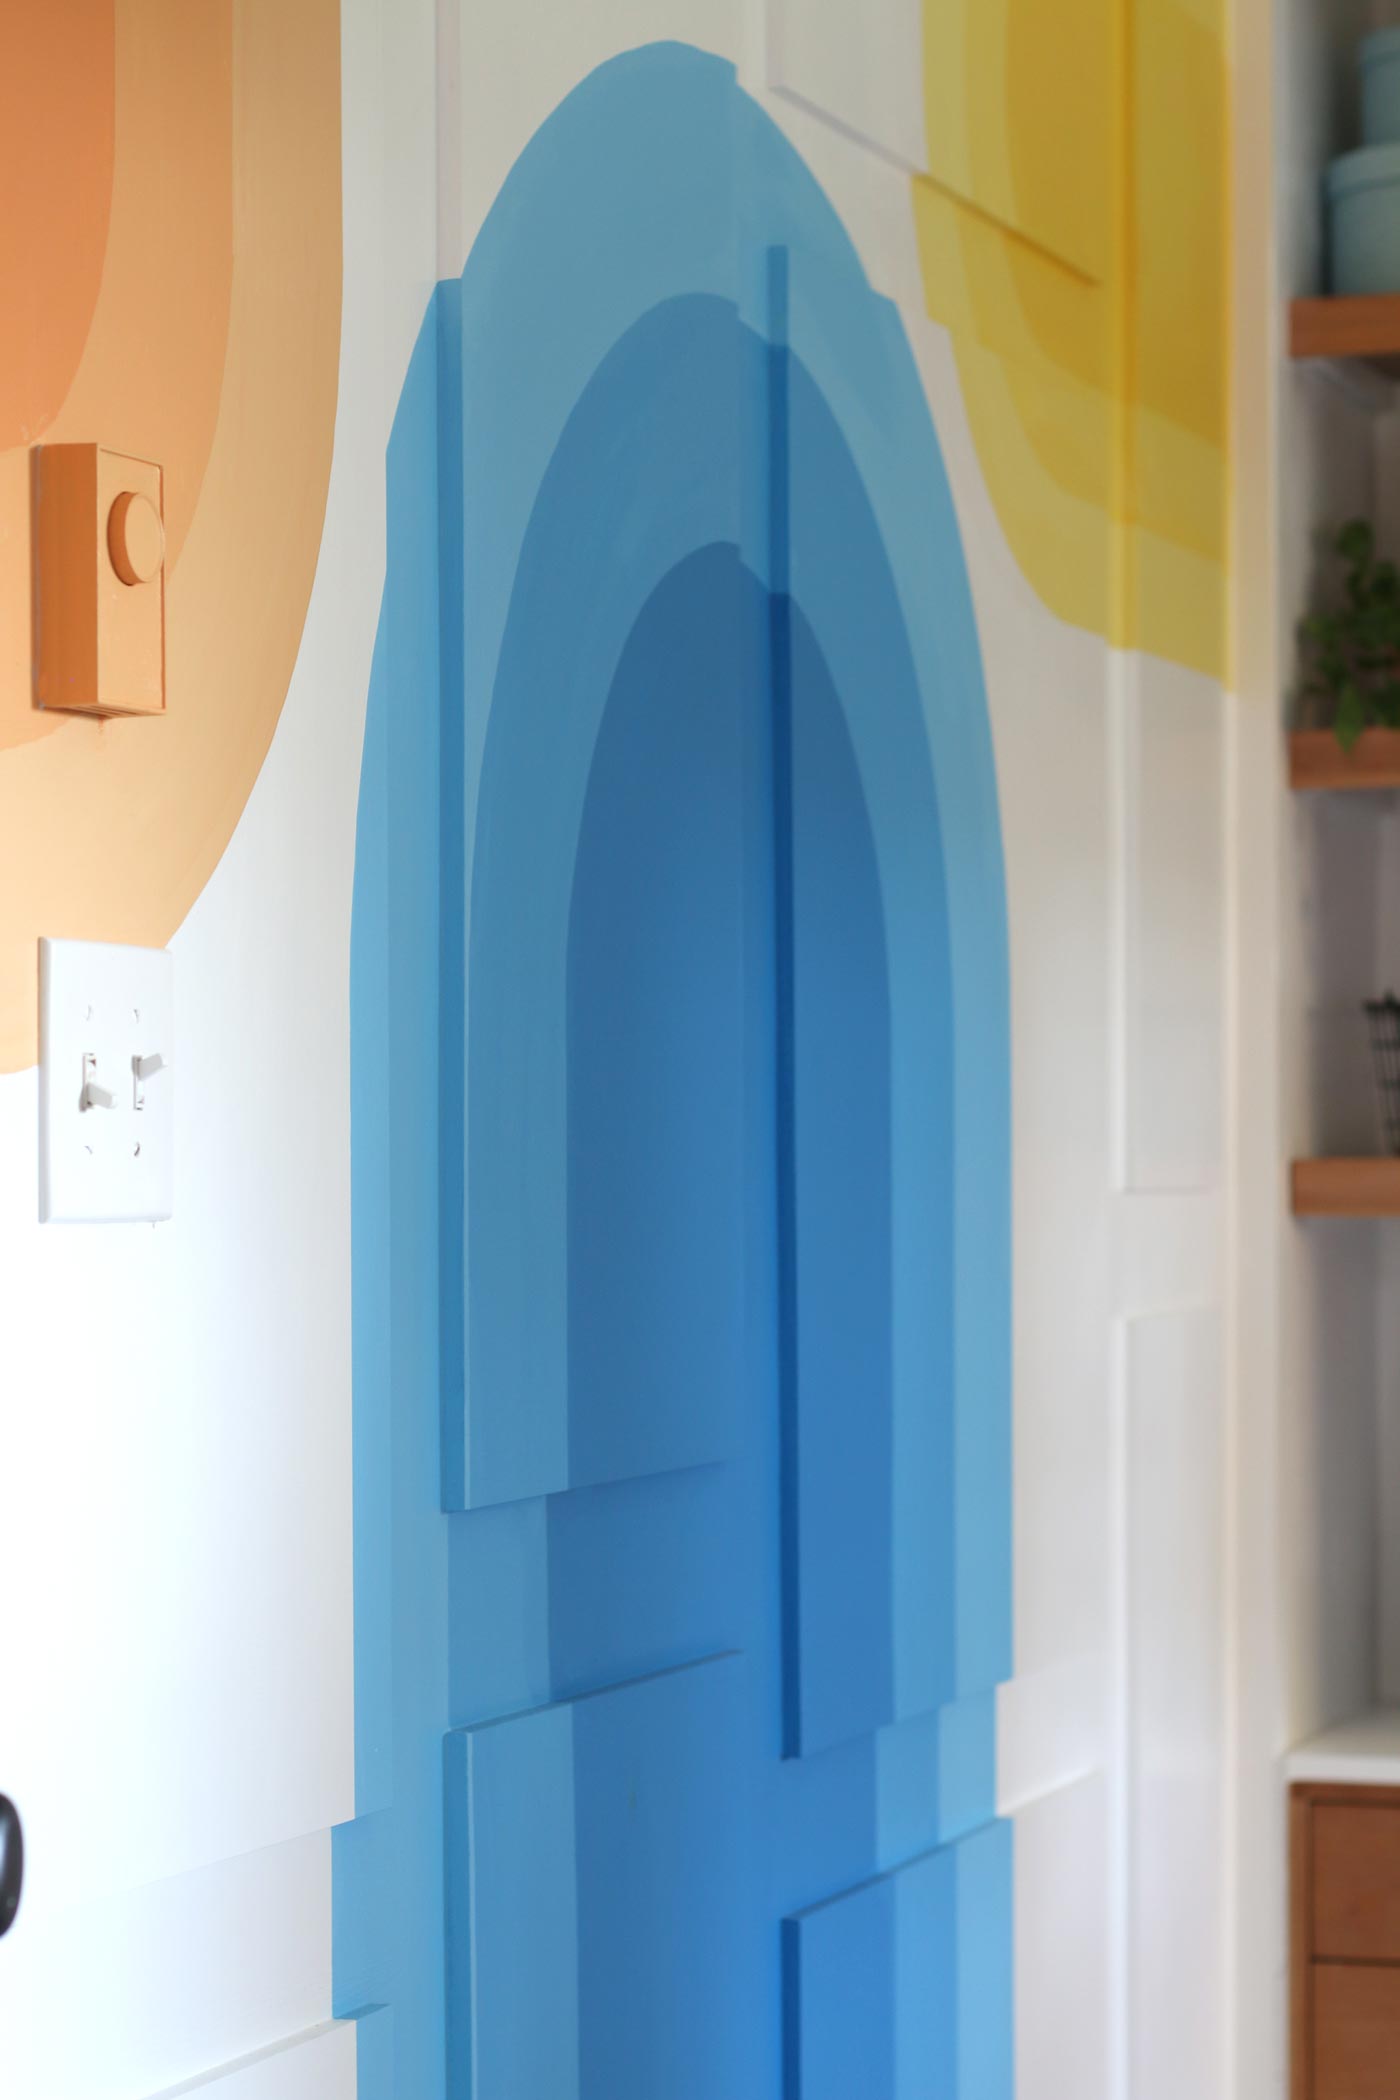
Makin’ Arches
Ok. Let’s talk arches. I use this method for drawing oversized circles all throughout my house. It hearkens back to the days of elementary school yore with compasses and protractors. What I do is essentially make my own compass with a thumbtack, string and pencil.
If you’re making an arch you first outline your two straight outer edges. Find the center of the curve by measuring the distance between the two lines and dividing by two. Mark that center point by placing your thumbtack. It should be exactly between the top points of your two lines and as tall as them. Use this same measurement as your radius. Tie one end of a piece of string to the thumbtack and measure out your specific distance. Tie this to your pencil. When you pull the string taught the pencil should meet up with both ends of the lines.
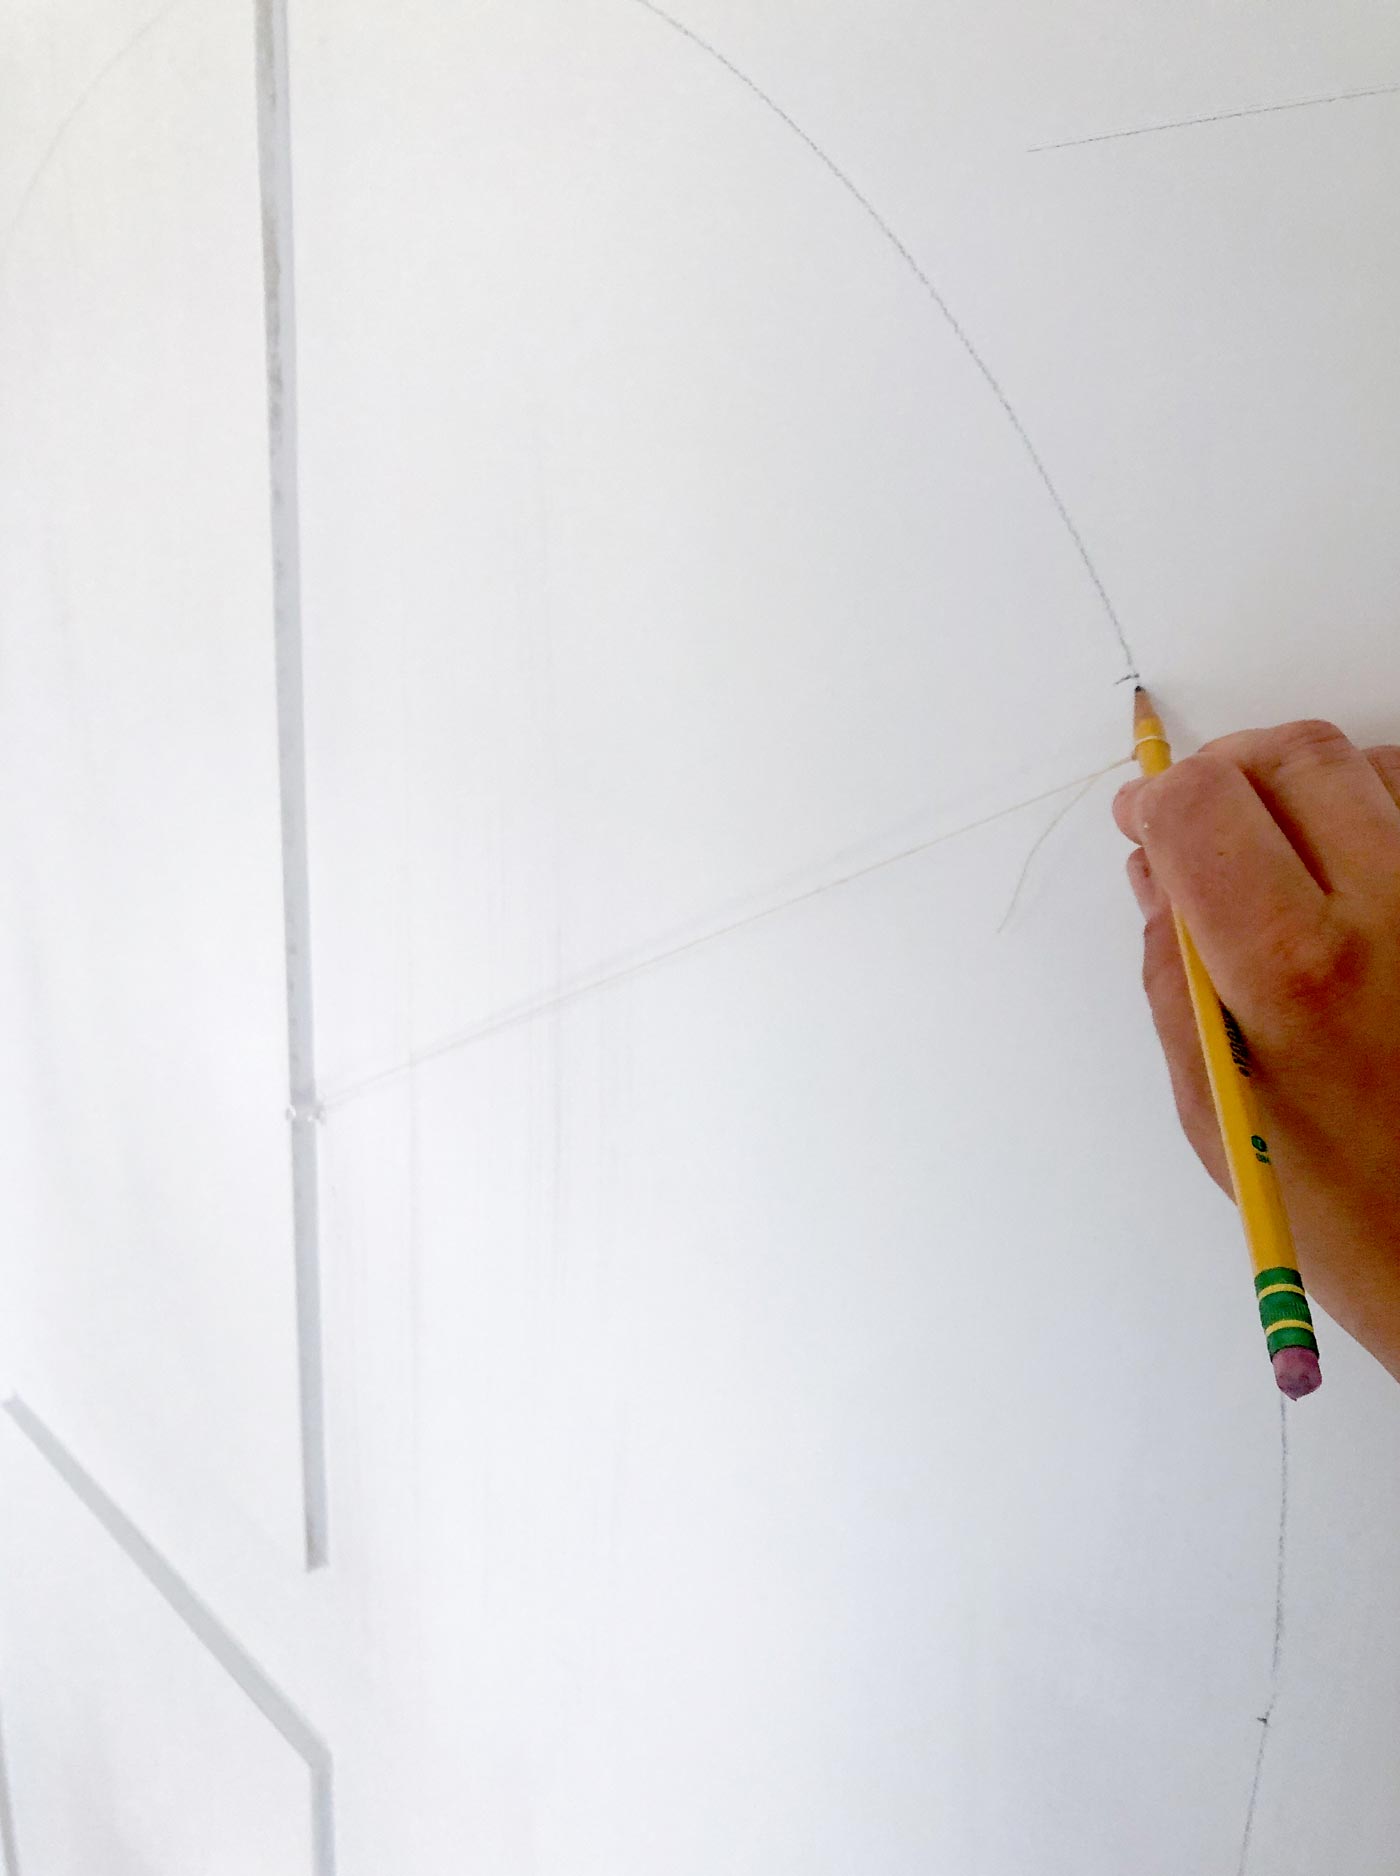
Making sure your string is taught the whole time, allow this string to guide your curved line. Pencil it smoothly.
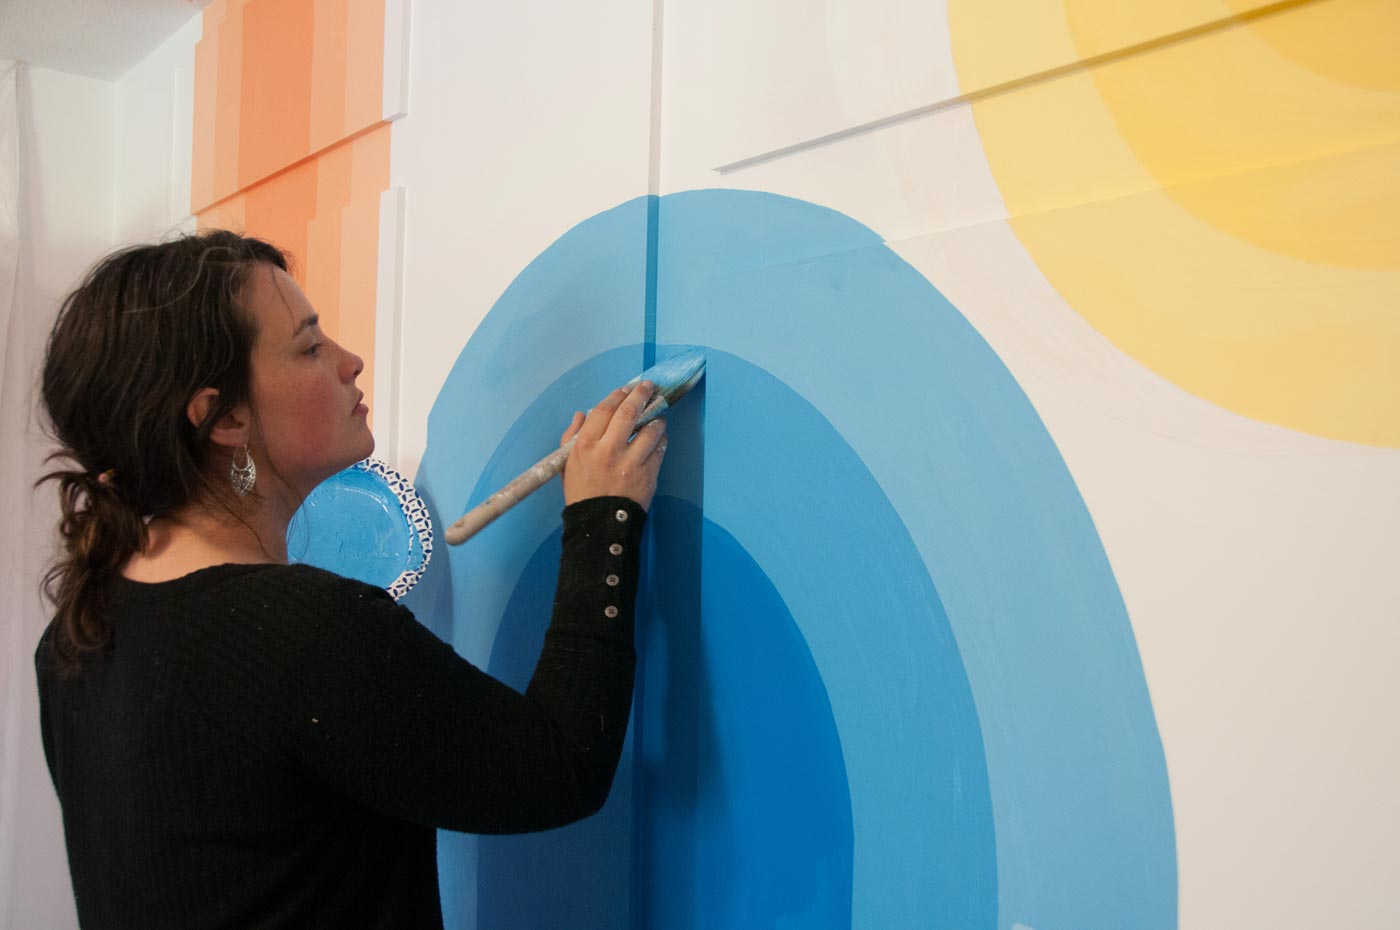
People ask me often if i tape my curves. I’ve done it both ways, and I find it really tedious to tape the circles perfectly. Also, people just don’t really notice the imperfections in your curves. So I just carefully cut in the edges of the circle with my brush. Try to keep your strokes long and smooth. Touch up whatever looks wonky afterward.
Paint Used
The surface I painted this mural on is raw plywood and MDF which meant that they needed to be primed first. I used Sherwin Williams Wood and Wall Primer first. This stuff goes on super easily and dries so fast! I would prime an area and by the time I finished it would be dry and ready to paint!
For my base I used Sherwin Williams Emerald interior paint. I chose High Reflective White because this bedroom gets very little natural light and this color is 93% reflective! It makes all other whites look dingy. I’m in love. The Emerald paint goes on so smoothly too.
The colors I used in this mural are Knockout Orange, Blue Chip and Gusto Gold. I picked out these colors in-store, but when I got home and put them up in my space they were way too dark (remember there low light!). So I mixed in a bit of white. And they look FANTASTIC!
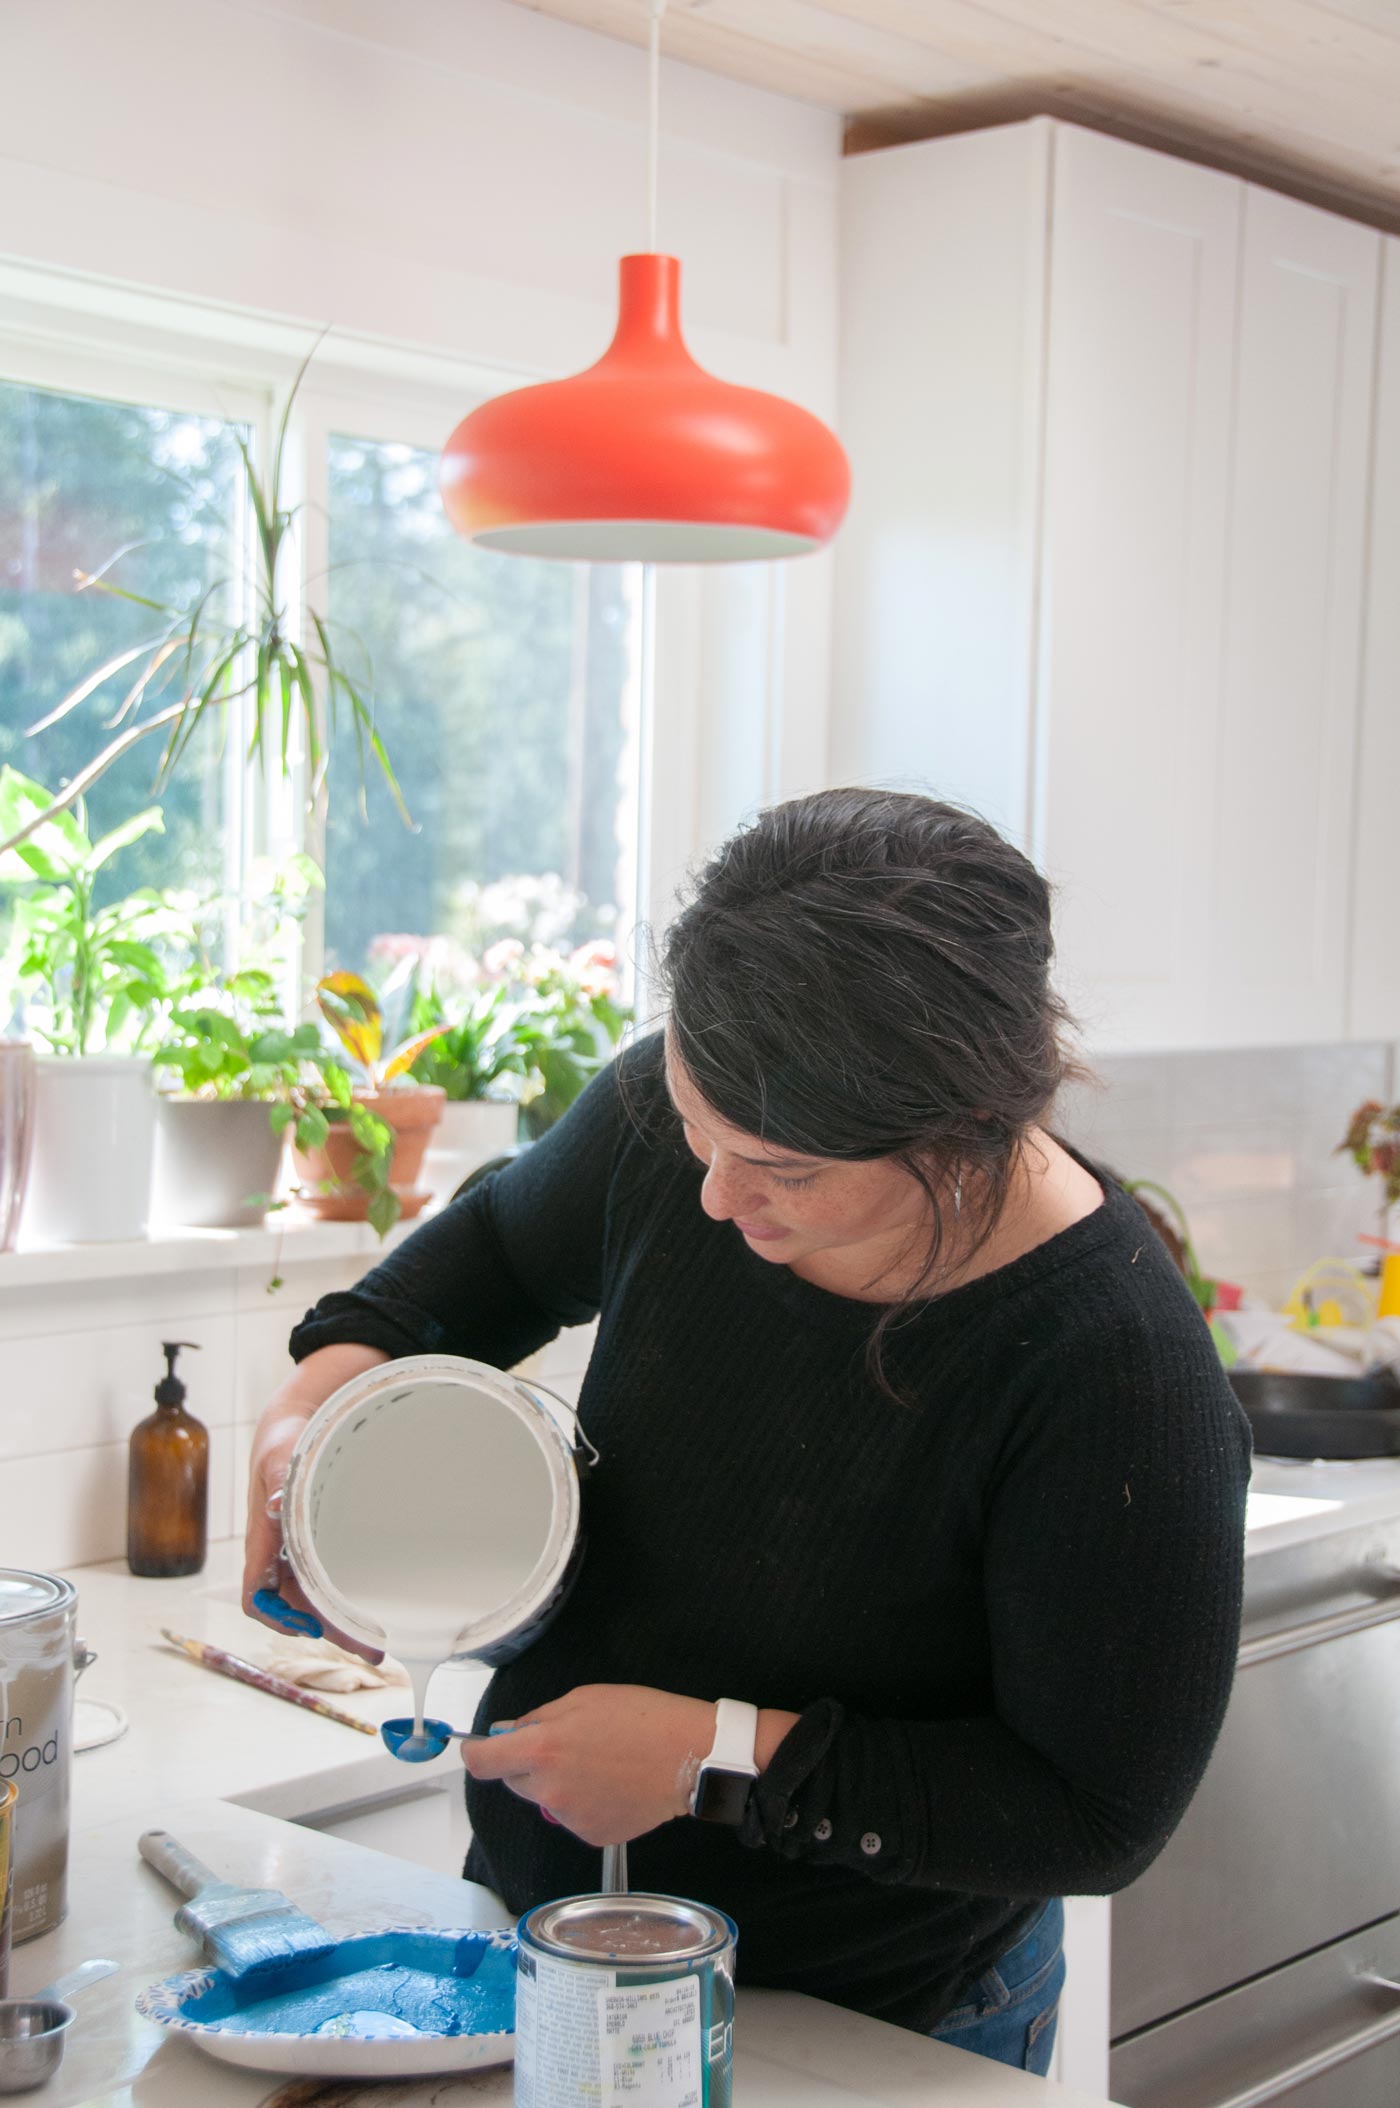
Mixing Colors
This was a bit of trial and error with each color, but the orange is the one that was simplest! I mixed each center color (the most intense color) with one part color and one part white. After that, for each step outward I would cut my mixture with another 50% mix of white. You don’t want your colors to be too dramatic of a jump or too subtle. It’s tricky. Stick to a formula and you wont be repainting three or four colors. You’ll thank me later!
Miscellaneous Tips
- Keep a tiny brush on hand for touch ups
- Baby wipes are your friend! If you make a mistake, don’t wait until it’s dry, wipe it off while it’s still wet!

Ok, now that I’ve talked your ear off about these arches, lets go check out the other designers!
Photos taken by the fabulous Nanette Marie Photography

Thanks for the info about how to paint circles. I had a hunch you free hand these circles, but I hoping for an easy how-to. Lol.. kind of like the lazy girl’s guide to painting circles. I’ll give it a whirl and let you know how it goes.