
Please note that this post has affiliate links. If you’re going to buy these products, buy them here! Help me justify this mad home decor hobby!
These are the ugly days. The days where our internal growth explodes and the aesthetic hasn’t quite caught up. The days of plywood, 2x4s and caulk. Like a gangly preteen, we’re left uncomfortably between the worlds of the safe before and the fully developed after. We’re acne ridden and awkward, and so ready for this in-between stage to be done. Until then, I’m looking on the bright side and enjoying the benefits along the way, AKA: SPACE.
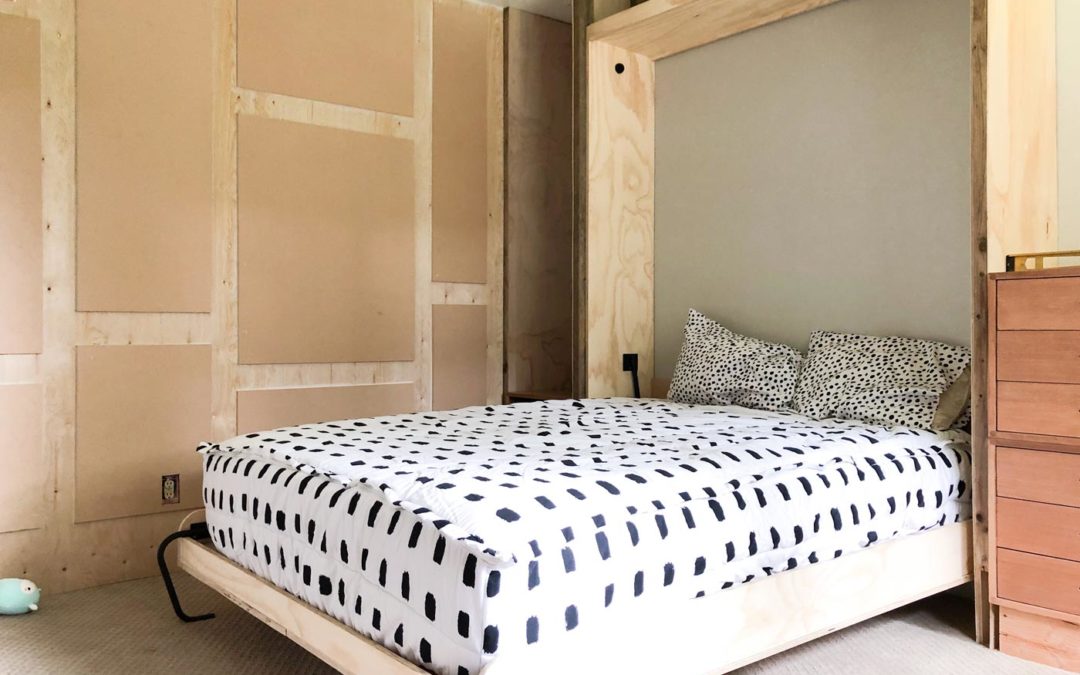
With 3 kids in a small room, floor space comes at a premium. So I thought I’d gamble on a Murphy bed. I bought this kit from Amazon, and after reading through alllll of the instructions and watching the included video, I fearlessly took the project on.

The instructions included a list of all the wood I would need to make this, as well as all the cuts I would need to make. I took my cut sheet to Home Depot and a really nice worker there cut all my large pieces for me. You can do this project using just a circular saw and a jigsaw to make all your cuts, but for me, managing full sheets of 3/4 inch plywood was a bit more of a hassle than I wanted to deal with, so I had the nice lumber worker there Janelle do all my large cuts.
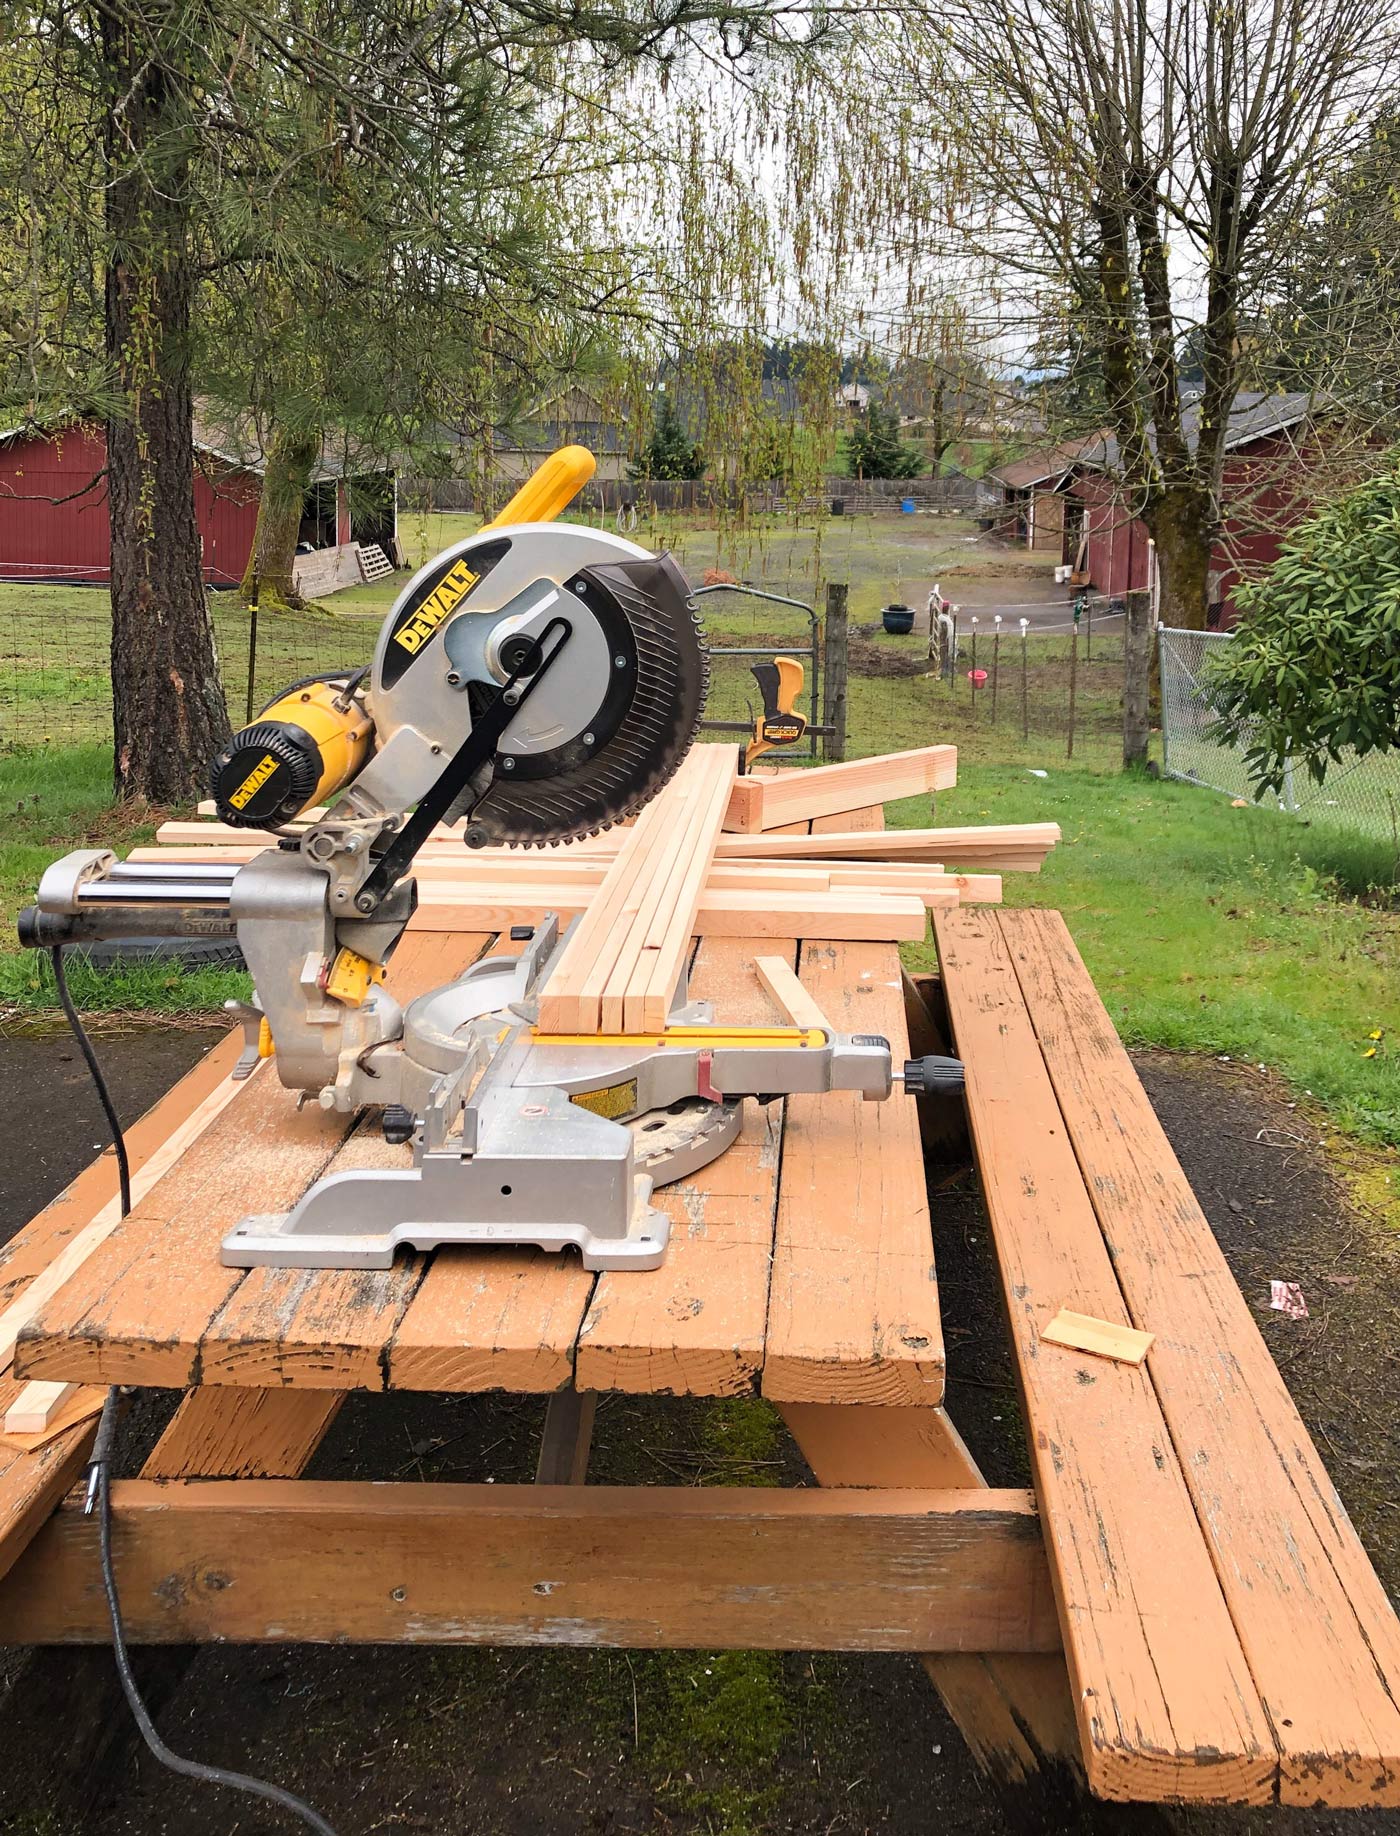
I set up shop on my good ol’ picnic table and cut the rest of my wood. I use this saw and love it.
I won’t give you a play-by-play of building this (if you want to see a video of the detailed process, you can watch the instructional video that I watched). Instead I will tell you the two things I wish I would have done differently.
What Not to Do When Making a Murphy Bed
1. Make sure your bed is square
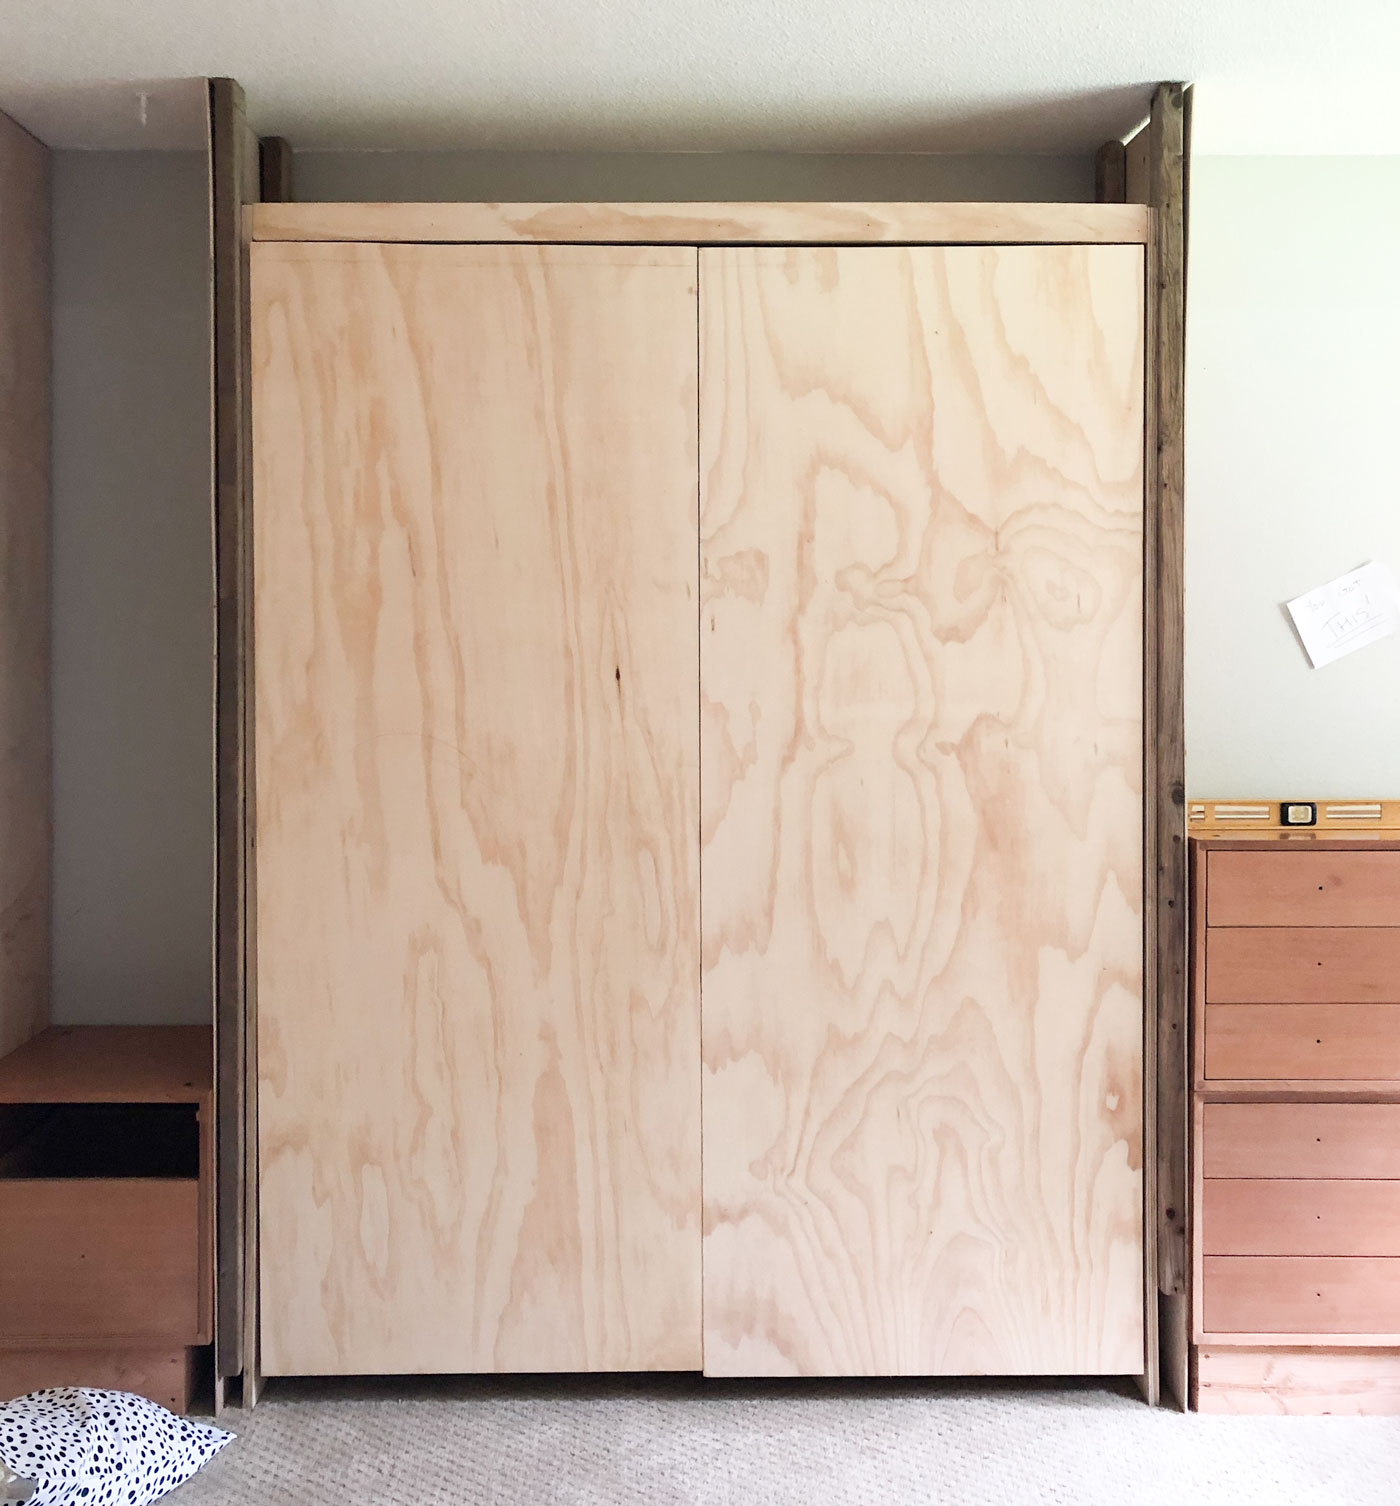
In this process there comes a time when you attach a frame you have made to two large sheets of 3/4 plywood. This gives the bed the bulk of the structure. The instructions tell you to attach it by screwing it in a particular order. DO THIS. I was a bit stubborn and was convinced that this would not make my specific bed frame line up right. I WAS WRONG. You can see when you look at my bed in the upright position that the spacing all around the edges is inconsistent. This is because I did not follow the directions. And I regret it. Obey the rules, friends.
2. Use Coarse Thread Screws!
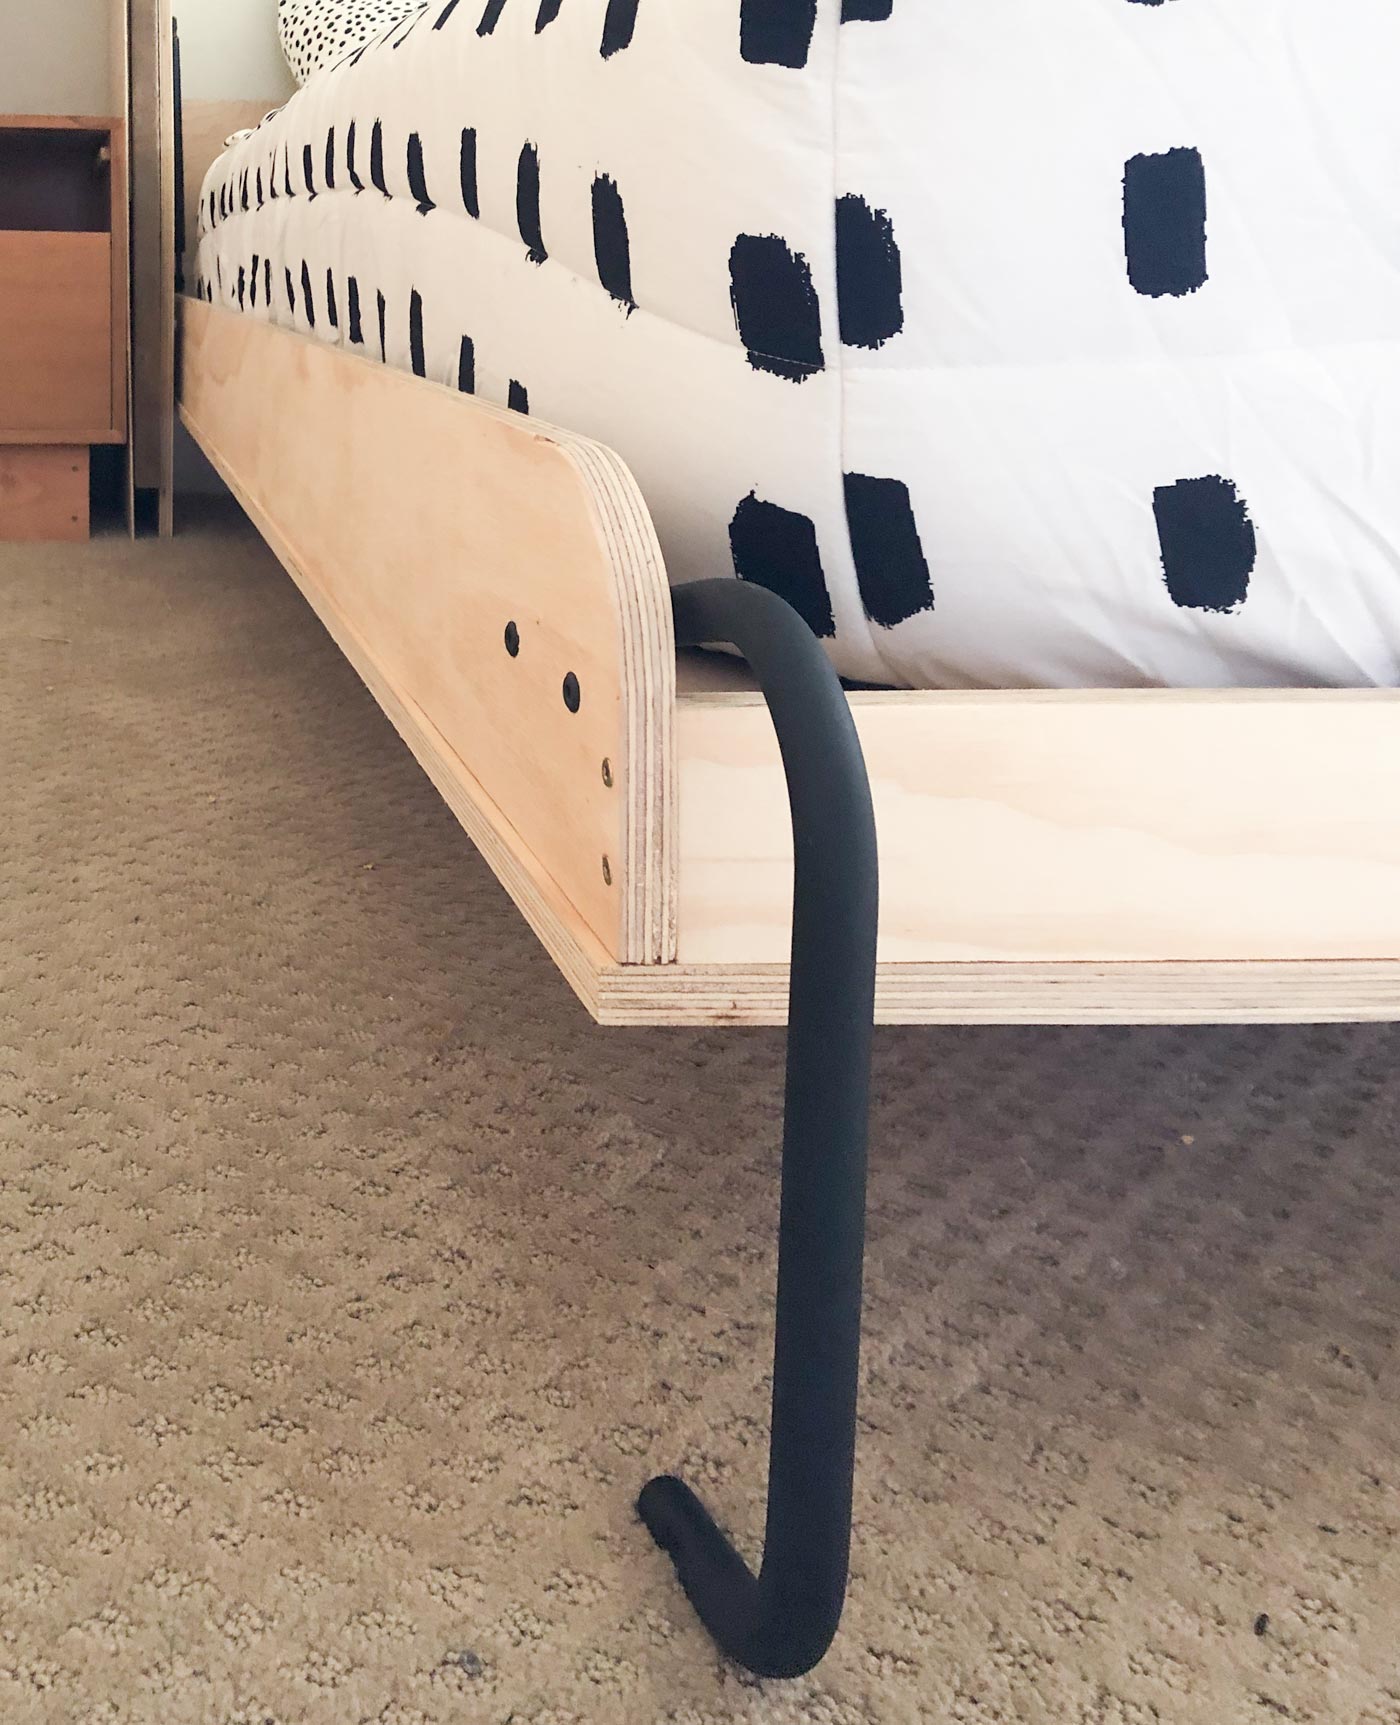
This kit requires you to buy three different sizes of screws. Two of my screw boxes were coarse thread screws, and one was a box of deck screws. I didn’t check that they were coarse threads, and just assumed that if they were specifically for screwing down decks that they would be sufficient. I WAS WRONG. All this meant was that they did not cinch the wood frame to the plywood sheets as tightly as I would have hoped. It is still sturdy, and works like a dream, but I would have the additional peace of mind knowing that it was as tight as possible.
This last tip is not something I did incorrectly, but I felt it should be included as I’ve seen some DIY Murphy beds made this way, and I sure feel passionately about it:
3. Do not use particle board!
The instructions specify that this bed must be made with wood or plywood. MDF or particle board is good for finish work and non-structural projects. I went to check out a bed I saw on Craigslist.org that someone had made with this same hardware, only they had used particle board and OSB. It was not sturdy and you could see places where the screws had stripped and been reattached. Do yourself a favor. You are paying good money for this kit and for the supplies to make the bed. Don’t waste your money by using sub-par materials.
Now that I have that off of my chest, have you seen the other One Room Challenge blog posts? SO GOOD! Go and get lost in that rabbit hole!


Thank you! Great Blog! Where did you find the bedding cover sheets?
Dude this is great info ! Especially your mistakes — that’s where we all learn the most 🧘🏼